|
|
Generating Model and Entity Classes from Database |
|
|
|
Generating Model and Entity Classes from Database |
|
In this part of the tutorial we will create a new EntityDAC model from an existing SQLite database.
To follow the tutorial you can use the demo SQLite database provided with EntityDAC. By default, the database is placed in the "Documents\Devart\EntityDAC\Demos\EntityDemo\DB\SQLite\" folder.
Or, you can create a new SQLite database named "demo.db3" manually using any SQLite management tool, and then create demo tables in it using the "create.sql" script provided with the EntityDAC demo (the script is placed in the "Documents\Devart\EntityDAC\Demos\EntityDemo\Scripts\SQLite\" folder by default).
As it is described in the "Database Connection" article, EntityDAC itself does not contain a database connectivity mechanisms. Therefore, you have to install either Devart Universal Data Access Components or Devart SQLite Data Access Components to be able to provide interaction between EntityDAC and SQLite database.
Run Entity Developer from the EntityDAC menu in RAD Studio.
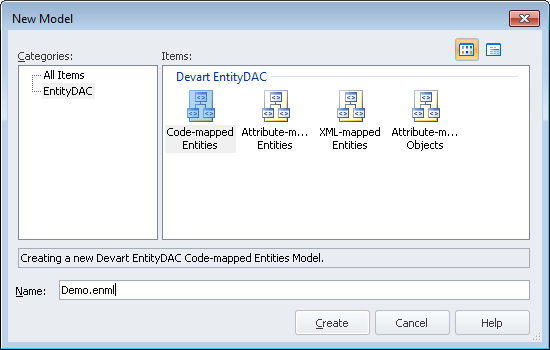
To create a new model in Entity Developer, select menu "File -> New Model".
The first step in the model creating wizard is to choose the type of the model. There are four predefined model types in EntityDAC:
The Code-mapped entities model type is the most intuitive and easy to learn, so let's choose the "Code-mapped entities" model, set the project name to "Demo.odml" and press the "Create" button.
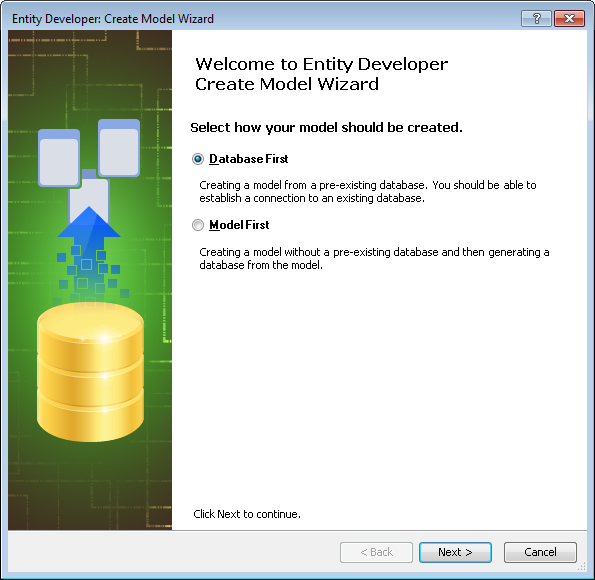
Next, choose the "Database First" creating method.
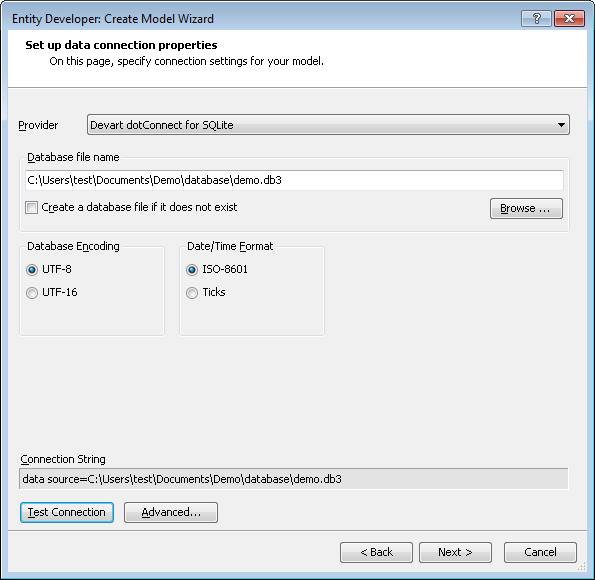
Now, we have to set up the database connection. Select the "Devart dotConnect for SQLIte" provider and specify the path to the "demo.db3" file created on the "Prepare" stage.
In the next step, select the "Generate From Database" option, so we can add database objects to the model automatically instead of creating them manually in the model diagram view.
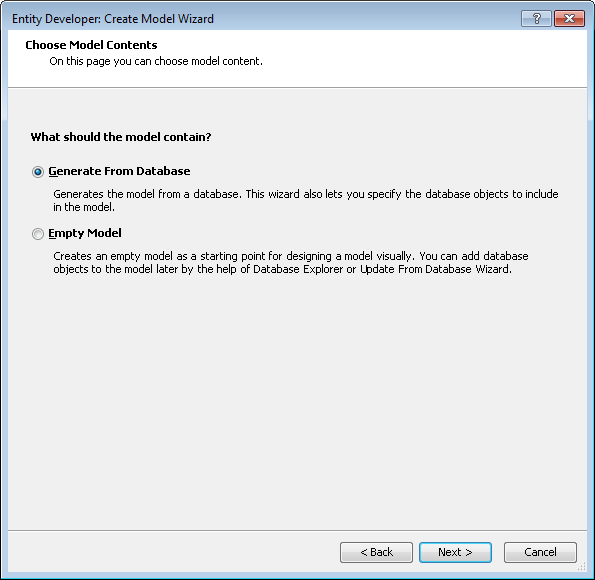
After selecting this option, a list of database objects will be shown, from which we can choose the ones that we want to include to the model.

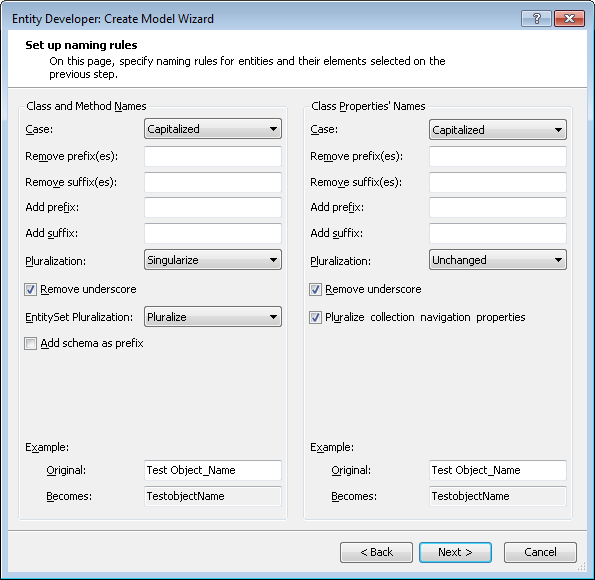
When generating classes, Entity Developer automatically sets names for the classes and their properties depending on the database object names. The next wizard page allows to set up name generating rules. For now, leave the default option values unchanged.
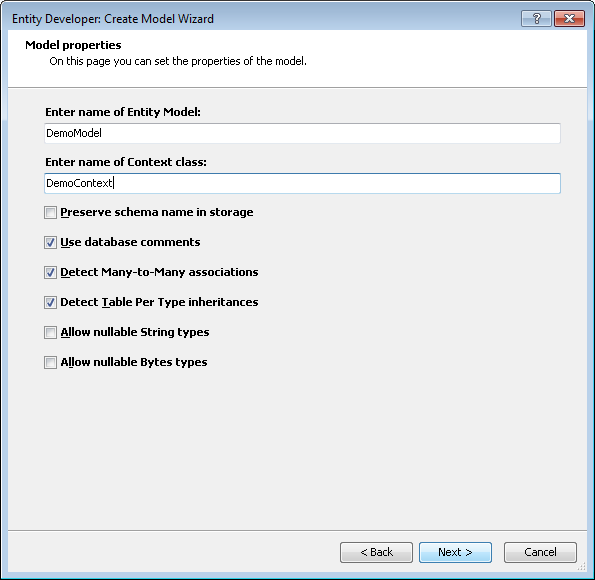
Let's set names for our model and data context. At the next wizard page, set the model name to "DemoModel" and data context name to "DemoContext".
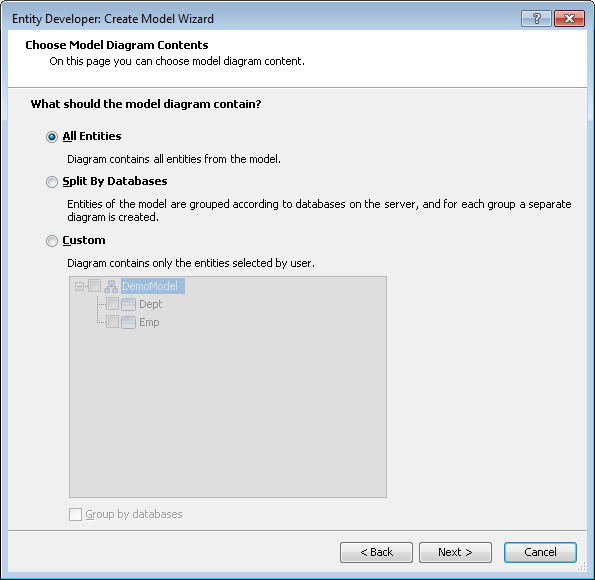
Next page allows to choose the database objects that will be added to the model's diagram view. Leave the "All Entities" option selected.
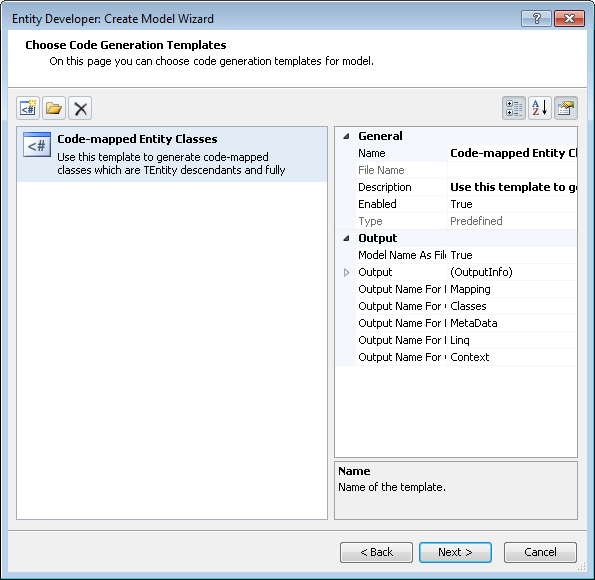
On the "Code Generation Templates" page we can set up the names of the generated files.
For the model type that we have chosen, several different units will be generated:
The name of each unit can be specified on the wizard page. By default, the names are: "Classes", "MetaData", "Linq", "Mapping" and "Context" respectively. Also, when the "Model Name As File Prefix" property is set to True, the model name, which we have set on the Step 7, will be added as a prefix to each file name. So, with the default settings, full file names will be: "DemoModel.Classes.pas", "DemoModel.MetaData.pas", "DemoModel.Linq.pas", "DemoModel.Mapping.pas" and "DemoModel.Context.pas".
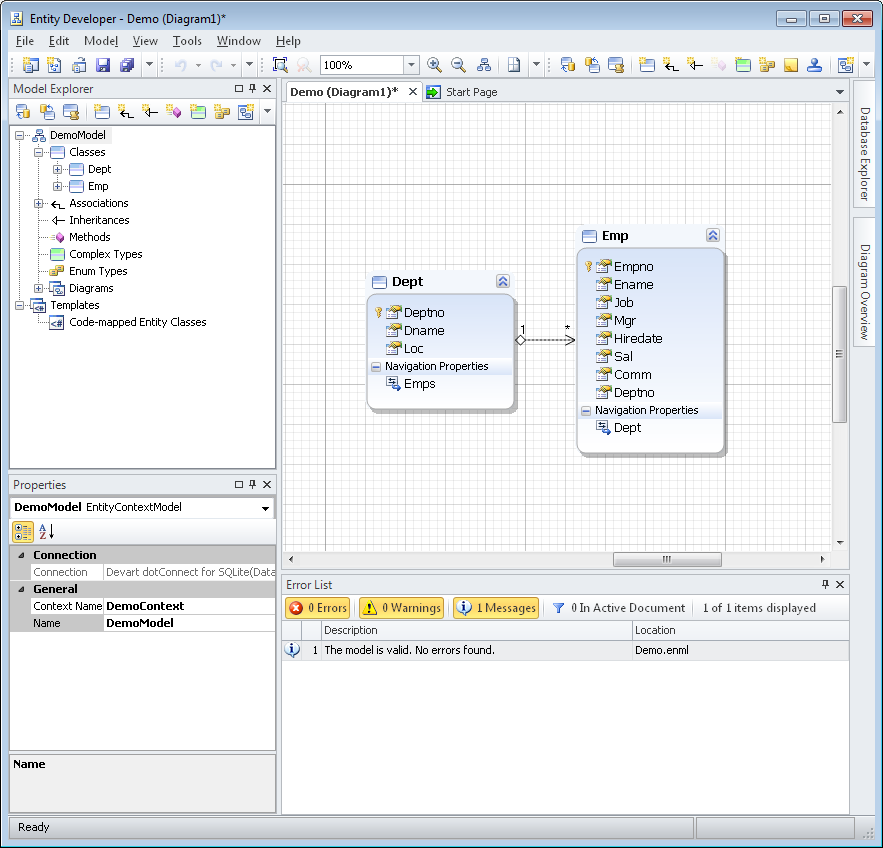
Creating of our model is finished.

After finishing the wizard, the model will be created, and the model's diagram will be shown. About work with the model you can learn in the Entity Developer documentation.
The final step in our tutorial is to generate files. To do this, press the "Generate Code" button (or the F7 key).
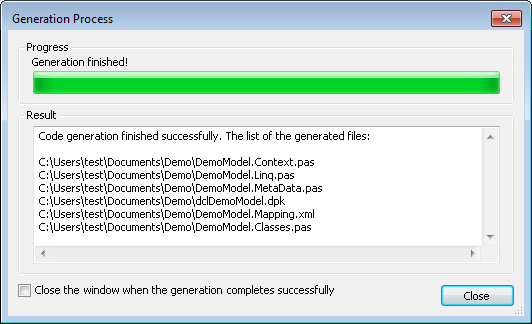
The generated files will be placed to the folder, in which the model project is saved. Now we are ready to move to the next stage - the creation of our test application.