How to import text files to
MySQL/MariaDB databases
Data import is one of the basic yet important operations in database management. What you need here is a selection of formats to choose from, flexible settings for each format, and a handy GUI tool that will help you make the process smooth and efficient. The tool in question is dbForge Studio for MySQL, and the guide that follows will show you how to import a plain text file into a MySQL or MariaDB database.
How GUI tools simplify the import of text data into MySQL
When it comes to importing TXT data into MySQL/MariaDB databases, GUI tools offer the following advantages:
- Ease of use: You don't need deep knowledge of SQL to import data with a helpful wizard at hand. With its help, you can monitor the import process from start to finish and quickly react to potential issues.
- Data visualization: You can easily review the structure and content of a TXT file before importing.
- Configuration: There is a wide range of import settings and options that you can adjust to your needs directly in the wizard.
- Automation: You can save import settings as templates and use them in the future to save your time.
In general, using a GUI for importing TXT files into MySQL/MariaDB significantly facilitates and optimizes the process, making it more accessible and efficient for various user categories.
Import data from a text file into a new MySQL table
In this section, we'll show you how to import the film_text table into the sakila database using dbForge Studio for MySQL.
1. Navigate to Database > Tasks > Import Data.

2. The Data Import Wizard opens. Select Text, click three dots to set the required file.

3. Having selected the file, click Next.

4. On the Destination page, select the required server connection and database. To import the data into a new table, select New table and specify its name. Click Next.

5. On the Options page, configure the formatting options for imported data. To proceed further, click Next.

6. On the Data formats page, you have two auxiliary tabs. The first one is Common Formats, where you can specify the formats for null strings, thousand and decimal separators, boolean variables, date and time. There is also the checkbox Autodetect Date and Time format, selected by default. The second tab is called Column Settings, where you can configure the format settings for separate columns. You have four options here: Null String, Left Quote, Right Quote, and Date and Time. After you have customized all the required settings, click Next.

7. On the Mapping page, map the Source columns to the Target ones. dbForge Studio will automatically create and map all the columns.
See the Target columns at the top and the Source columns at the bottom of the wizard page. Click Source column fields and select the required columns from the drop-down list.
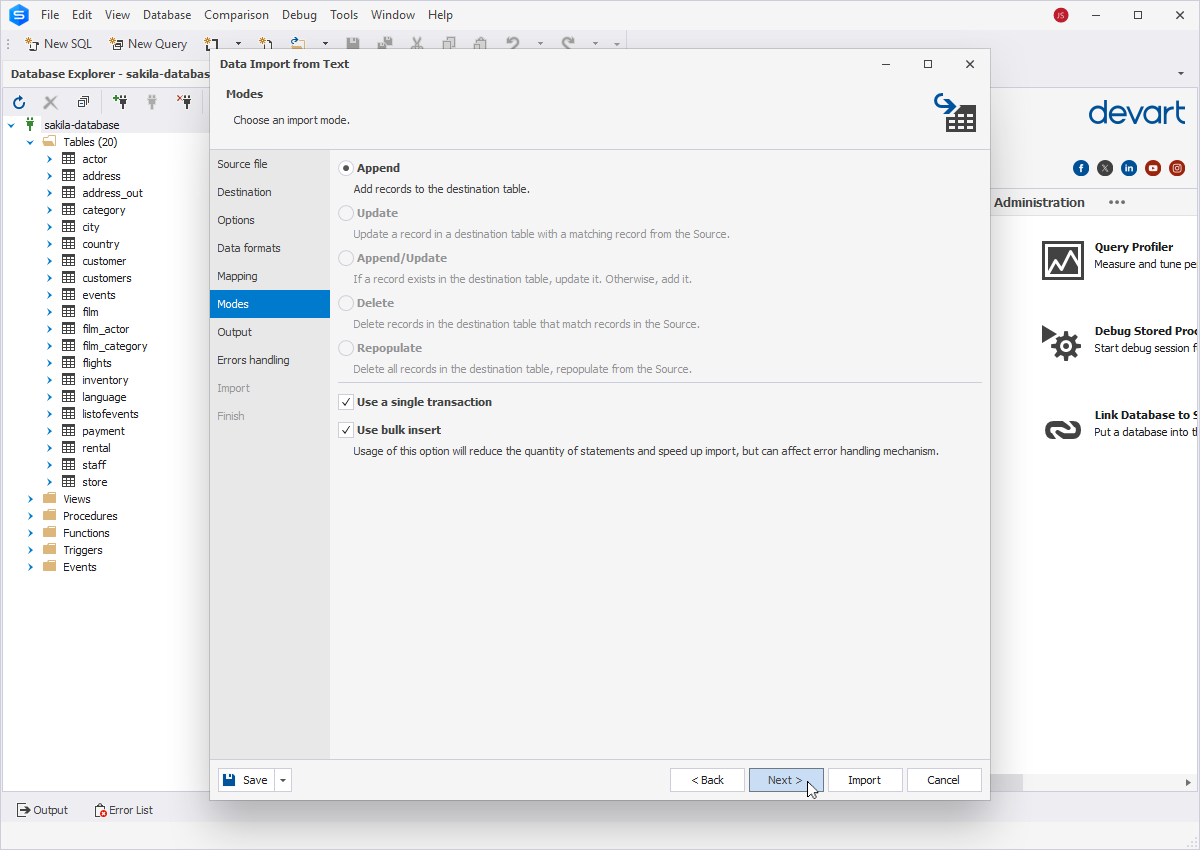
8. On the Modes page, choose one of the five available import modes. You can also clear the additional options Use a single transaction and Use bulk insert, both of which are selected by default. Click Next.
9. On the Output page, set the desired option: open the data import script in the internal editor, save the data import script to a file, or import data directly to the database. Click Next.

10. On the Errors handling page, specify how dbForge Studio should handle errors during import and whether you want to get a log file with details about the import session. Click Import and see the import progress. dbForge Studio will notify you whether the import was completed successfully or failed.

11. To finish the import process and close the wizard, click Finish.

12. Check the imported table in the Database Explorer.

Import data from a text file into an existing MySQL table
Let's import data from the TXT file into the already existing film_text table, which is currently empty.
1. Navigate to Database > Tasks > Import Data.

2. The Data Import Wizard opens. Select Text, click three dots to set the required file.

3. Having selected the file, click Next.

4. To import the data to an existing table, select Existing table, and specify the necessary one. Click Next.

5. On the Options page, configure the formatting options for imported data. To proceed further, click Next.

6. On the Data formats page, you have two auxiliary tabs. The first one is Common Formats, where you can specify the formats for null strings, thousand and decimal separators, boolean variables, date and time. There is also the checkbox Autodetect Date and Time format, selected by default. The second tab is called Column Settings, where you can configure the format settings for separate columns. You have four options here: Null String, Left Quote, Right Quote, and Date and Time. After you have customized all the required settings, click Next.

7. On the Mapping page, map the Source columns to the Target ones. As you are importing data into an existing table, only columns with the same names will be mapped, the rest should be mapped manually. If no columns with the same name are found, they are mapped in succession - the 1st column in Source with the 1st column in Target, etc.
See the Target columns at the top and the Source columns at the bottom of the wizard page. Click Source column fields and select the required columns from the drop-down list.
8. On the Modes page, choose one of the five available import modes. You can also clear the additional options Use a single transaction and Use bulk insert, both of which are selected by default. Click Next.

9. On the Output page, set the desired option: open the data import script in the internal editor, save the data import script to a file, or import data directly to the database. Click Next.

10. On the Errors handling page, specify how dbForge Studio should handle errors during import and whether you want to get a log file with details about the import session. Click Import and see the import progress. dbForge Studio will notify you whether the import was completed successfully or failed.

11. To finish the import process and close the wizard, click Finish.

12. Check the imported data.
Tackle common TXT-to-MySQL import issues
While importing TXT files into MySQL databases, there can be some difficulties that complicate the process and lead to undesirable consequences. This is the list of the most common issues:
Data format and structure
Incompatibility of data formats between TXT files and MySQL can impact the display of information. It is important to ensure that the data structure in files correspond to the structure of databases.
Character encoding
Issues with character encoding can result in the alteration or loss of data during import. It is required to establish the correct encoding to ensure the accurate visualization of textual information.
Line breaks
The presence of incorrect delimiters or line breaks in the rows of TXT files can disrupt the data structure and cause issues during import. This is particularly crucial when working with files created on different operating systems.
Missing columns
If the database schema includes certain columns, but they are absent in TXT files, it can lead to errors or data loss. It is necessary to ensure that all necessary fields are present and correspond to the expected structure.
Large data volumes
Extensive volumes of data can influence the processing and loading of data into databases. Consider the possibility of splitting TXT files into smaller parts or using optimized loading methods.
Access rights
Issues with file or database access rights can hinder the proper execution of the import. It is important to ensure that users have the required permissions.
How to import files of other formats into MySQL databases