SugarCRM is a widely used customer relationship management (CRM) platform known for its robust functionality, flexibility, and high level of customization. It is an enterprise-grade system available both on-premises and in the cloud, designed to meet the needs of businesses of all sizes.
SugarCRM is often used as part of the backend infrastructure for many data-driven applications. With modern development technologies, building such applications has become faster and more efficient. However, one of the main challenges for developers is establishing a stable, secure, and reliable connection to access and manipulate data in SugarCRM from their applications. This tutorial will guide you through the process of connecting to SugarCRM from .NET applications using C# and dotConnect for SugarCRM.
Why dotConnect for SugarCRM?
Easy integration with SugarCRM
dotConnect provides a simple way to connect .NET applications to SugarCRM, enabling access to CRM modules and records without dealing directly with the underlying web service implementation.
Direct access to CRM data with SQL
The provider allows developers to work with SugarCRM entities using standard SQL queries, making it easier to retrieve and manage CRM data without writing complex API requests.
User-friendly ADO.NET classes
dotConnect is built around familiar ADO.NET architecture, allowing standard connections, commands, and data reader classes to interact with CRM data in a .NET programming style.
Advanced ORM support
Support for popular .NET ORM technologies (EF Core, Dapper, and NHibernate) enables easy modeling of SugarCRM entities and simplifies data access.
Full ADO.NET compliance
Implements established ADO.NET provider standards, ensuring predictable behavior and smooth compatibility with existing .NET tools, libraries, and frameworks.
Support & frequent updates
Professional technical support, detailed product documentation, and continuous updates help developers maintain stable integrations with SugarCRM.
Download and activate dotConnect for SugarCRM
You can start using dotConnect for SugarCRM immediately with a 30-day free trial. Choose one of the following options:
using System;
using Devart.Data.Sugar;
namespaceSugarConsoleApp
{
classProgram
{
staticvoidMain(string[] args)
{
string connectionString = "" +
"Host=https://test.sugaropencloud.eu;" +
"User Id=TestUser;" +
"Password=TestPassword;" +
"License Key=**********";
try
{
using (var conn = new SugarConnection(connectionString))
{
conn.Open();
using (var cmd = (SugarCommand)conn.CreateCommand())
{
cmd.CommandText = "SELECT Id, Name FROM Accounts";
using (var reader = cmd.ExecuteReader())
{
int count = 0;
while (reader.Read() && count < 15)
{
Console.WriteLine($"Id: {reader["Id"]}");
Console.WriteLine($"Name: {reader["Name"]}");
Console.WriteLine();
count++;
}
}
}
}
}
catch (Exception ex)
{
Console.WriteLine("Error: " + ex.Message);
}
}
}
}
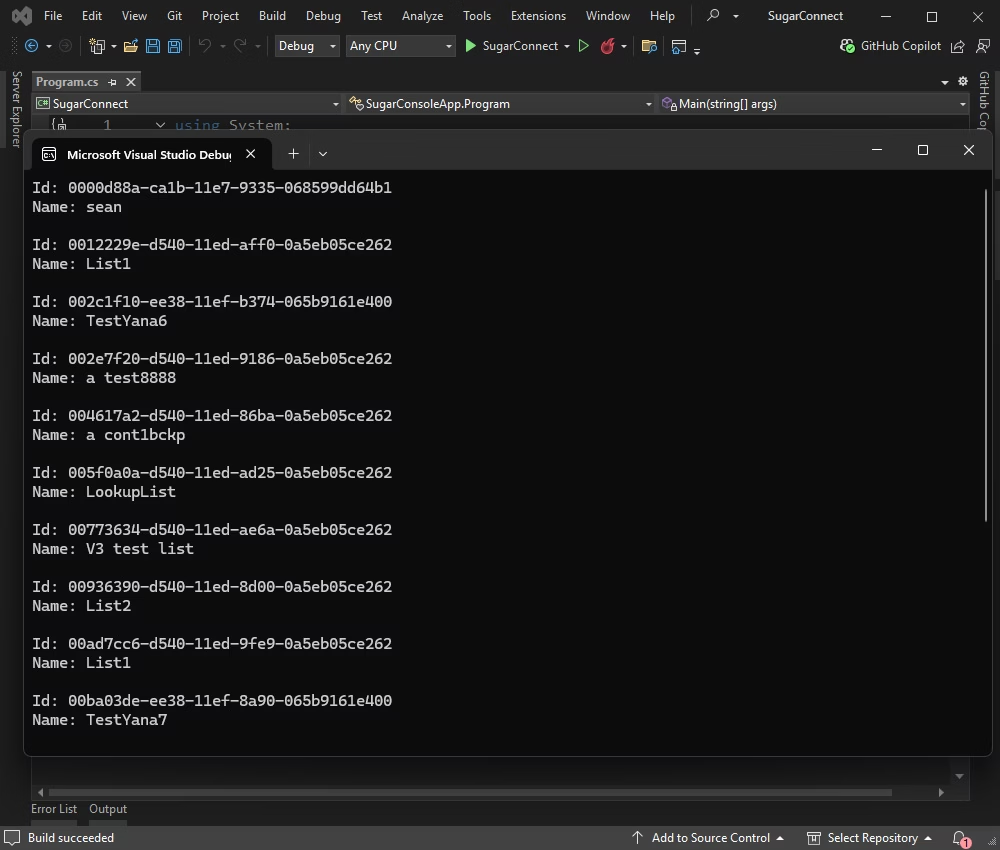
When connected, the application fetches the first eight rows from the role table and displays them in the console.
The following table explains the values used in connection strings.
Name
Description
Server or Host
The login URL to SugarCRM service
User ID
The SugarCRM login account to login with
Password
The password for the SugarCRM login account
License Key
The license key
For detailed information about all valid names for values within the ConnectionString, refer to the official documentation.
Connect using Server Explorer
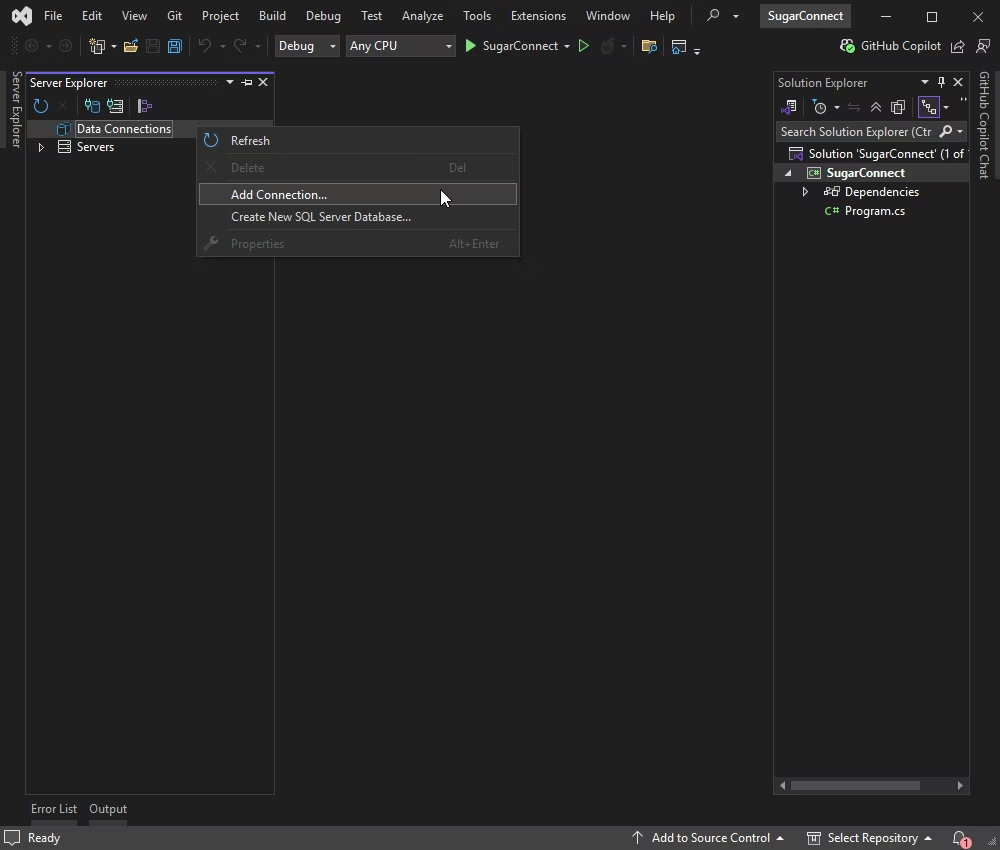
Another option available for connecting to SugarCRM is via the Server Explorer in Visual Studio. Right-click Data Connections and select Add Connection from the context menu.
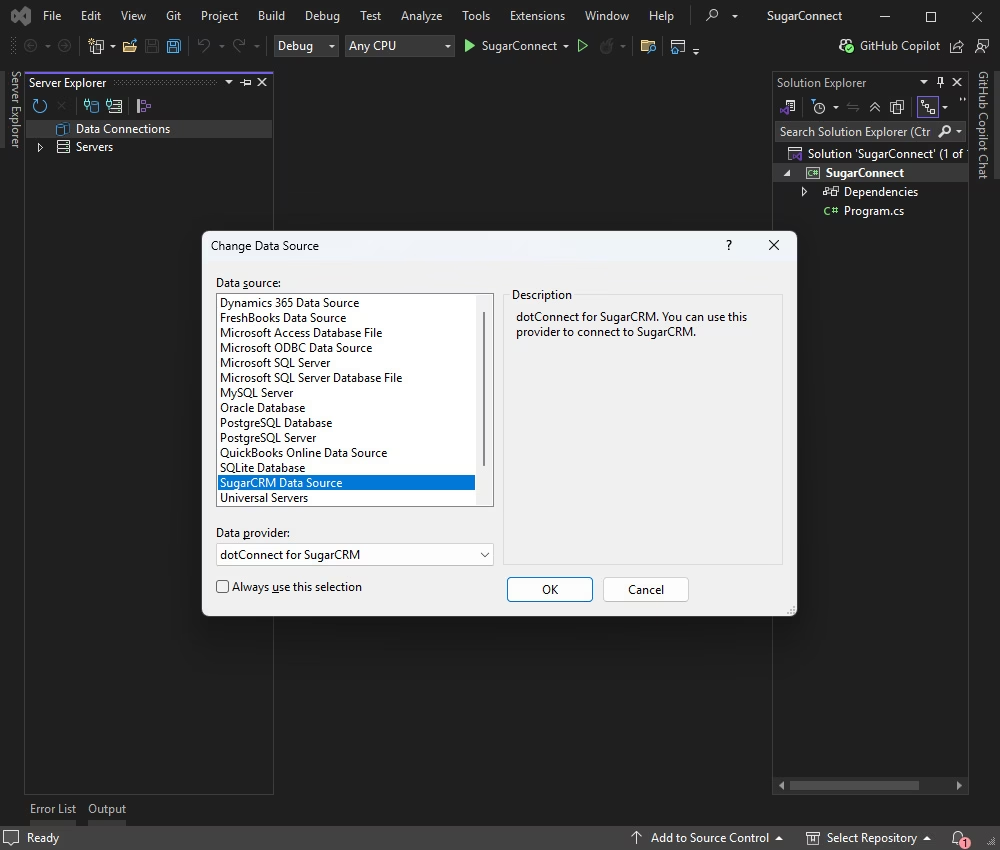
The Change Data Source dialog window opens. Select dotConnect for SugarCRM from the list of data providers.
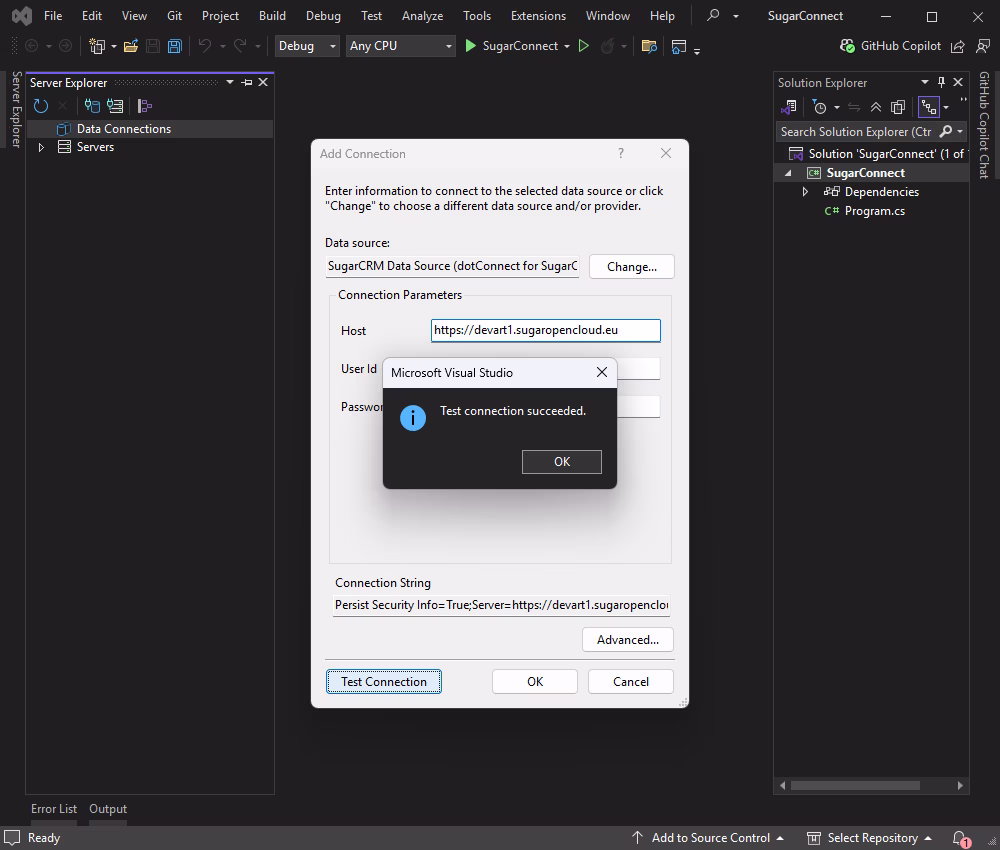
Fill in the required connection properties and click Test Connection to verify them. Now you can connect to SugarCRM.
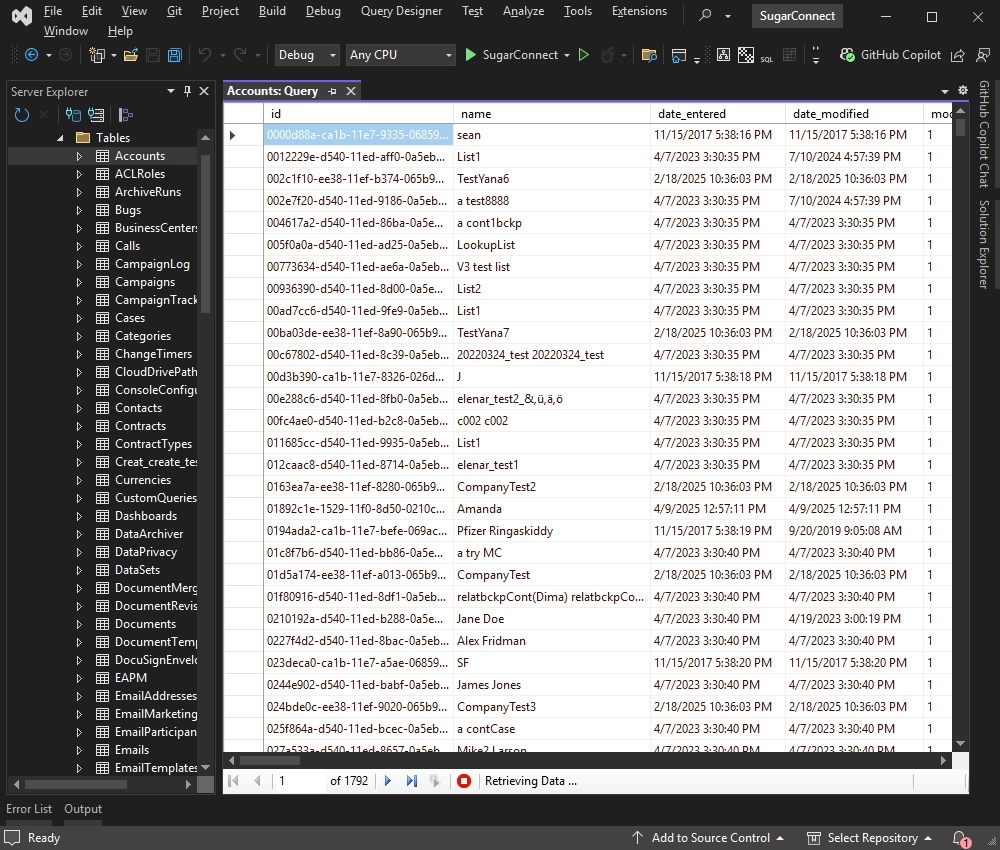
Expand the newly created data connection in the Server Explorer. You can view the data source structure, including all tables and table columns. To display data from a particular table, right-click it and select Retrieve Data from Table. This opens a new query window with a SELECT statement.
Connect with EF Core using Entity Developer
Entity Developer allows you to visually design and generate EF Core models, making database application development faster, easier, and more efficient. If you don't have it already installed, close your Visual Studio instance, download Entity Developer, and install it following the on-screen instructions.
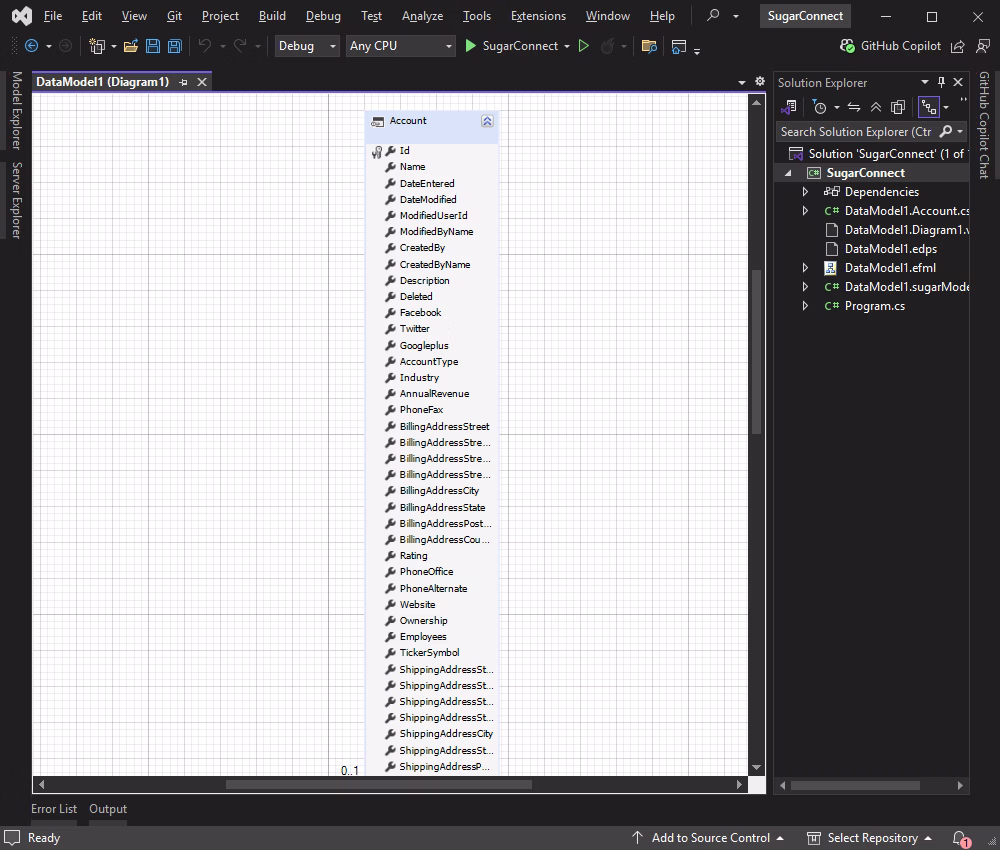
After that, follow the detailed illustrated guide to create your database model using Entity Developer. When this process is complete, the model you created will open. You can start working with it immediately.
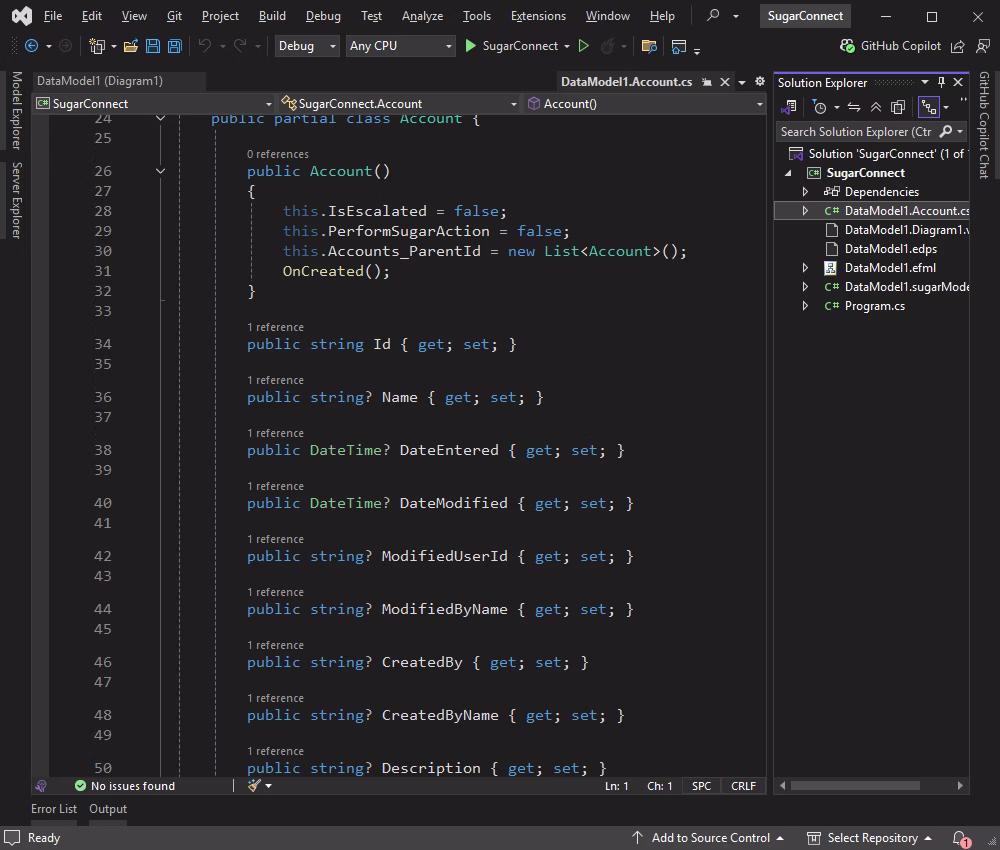
Also, you can see the generated DbContext files in Visual Studio under the model.
To read the SugarCRM data using EF Core, execute the code below.
using SugarConnect;
using Devart.Data.Sugar;
using Microsoft.EntityFrameworkCore;
namespaceSugarConsoleApp
{
classProgram
{
staticvoidMain(string[] args)
{
var optionsBuilder = new DbContextOptionsBuilder();
optionsBuilder.UseSugar(ConfigurationHelper.ConnectionString);
using (var context = new sugarModel(optionsBuilder.Options))
{
var query =
from acc in context.Accounts
orderby acc.Name
select acc;
foreach (var account in query.Take(10).ToList())
{
Console.WriteLine($"{account.Id} | {account.Name}");
}
}
Console.ReadLine();
}
}
}
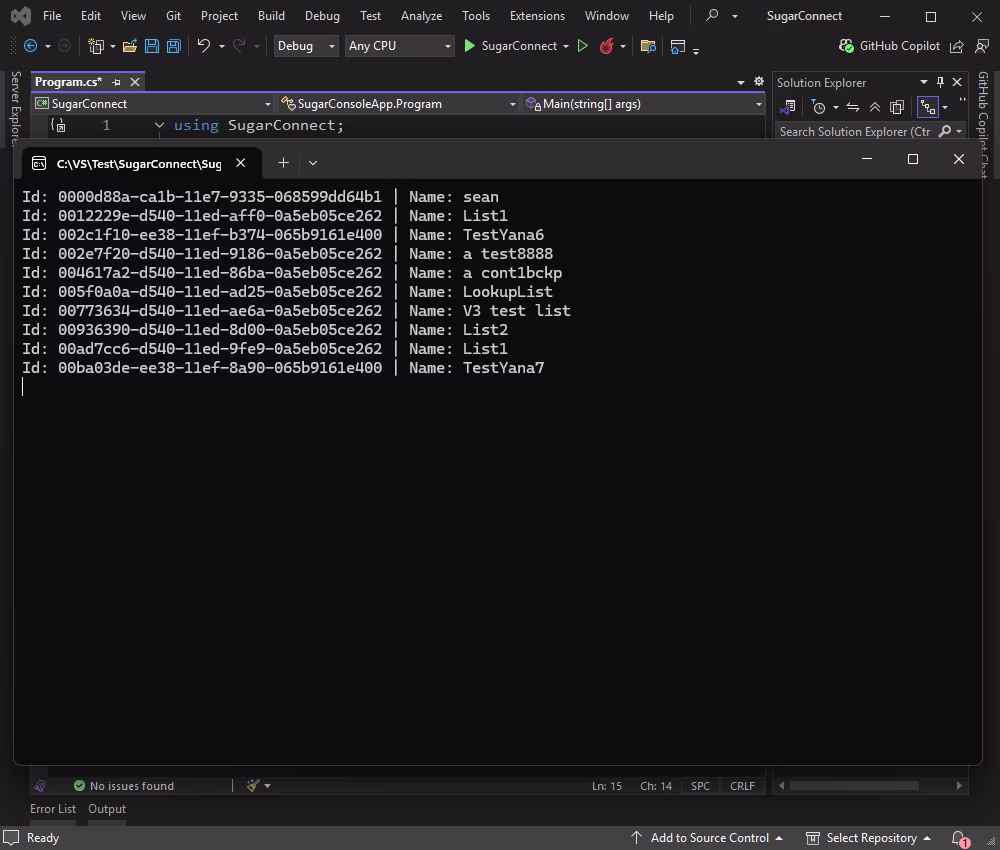
You can view the result in your console application.
Connect with EF Core using Scaffold-DbContext
One more connection method you can use to access your SugarCRM data is via Entity Framework Core (EF Core) and the Scaffold-DbContext command. We will generate the necessary EF Core model classes and DbContext based on the existing database schema.
First of all, let us install the required NuGet packages via the Solution Explorer in Visual Studio as described earlier:
After that, open the Package Manager Console: Tools > NuGet Package Manager > Package Manager Console and run the following command to scaffold the DbContext and entity classes from your data source. Ensure to replace the connection string with your actual connection details.
Notice that the -OutputDir Models parameter specifies the output directory to store the generated model classes (in this case, it is Models).
After running the scaffold command, EF Core will generate the DbContext class and entity classes in the specified output directory. Review the generated code and check how it matches your database schema.
Conclusion
This tutorial has demonstrated several methods for connecting to SugarCRM and accessing its data. You can choose the approach that best fits your project requirements and development scenarios when building applications that use SugarCRM as part of their backend.
dotConnect for SugarCRM provides a fast and straightforward way to establish a connection, while Entity Developer allows you to visually design data models and take full advantage of popular ORM frameworks with ease.
Both dotConnect for SugarCRM and Entity Developer offer fully functional free trials, allowing you to integrate them into your workflow and evaluate their capabilities firsthand.
FAQ
How do you install and activate dotConnect for SugarCRM in a .NET project?
Install dotConnect for SugarCRM either by running the Windows installer (EXE) or by adding the Devart.Data.Sugar NuGet package to your .NET project. Then, retrieve your activation key from the Devart Customer Portal and specify it in your connection string by using the License key parameter to activate the provider and connect successfully.
How do you create a connection to SugarCRM using dotConnect in C#?
Define a connection string that includes the URL of your SugarCRM instance, User ID, Password, and the License Key. Then create a SugarConnection instance with this string and call Open() inside a TRY-CATCH block to test and handle possible errors.
Can you query SugarCRM data using SQL with dotConnect?
Yes, dotConnect allows you to access SugarCRM modules using SQL queries. You can retrieve and work with entities such as Accounts, Contacts, and Leads using familiar SQL statements.
Can you connect to SugarCRM using Entity Framework Core and dotConnect?
Yes, you can either use Entity Developer to visually create an EF Core model from the database based on SugarCRM modules or run Scaffold-DbContext with the Devart.Data.SugarCRM.EFCore package and a dotConnect connection string (including License Key) to create the DbContext and entity classes.
Does dotConnect for SugarCRM use standard ADO.NET classes?
Yes, the provider uses standard ADO.NET classes, allowing developers to interact with SugarCRM data using familiar .NET data access patterns such as connections, commands, and data readers.
Is it possible to explore SugarCRM data in Visual Studio Server Explorer with dotConnect?
Yes, you can use Visual Studio Server Explorer. Add a new Data Connection, select dotConnect for SugarCRM as the provider, enter your SugarCRM instance URL and credentials, test the connection, and browse CRM modules directly from the IDE.
I'm a technical content writer who loves breaking complex tech topics into clear and helpful content that's enjoyable to read. With a solid writing background and growing skill in software development and database tools, I create content that's accurate, easy to follow, and genuinely useful. When I'm not writing, you'll probably find me learning something new or sweating it out at the gym.