SQL Server is one of the most widely adopted relational database management systems for enterprise environments. It is commonly used to store, manage, and retrieve structured data for a wide range of applications, from internal business tools to large-scale, data-driven web platforms. For C# developers working within the .NET ecosystem, the ability to interact efficiently with SQL Server is a fundamental skill.
With this guide, you will learn how to establish a connection to a SQL Server database using .NET, execute queries, and perform essential data operations such as retrieving, inserting, updating, and deleting records. All examples are implemented using clear and concise C# code, making it easy to understand the core concepts and adapt them to your own projects.
Why dotConnect for SQL Server?
No client libraries required
Connect to SQL Server directly via TCP/IP without installing SQL Server client software.
Full ADO.NET compliance
Use familiar ADO.NET interfaces and components for smooth integration and predictable behavior.
Broad compatibility
Supports .NET Framework, .NET Core, and .NET 5/6/7+ across all major versions of SQL Server.
Secure and stable
Supports encrypted connections and security testing to meet enterprise standards.
IDE integration
Features native integration with Visual Studio and complete design-time support.
Support & frequent updates
Includes priority support, detailed documentation, and regular updates for continuous improvement.
Download and activate dotConnect for SQL Server
You can start using dotConnect for SQL Server immediately with a 30-day free trial. Choose one of the following installation options:
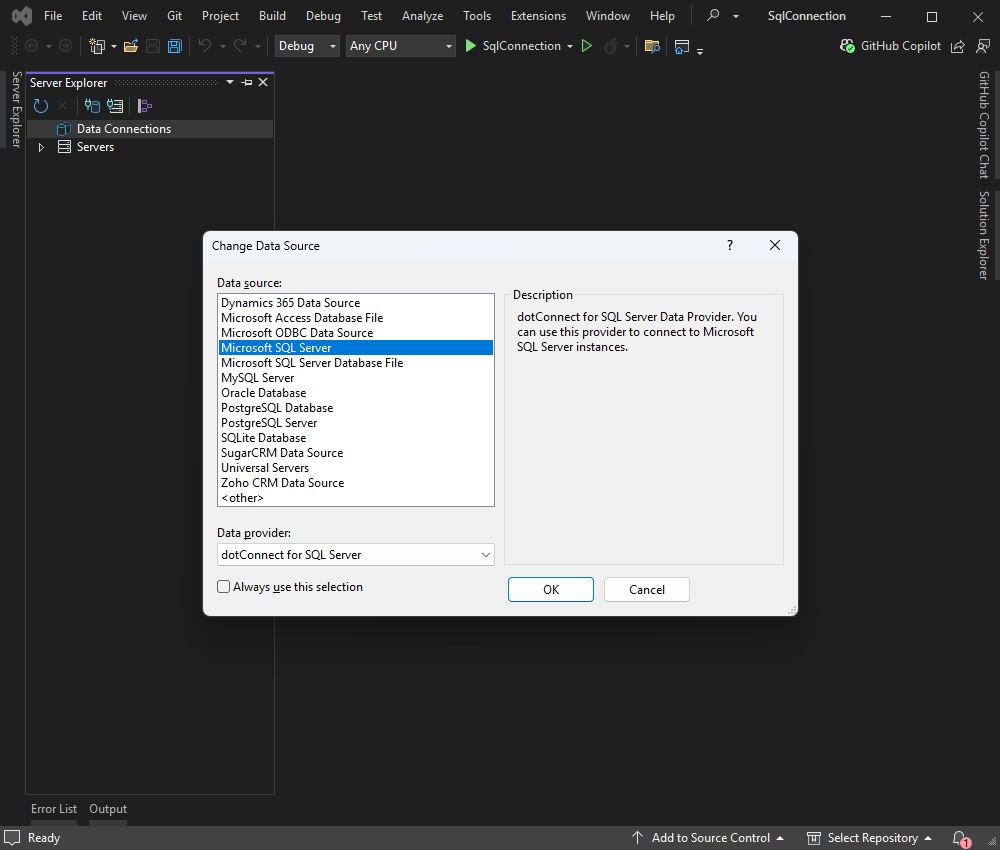
Connect to SQL Server using the built-in Data Explorer in Visual Studio. Click Tools, select Connect to Database, and choose Microsoft SQL Server.
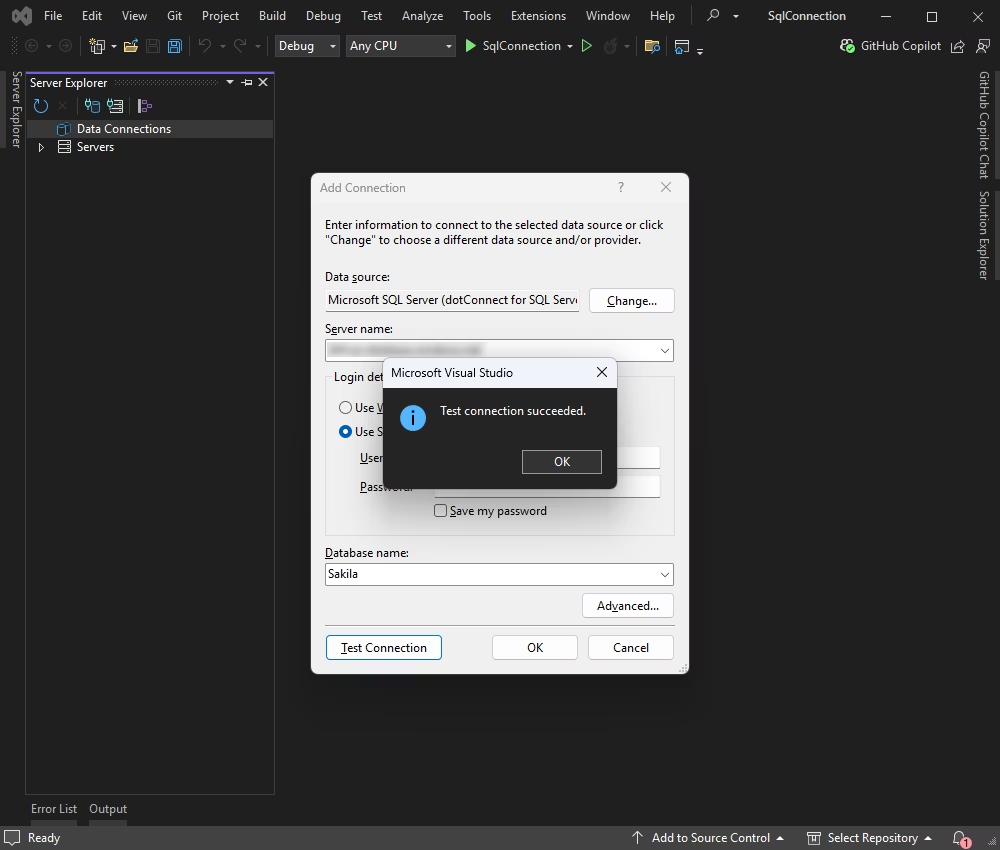
Enter your server details and credentials. Then click Test Connection.
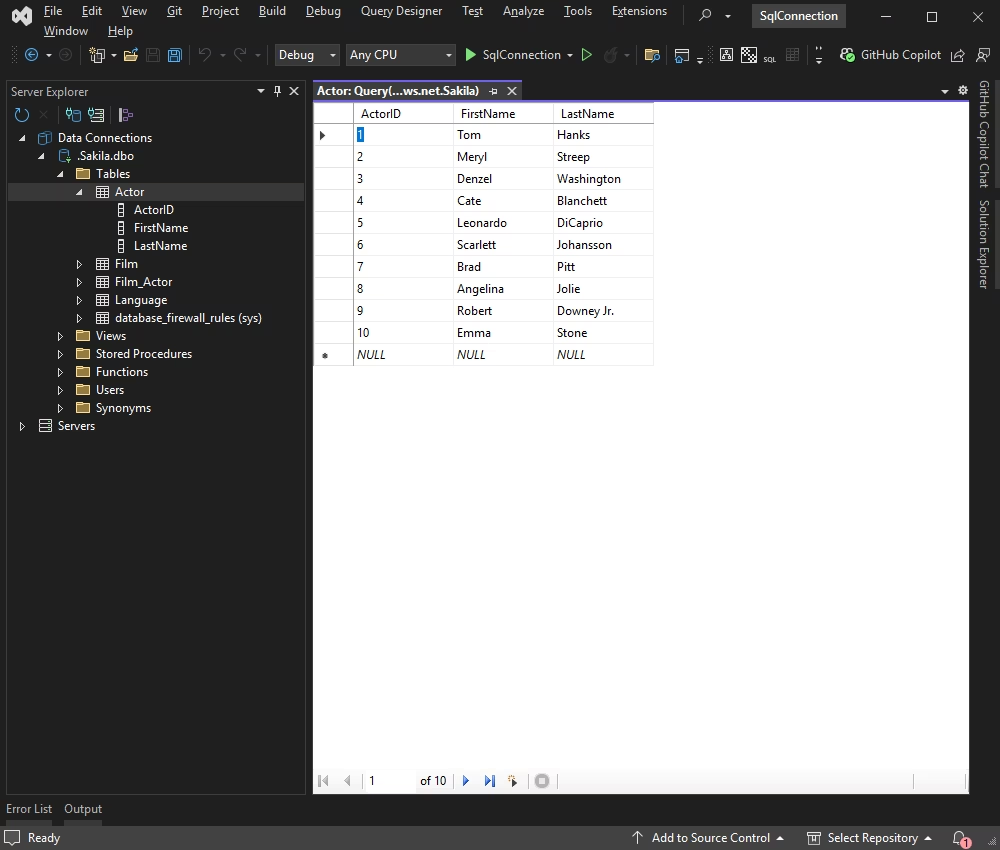
Once connected, you can browse tables, execute queries, and manage data directly within the Data Explorer.
Connect to the database and retrieve data
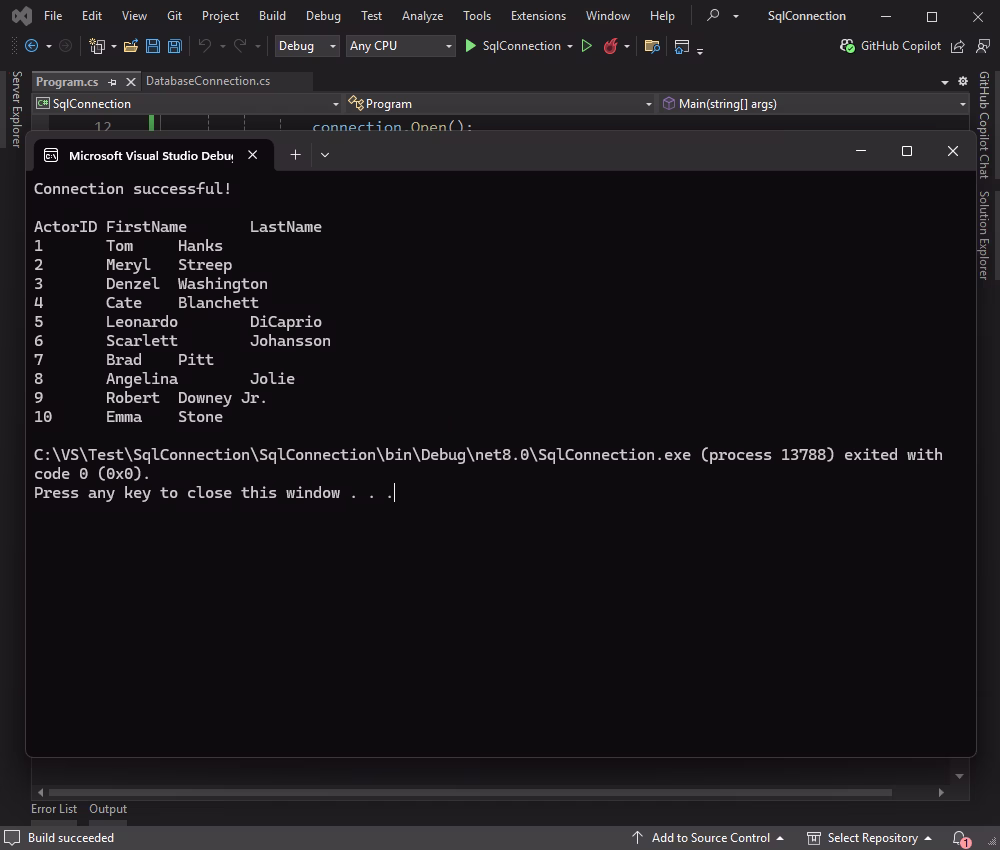
At this stage, you can connect to the SQL Server database and run a simple SELECT query to retrieve some data. This way you can confirm that the application is connected properly and can pull data from the database.
Create DatabaseConnection.cs (connection strings)
The DatabaseConnection.cs class keeps the connection details separate for better maintainability.
using System;
using Devart.Data.SqlServer;
publicsealedclassProgram
{
publicstaticvoidMain(string[] args)
{
try
{
using (SqlConnection connection = DatabaseConnection.CreateConnection())
{
connection.Open();
Console.WriteLine("Connection successful!");
conststring sql = "INSERT INTO actor (FirstName, LastName) VALUES ('John', 'Doe'); SELECT * FROM actor WHERE ActorID = SCOPE_IDENTITY();";
using (SqlCommand command = new SqlCommand(sql, connection))
using (var reader = command.ExecuteReader())
{
if (reader.Read())
{
int actorId = reader.GetInt32(reader.GetOrdinal("ActorID"));
string firstName = reader.GetString(reader.GetOrdinal("FirstName"));
string lastName = reader.GetString(reader.GetOrdinal("LastName"));
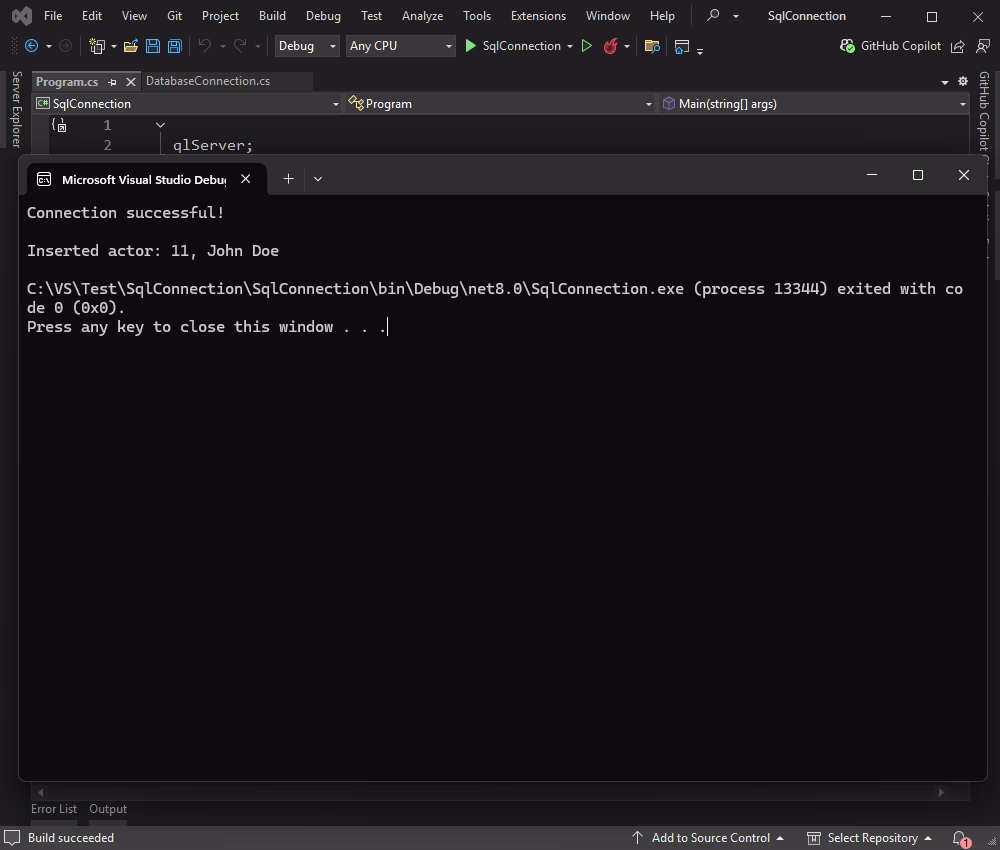
Console.WriteLine("Inserted actor: " + actorId + ", " + firstName + " " + lastName);
}
else
{
Console.WriteLine("No actor was inserted or found.");
}
}
}
}
catch (Exception ex)
{
Console.WriteLine("An error occurred: " + ex.Message);
}
}
}
Check the results in the application.
Update rows in SQL Server
Next, update an existing record. For that, you should modify a row by changing values in one or more columns. Here is the code used to apply updates from within your C# application.
using System;
using Devart.Data.SqlServer;
publicsealedclassProgram
{
publicstaticvoidMain(string[] args)
{
try
{
using (SqlConnection connection = DatabaseConnection.CreateConnection())
{
connection.Open();
Console.WriteLine("Connection successful!");
conststring sql = "UPDATE actor SET FirstName = 'Jane', LastName = 'Smith' WHERE ActorID = 11; SELECT * FROM actor WHERE ActorID = 11;";
using (SqlCommand command = new SqlCommand(sql, connection))
using (var reader = command.ExecuteReader())
{
if (reader.Read())
{
int actorId = reader.GetInt32(reader.GetOrdinal("ActorID"));
string firstName = reader.GetString(reader.GetOrdinal("FirstName"));
string lastName = reader.GetString(reader.GetOrdinal("LastName"));
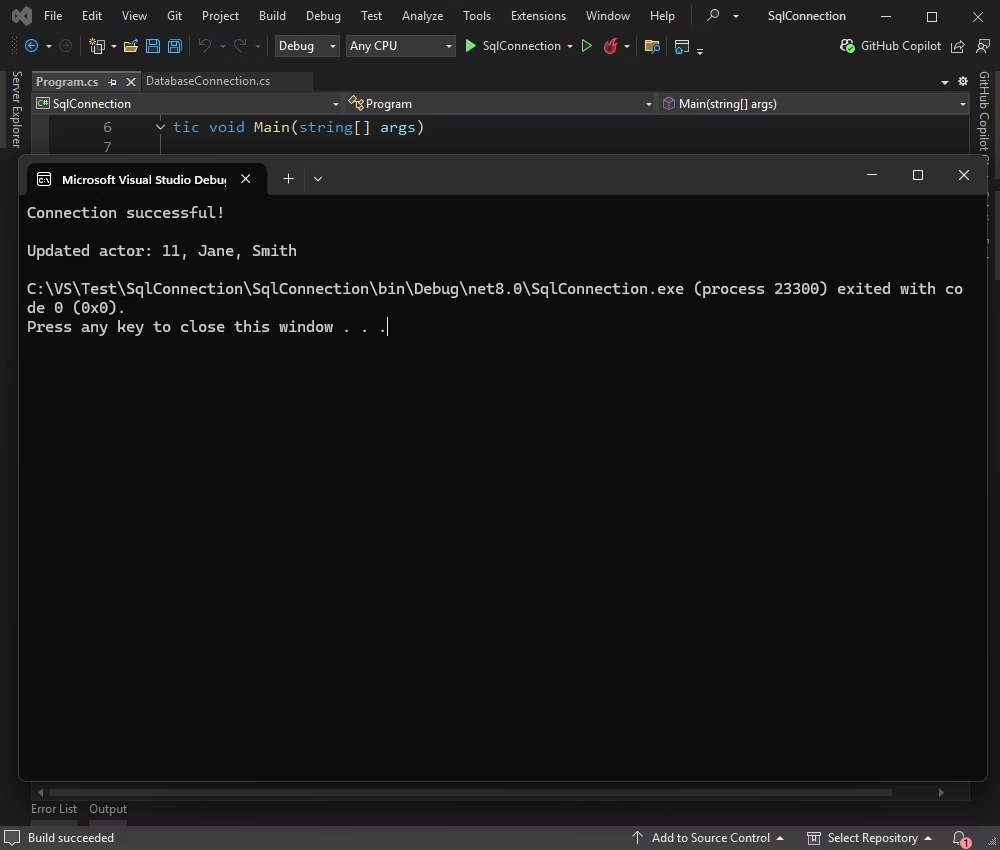
Console.WriteLine(
"Updated actor: " + actorId +
", " + firstName +
", " + lastName
);
}
else
{
Console.WriteLine("No actor was inserted or found.");
}
}
}
}
catch (Exception ex)
{
Console.WriteLine("An error occurred: " + ex.Message);
}
}
}
Verify the results in the application.
Delete rows in SQL Server
To complete the data cycle, delete the previously added row. This section shows how to use a simple DELETE command to remove data from the SQL Server table in your application.
using System;
using Devart.Data.SqlServer;
publicsealedclassProgram
{
publicstaticvoidMain(string[] args)
{
try
{
using (SqlConnection connection = DatabaseConnection.CreateConnection())
{
connection.Open();
Console.WriteLine("Connection successful!");
conststring sql = "DELETE FROM actor WHERE ActorID = 11;";
using (SqlCommand command = new SqlCommand(sql, connection))
{
int rowsAffected = command.ExecuteNonQuery();
if (rowsAffected > 0)
{
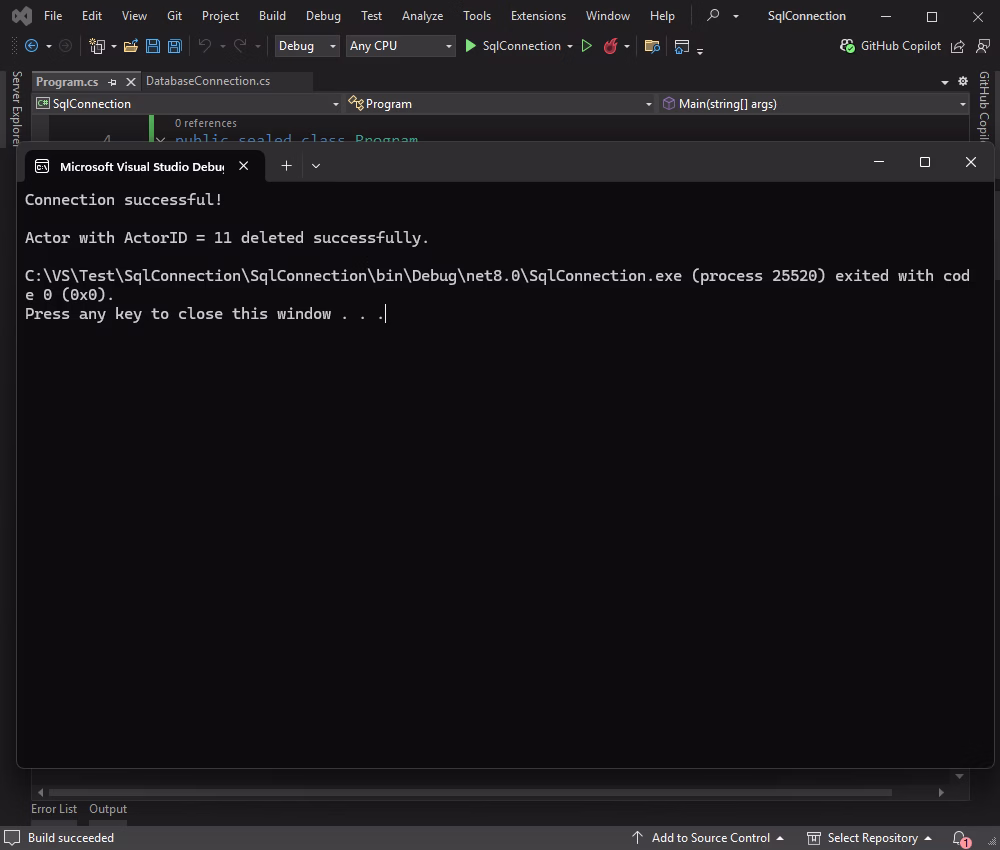
Console.WriteLine("Actor with ActorID = 11 deleted successfully.");
}
else
{
Console.WriteLine("No actor found with ActorID = 11.");
}
}
}
}
catch (Exception ex)
{
Console.WriteLine("An error occurred: " + ex.Message);
}
}
}
The output in the application confirms that the operation has been successful.
Conclusion
You have completed the workflow for connecting to SQL Server and performing core data operations in .NET. From this, you can move further, implement advanced queries, develop data-driven user interfaces, and integrate your app with external APIs or services.
dotConnect for SQL Server is a data provider designed to simplify interactions with SQL Server databases from .NET applications. It provides direct connectivity, supports standard and advanced data access patterns, and helps resolve common issues related to connection management and data retrieval.
To evaluate its functionality, you can download and use the fully functional trial version of dotConnect for SQL Server in your development environment.
FAQ
How do you install and activate dotConnect for SQL Server in a .NET project?
Install dotConnect for SQL Server via the EXE installer or by adding the Devart.Data.SqlServer NuGet package to your project, then obtain your personal activation key from your Devart Customer Portal and include it in the connection string via the License key parameter for a working connection.
How do you create a connection to SQL Server using dotConnect in C#?
Define a connection string that includes host, user ID, password, database, and the License Key value, then create a SqlConnection instance with this string and call Open() inside a try-catch block to test and handle connection errors.
How do you enable encryption for secure SQL Server connections with dotConnect?
Use SQL Server Native Network Encryption by configuring encryption in the sqlnet.ora file on both client and server sides. No special parameters are required in the connection string.
Is it possible to connect to SQL Server using Visual Studio Server Explorer with dotConnect?
Yes, add a new Data Connection in Server Explorer, select dotConnect for SQL Server as the provider, enter your credentials, test the connection, and browse SQL Server data directly in Visual Studio.
I'm a technical content writer who loves breaking complex tech topics into clear and helpful content
that's enjoyable to read. With a solid writing background and growing skill in software development and
database tools, I create content that's accurate, easy to follow, and genuinely useful. When I'm not
writing, you'll probably find me learning something new or sweating it out at the gym.