Connecting Excel to SQL Server
Devart Excel Add-in for SQL Server allows you to connect Excel to SQL Server databases, retrieve and load live SQL Server data to Excel, and then modify these data and save changes back to SQL Server. Here is how you can connect Excel to SQL Server and load SQL Server data to Excel in few simple steps.
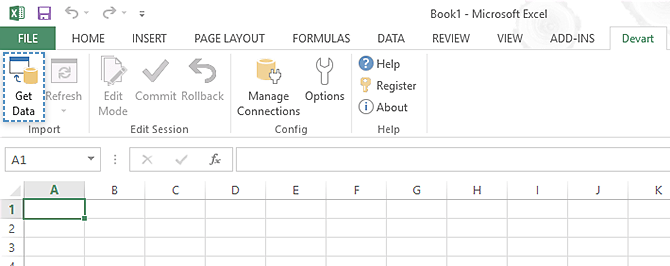
To start linking Excel to SQL Server, on the ribbon, click the DEVART tab and then click the Get Data button. This will display the Import Data wizard, where you need to create Excel SQL Server connection and configure query for getting data from SQL Server to Excel:
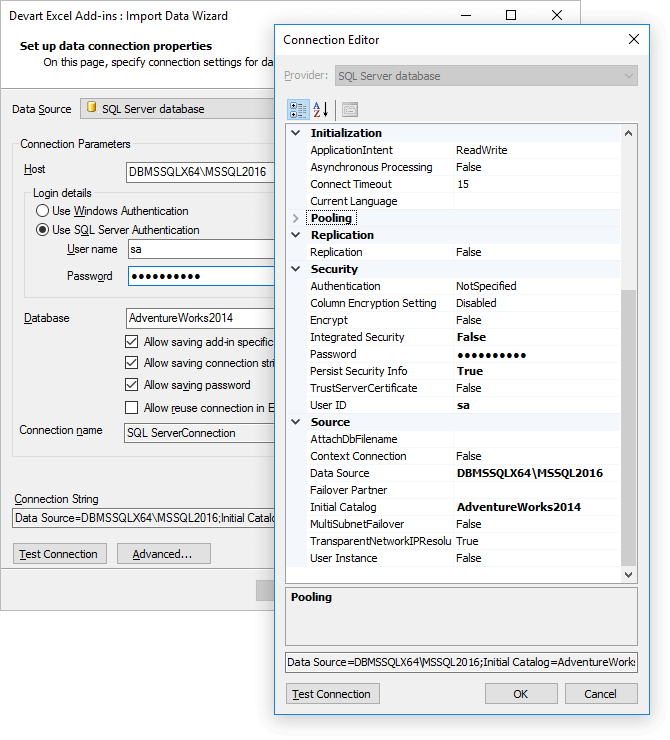
1. Specify Connection Parameters
In the Connection Editor dialog box, you need to enter the necessary connection parameters:
- Login details - select whether to use Windows authentication or SQL Server authentication. In the latter case you need to enter your SQL Server user name and password.
- User name - your SQL Server user name. Required only for SQL Server authentication.
- Password - your SQL Server password. Required only for SQL Server authentication.
- Database - the name of SQL database to connect to Excel.
If you need to configure your Excel SQL Server connection in more details, you can optionally click the Advanced button and configure advanced connection parameters. There you can configure connection encryption, resiliency parameters, etc.
To check whether you have connected Excel to SQL Server correctly, click the Test Connection button.
2. Select whether to Store Connection in Excel Workbook
You may optionally change settings how the connection and query data are stored in the Excel workbook and in Excel settings:
- Allow saving add-in specific data in Excel worksheet - clear this check box in case you don't want to save any Excel add-in specific data in the Excel worksheet - connections, queries, etc. In this case, if you want to reload data from SQL Server to Excel or save modified data back to SQL Server, you will need to reenter both the connection settings and query.
- Allow saving connection string in Excel worksheet - clear this check box if you want your SQL Server connection parameters not to be stored in the Excel. In this case you will need to reenter your connection settings each time you want to reload SQL Server data or modify and save them to SQL Server. However, you may share the Excel workbook, and nobody will be able to get any connection details from it.
- Allow saving password - it is recommended to clear this check box. If you don't clear this check box, all the connection settings, including your SQL Server password, will be stored in the Excel workbook. And anyone having our Excel Add-in for SQL Server and the workbook will be able to link Excel to the SQL Server, get data from it, and modify them. But in this case you won't need to reenter anything when reloading data from SQL Server to Excel or saving them to SQL Server.
- Allow reuse connection in Excel - select this check box if you want to save this connection on your computer and reuse it in other Excel workbooks. It does not affect saving connection parameters in the workbook itself. You need to specify the connection name, and after this you will be able to simply select this connection from the list
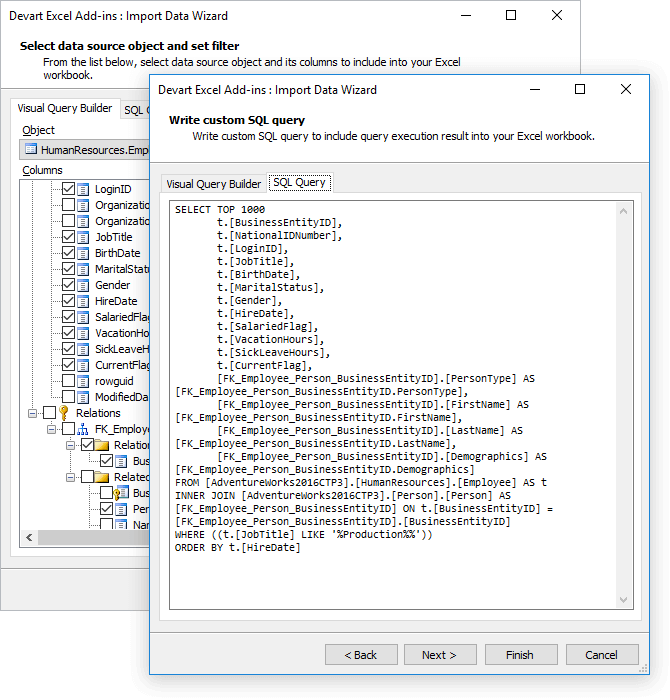
3. Configure Query to Get Data
To export data from Salesforce to Excel, you may either use Visual Query Builder to configure a query visually, or switch to the SQL Query tab and type the SQL Query. To configure query visually, do the following:
In the Object list select the SQL Server table to load its data to Excel.
In the tree below clear check boxes for the columns you don't want to import data from.
Optionally expand the relation node and select check boxes for the columns from the tables referenced by the current table's foreign keys to add them to the query.
In the box on the right you may optionally configure the filter conditions and ordering of the imported data and specify the max number of rows to load from SQL Server to Excel. For more information on configuring the query you may refer to our documentation, installed with the Excel Add-ins.
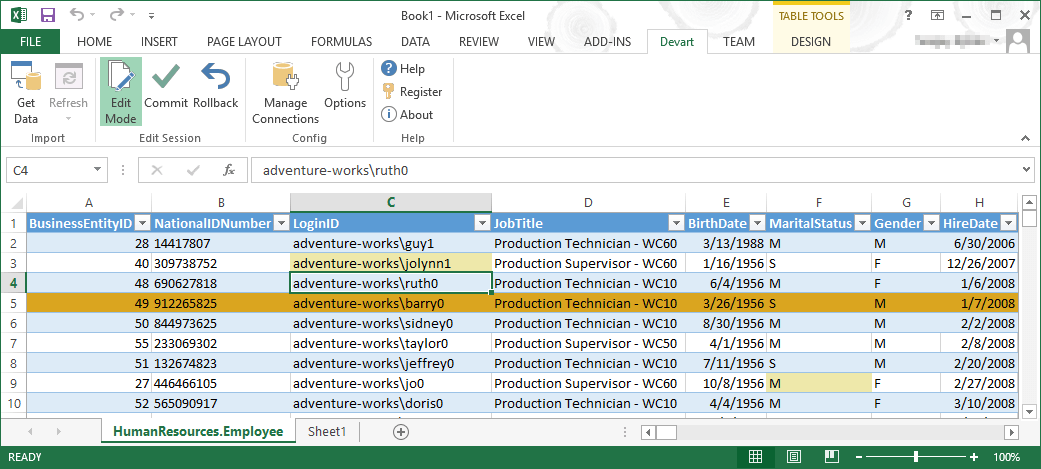
After specifying the query, you may optionally click Next and preview some of the first returned rows. Or click Finish and start data loading.