Compare SQL Server Schemas
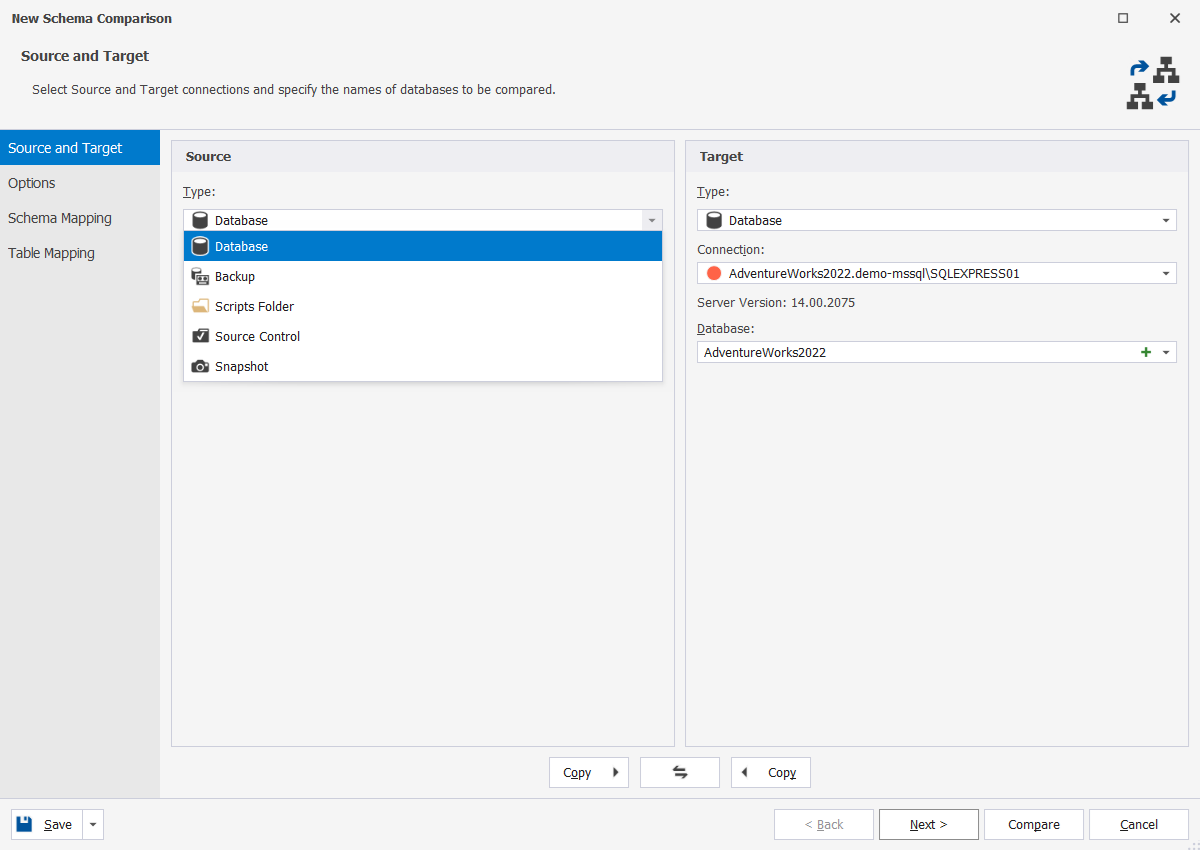
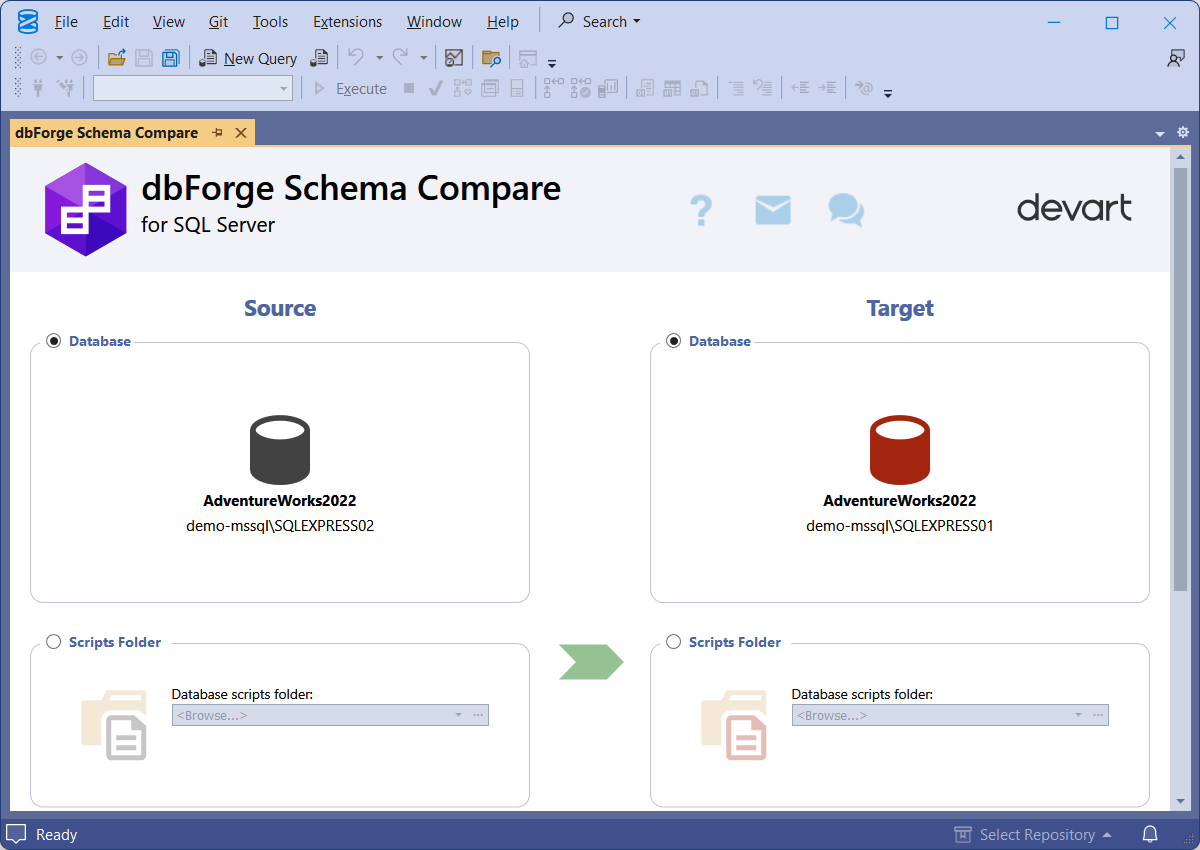
dbForge Schema Compare for SQL Server is a reliable database schema comparison tool that saves you time and effort when comparing and synchronizing SQL Server databases. Schema Compare allows you to work with live SQL Server databases, snapshots, script folders, and native backups.
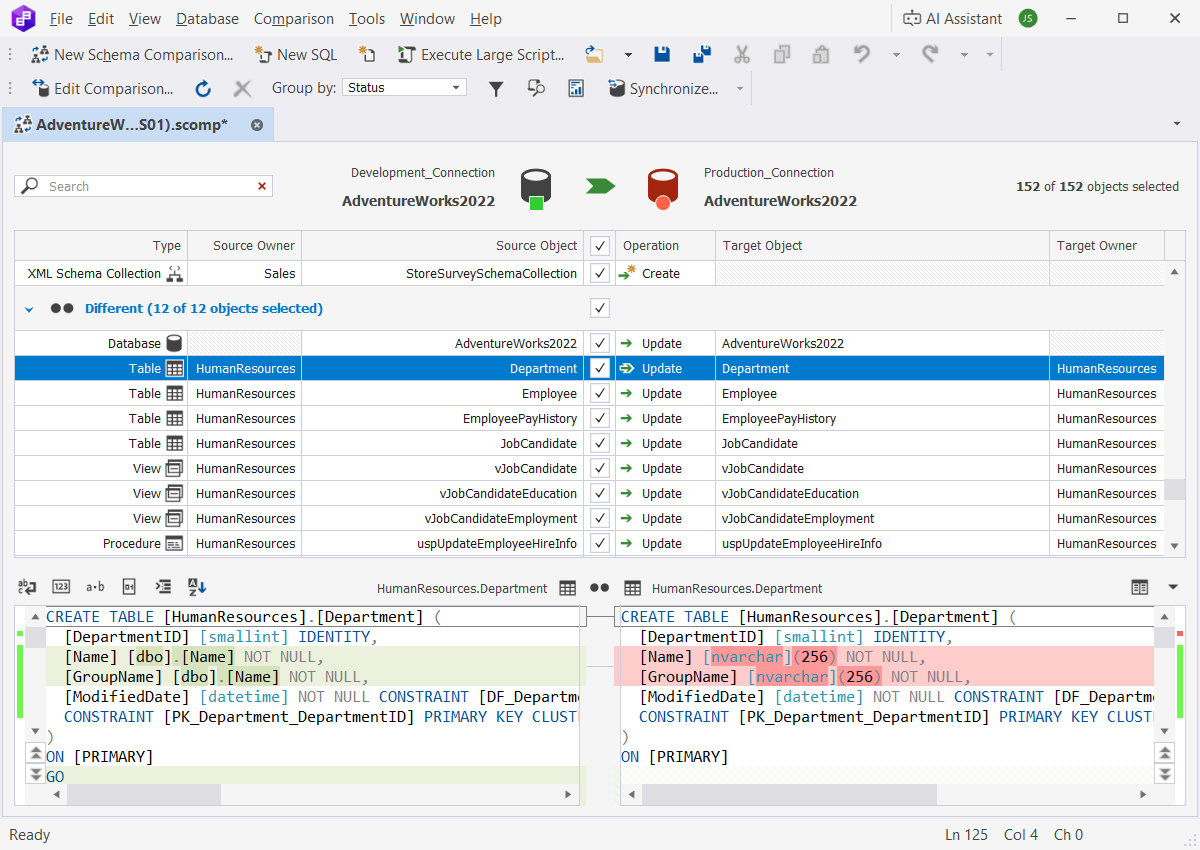
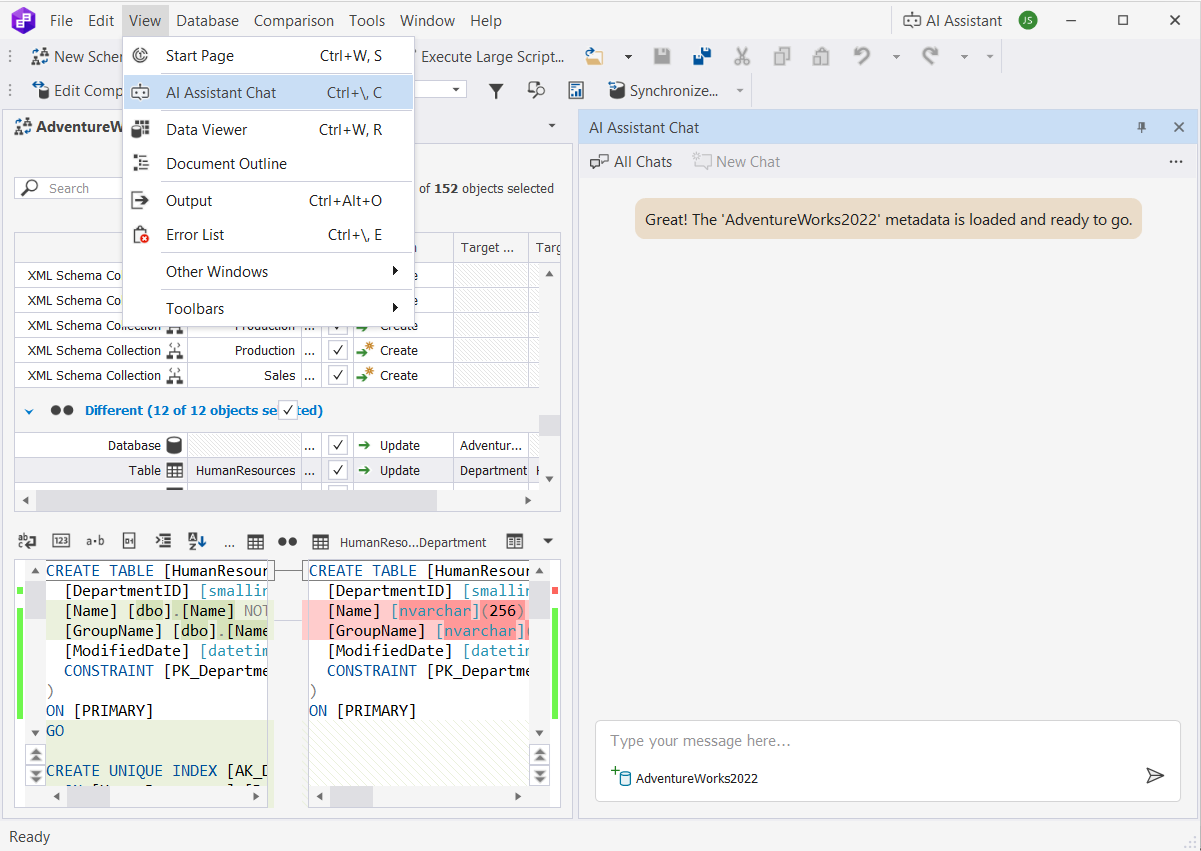
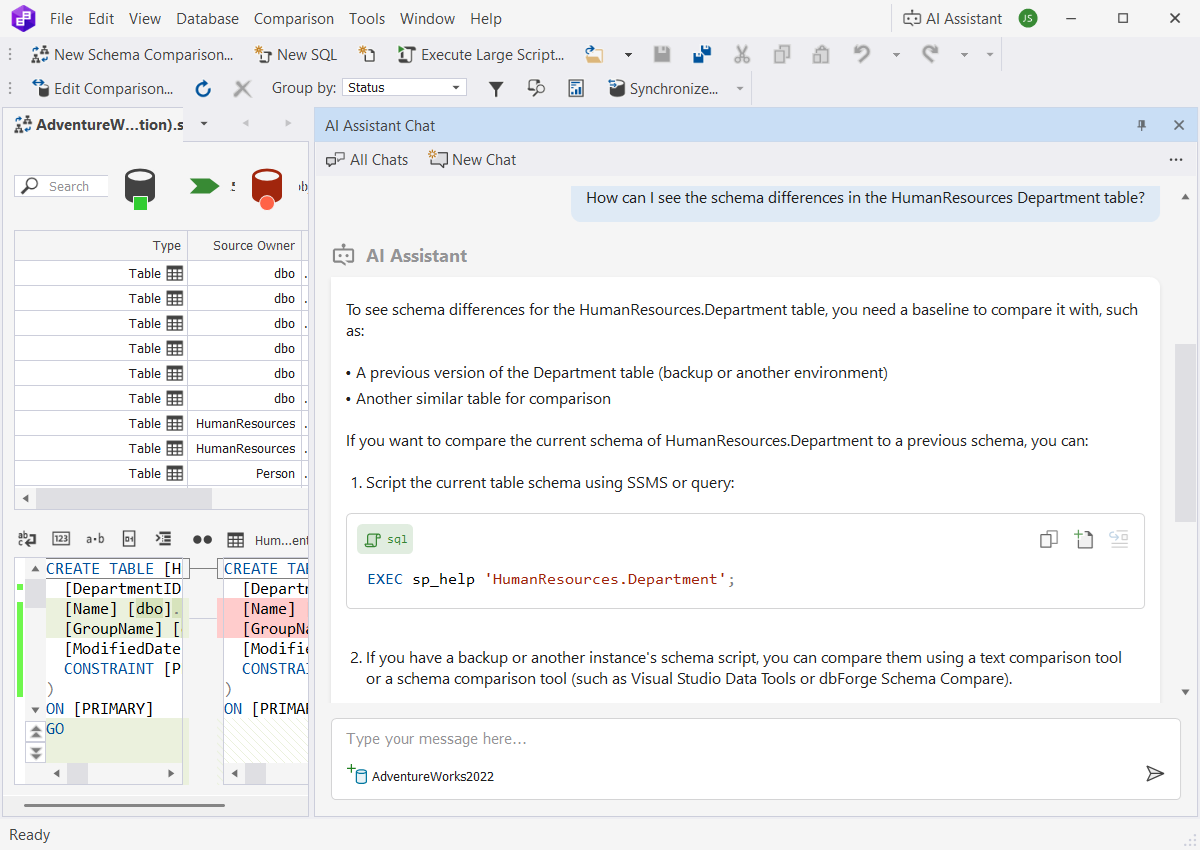
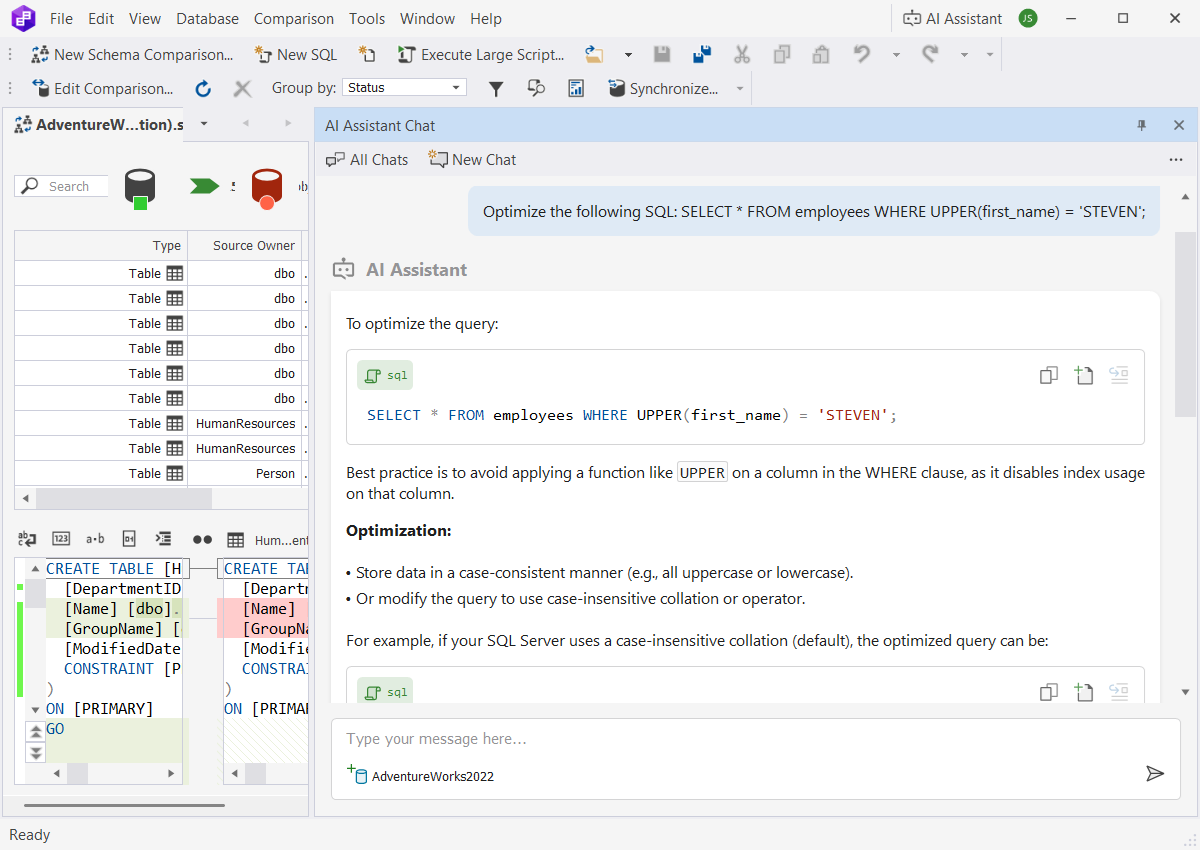
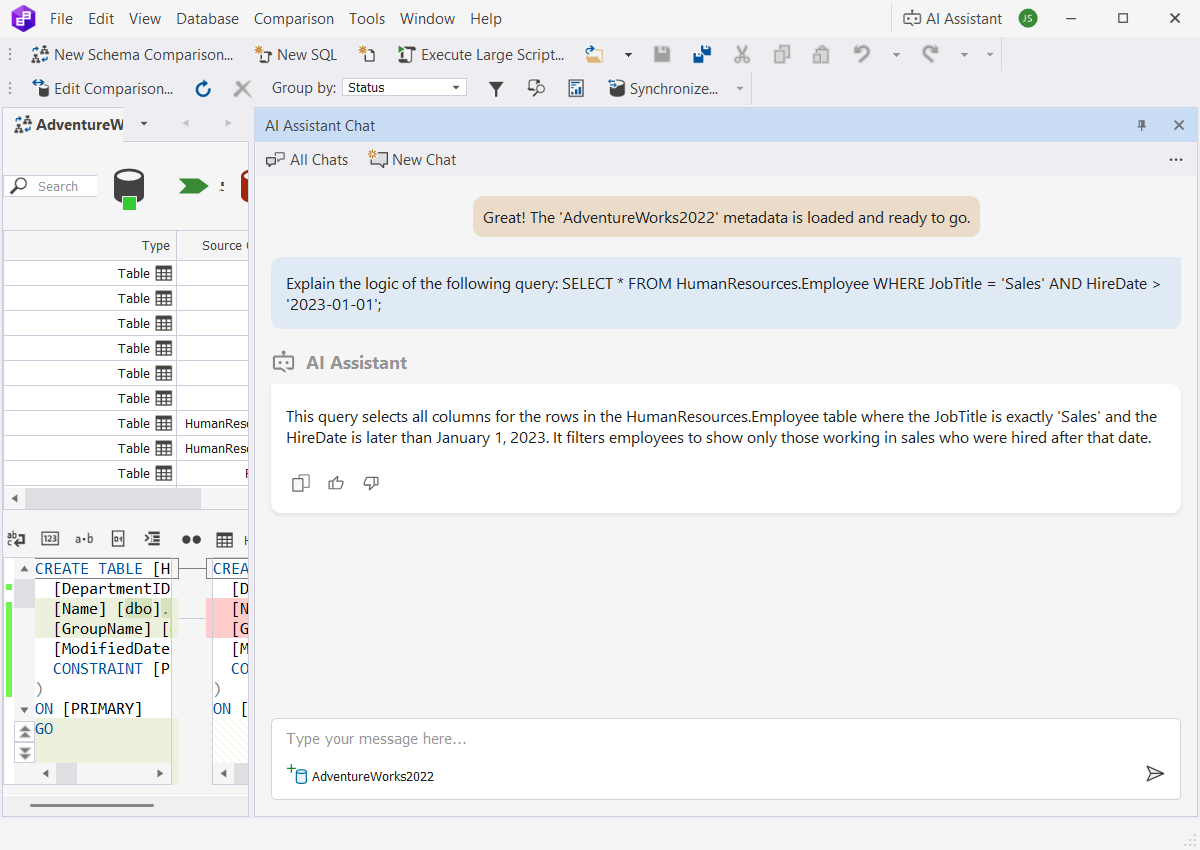
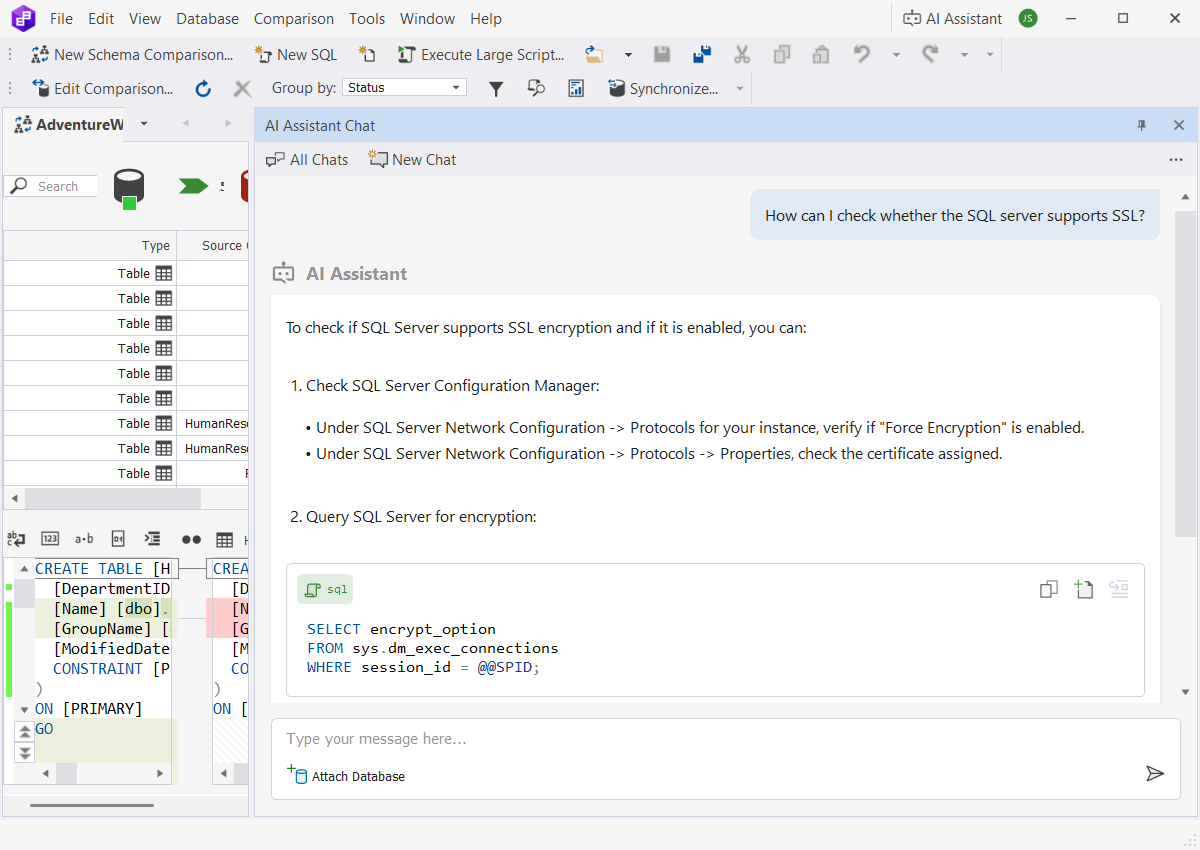
You can compare your SQL Server databases, analyze differences, and perform error-free schema synchronization using generated SQL scripts. Besides, you can automate schema synchronization using the internal feature. The SQL diff tool integrates with SQL Server Management Studio.
- Compare live databases, native SQL Server backups or script folders
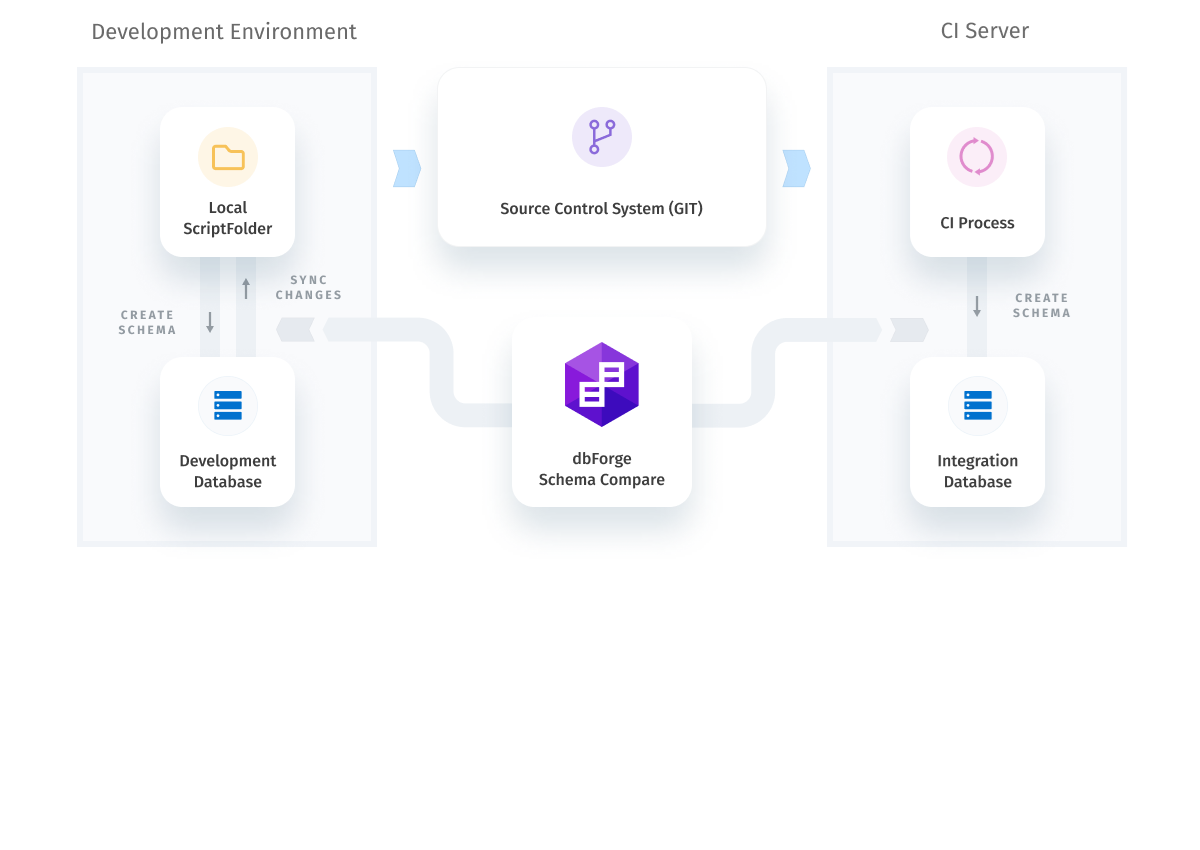
- Sync staging or production databases with development databases
- Generate concise and accurate database deployment T-SQL scripts
- Restore functions and procedures from SQL Server native backups
- Automate routine synchronization tasks from the command line
- Deploy to SQL Server, Azure SQL, and SQL Server on Amazon RDS
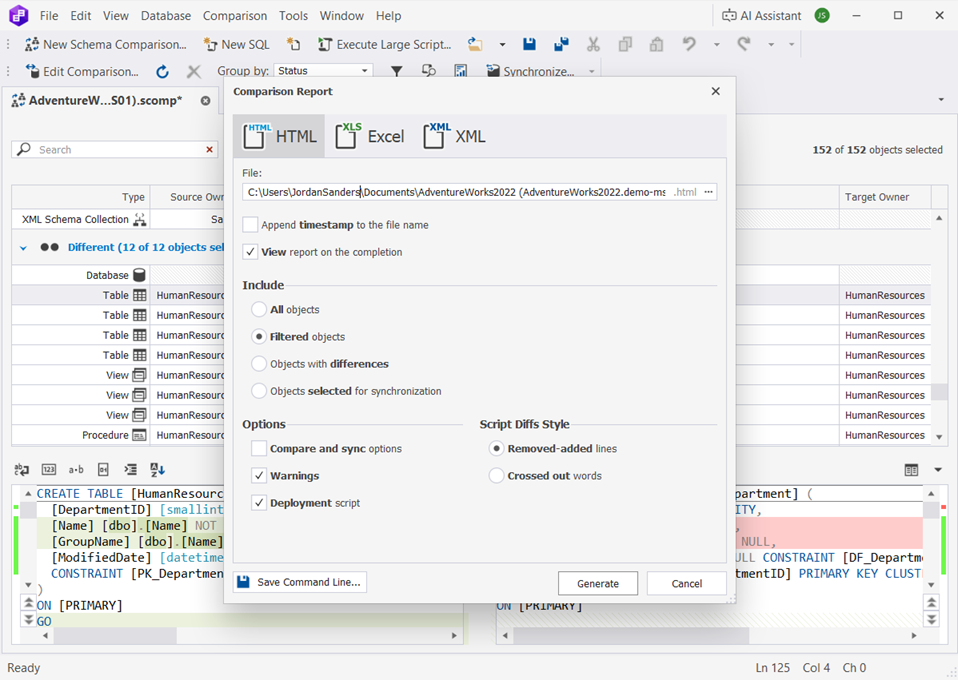
- Export schema comparison results to HTML, Excel, and XML