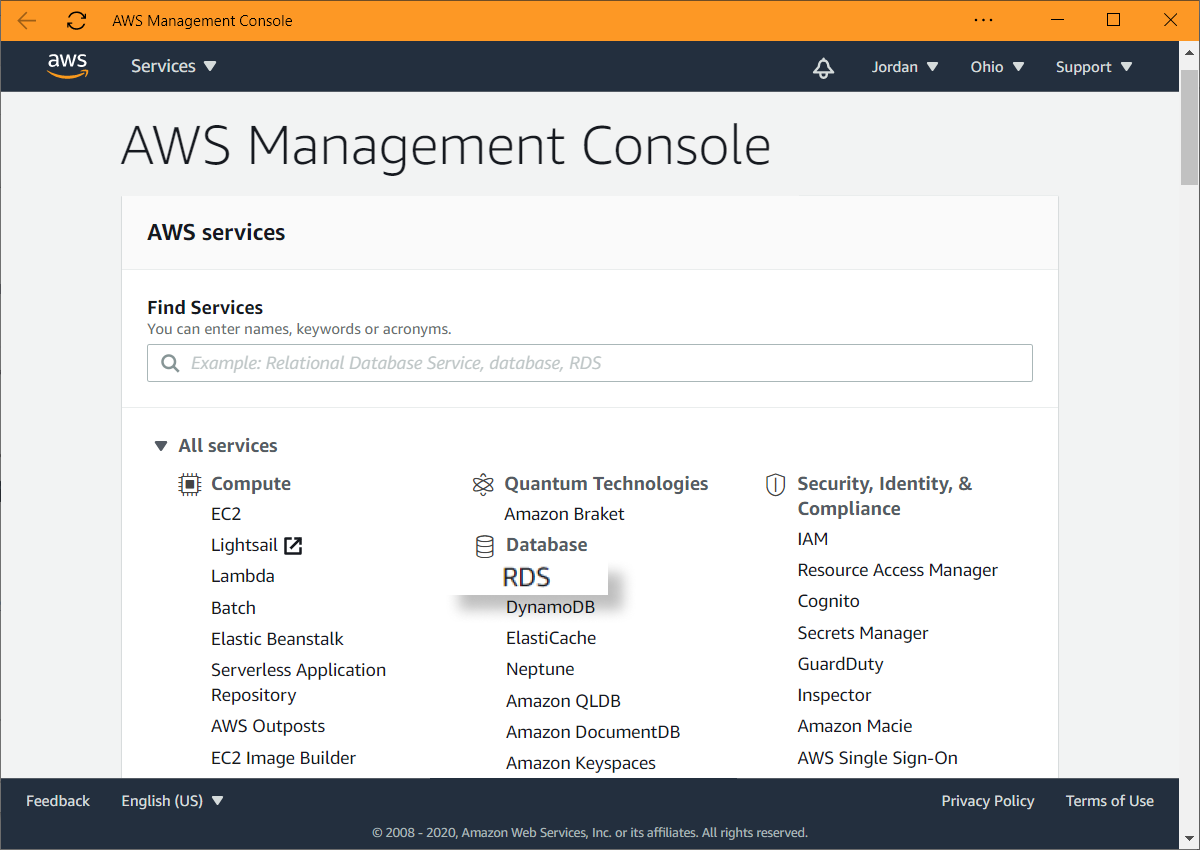
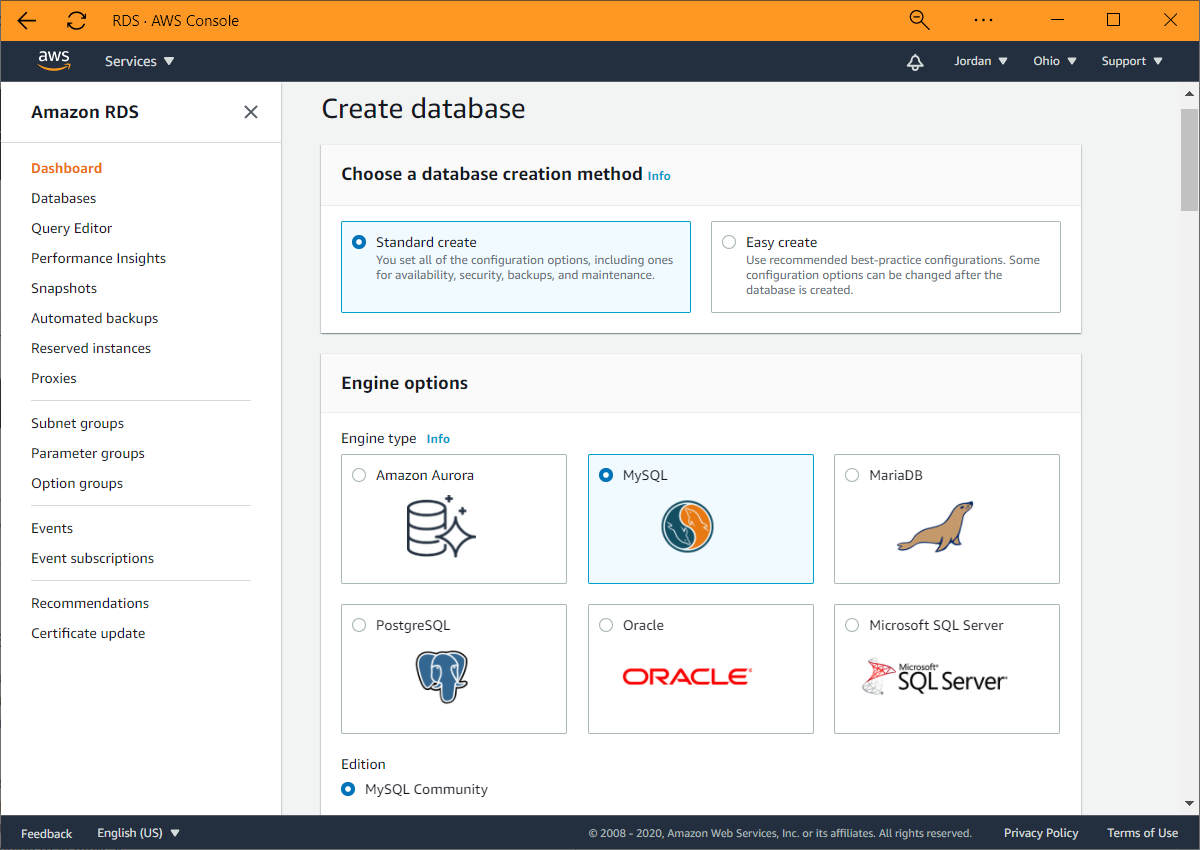
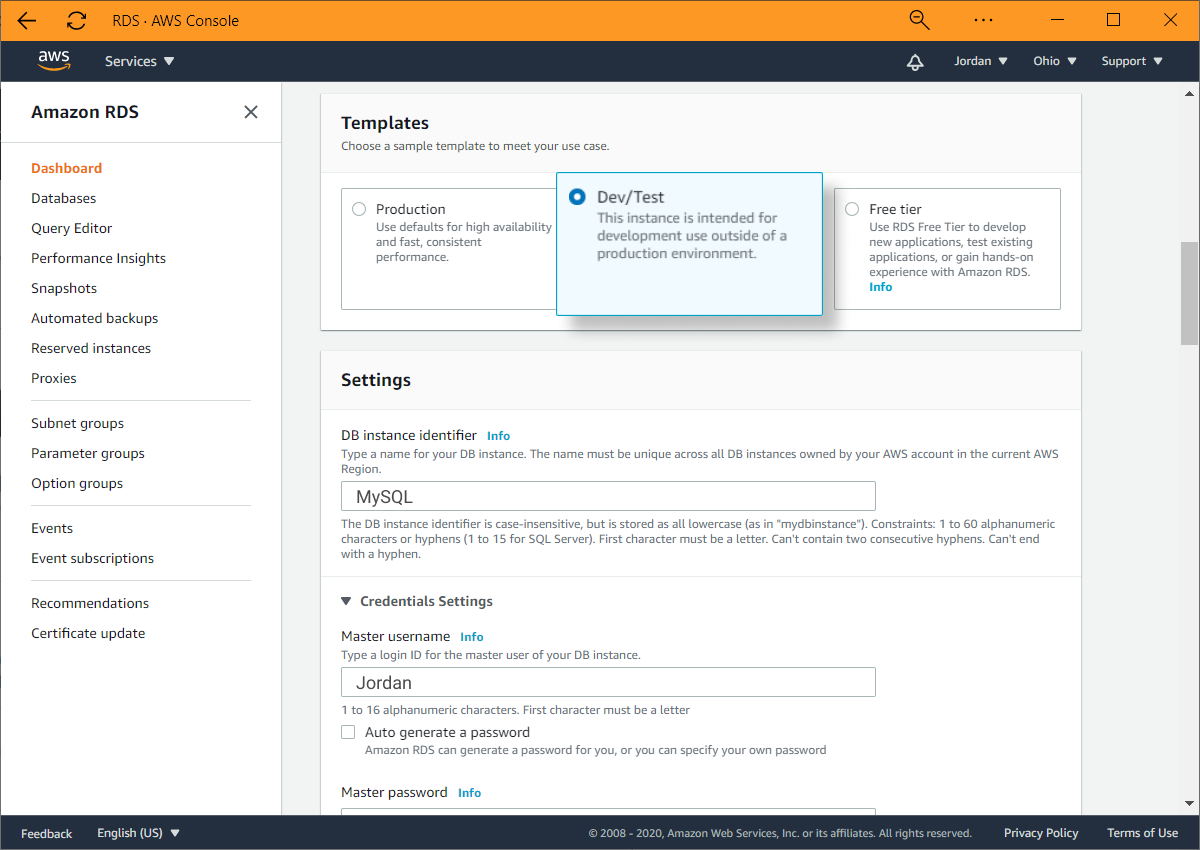
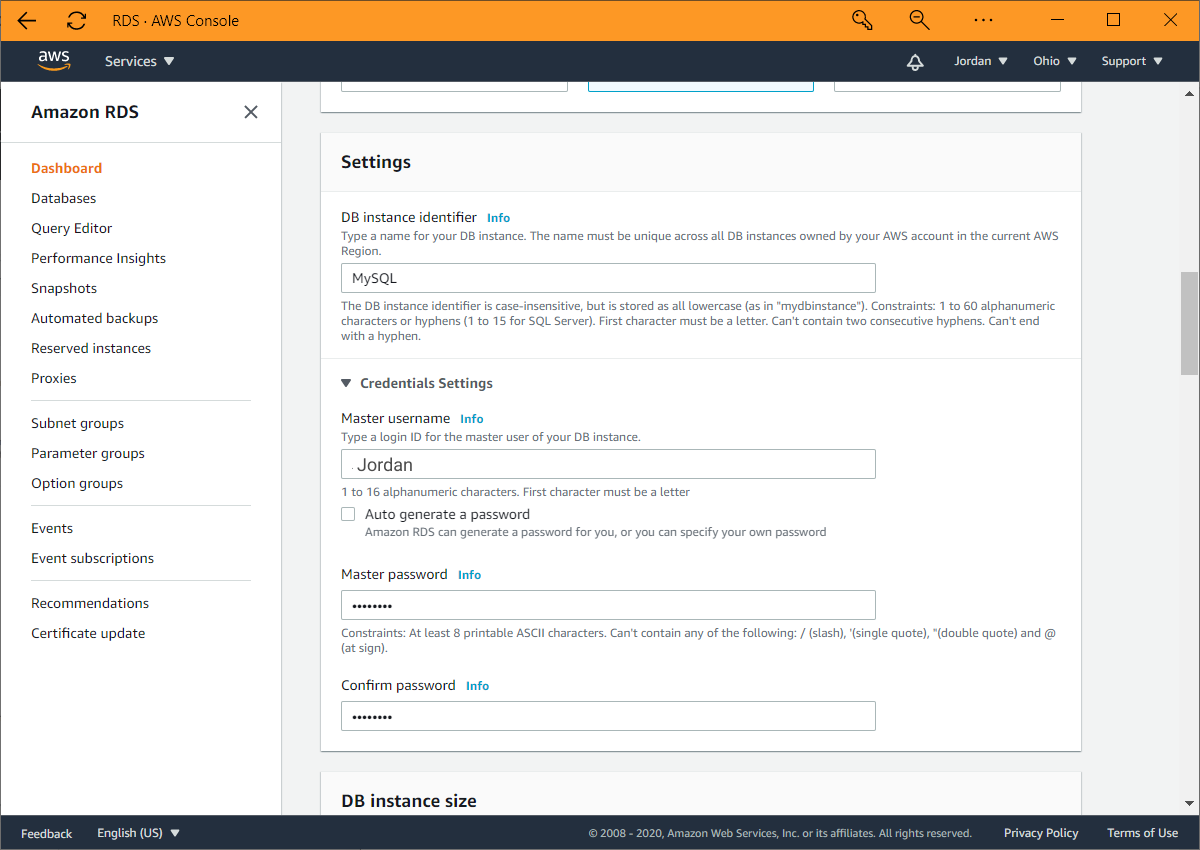
How to Connect to an Amazon RDS MySQL Database
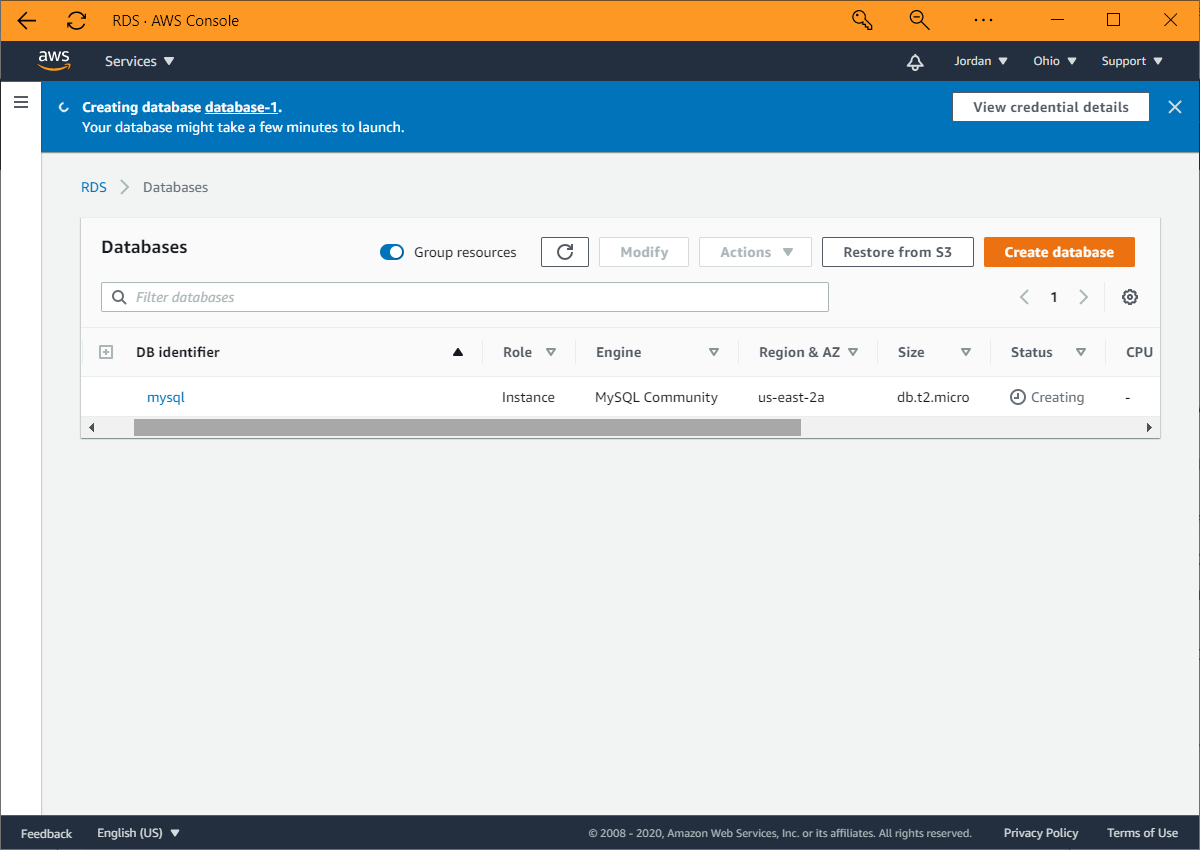
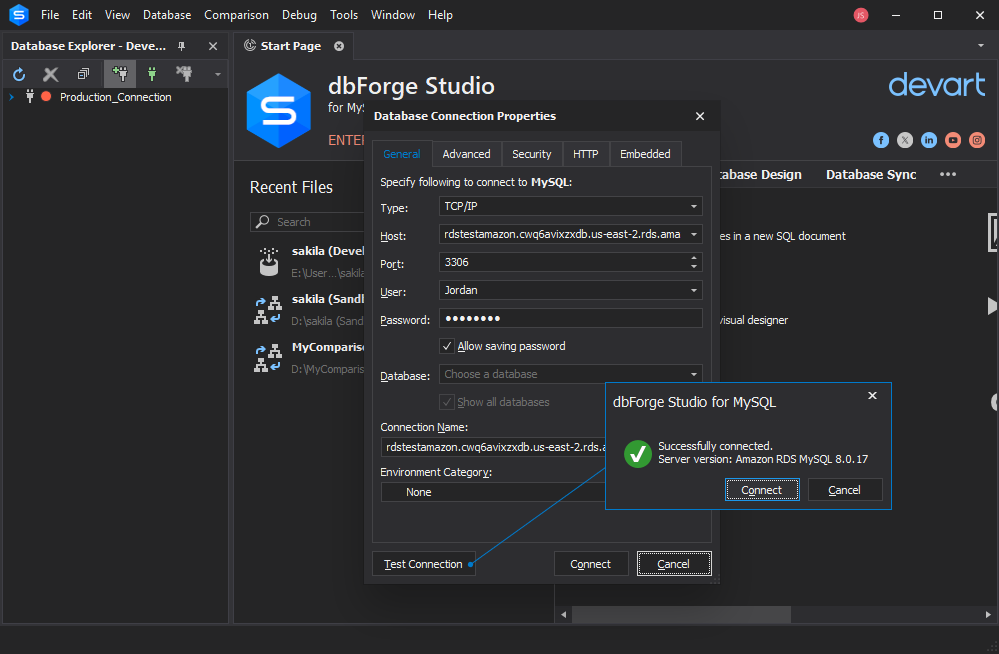
In this article, we’ll demonstrate how to create an instance of a MySQL database with Amazon RDS and connect to it using dbForge Studio for MySQL.
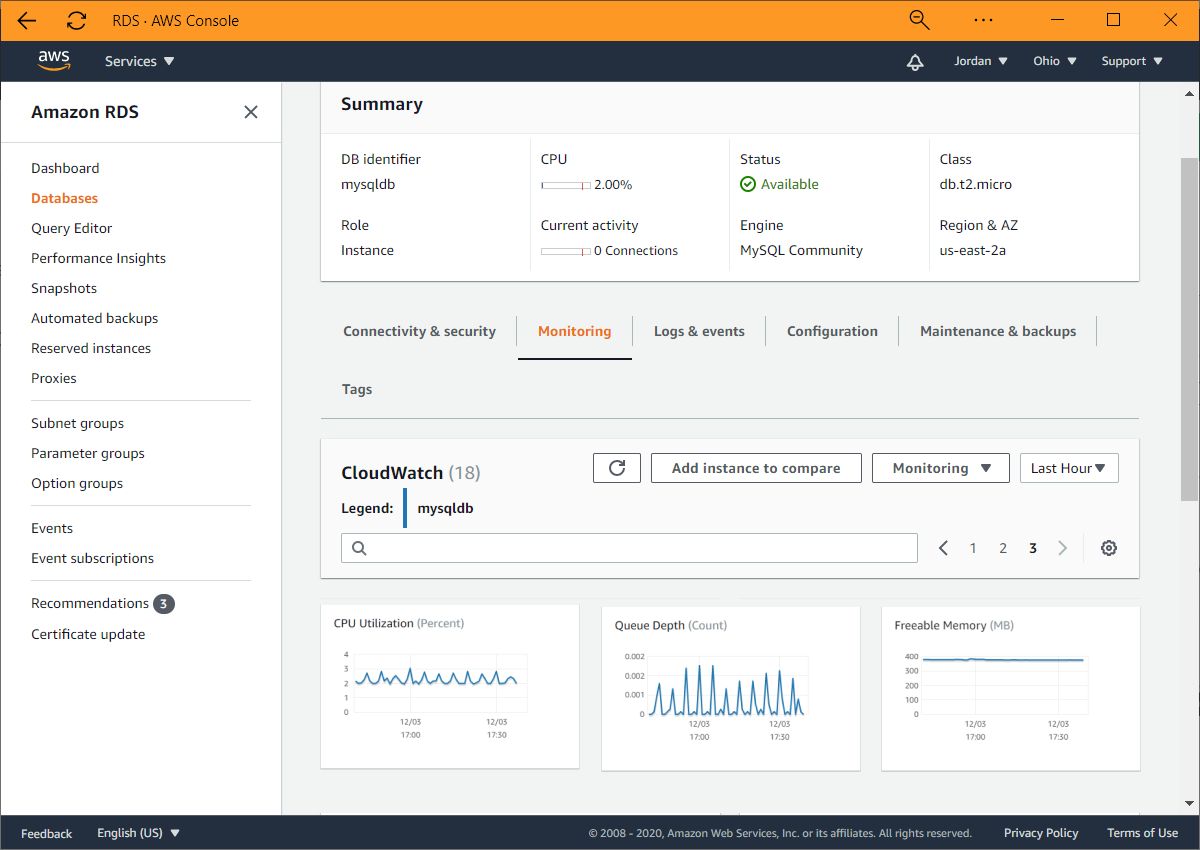
Amazon RDS is a secure and reliable web-based service, which greatly simplifies the process of deploying, managing, and scaling relational databases in the cloud, thus, allowing you to connect at any time and from any place where Internet access is available.
Empowered by Amazon RDS for MySQL databases, you can:
- Create, manage, and scale MySQL databases in the cloud
- Perform automated backups, snapshots, and recoveries
- Store and monitor database instances with a few clicks
- Enhance performance and strengthen database security