1. How to connect to a PostgreSQL database
Before you can create or manage data, you need to establish a reliable connection to your PostgreSQL server. Proper connection setup ensures that authentication, host information, and access rights are correctly configured; without it, queries and administration tasks won't succeed.
To connect to a PostgreSQL database using dbForge Studio for PostgreSQL, launch it and click New Connection on the Database menu.
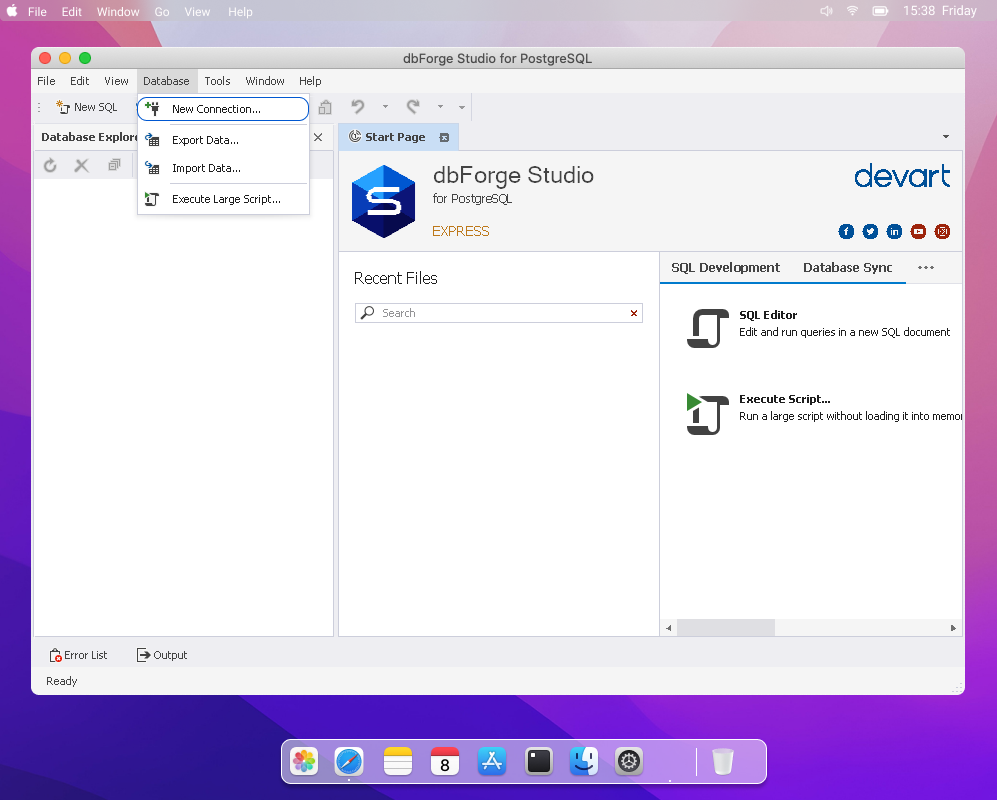
In the Database Connection Properties window that opens, specify the connection properties:
- Enter host and port: Use localhost for local installations or the server's IP/domain for remote access. PostgreSQL defaults to port 5432 unless configured otherwise.
- Provide authentication details: Enter the username (commonly postgres) and the password you set during installation.
- Select the database: Choose the target database from the list, or leave this field blank to connect to the default database.
- Test the connection: Click Test Connection to confirm that the credentials and server details are correct.
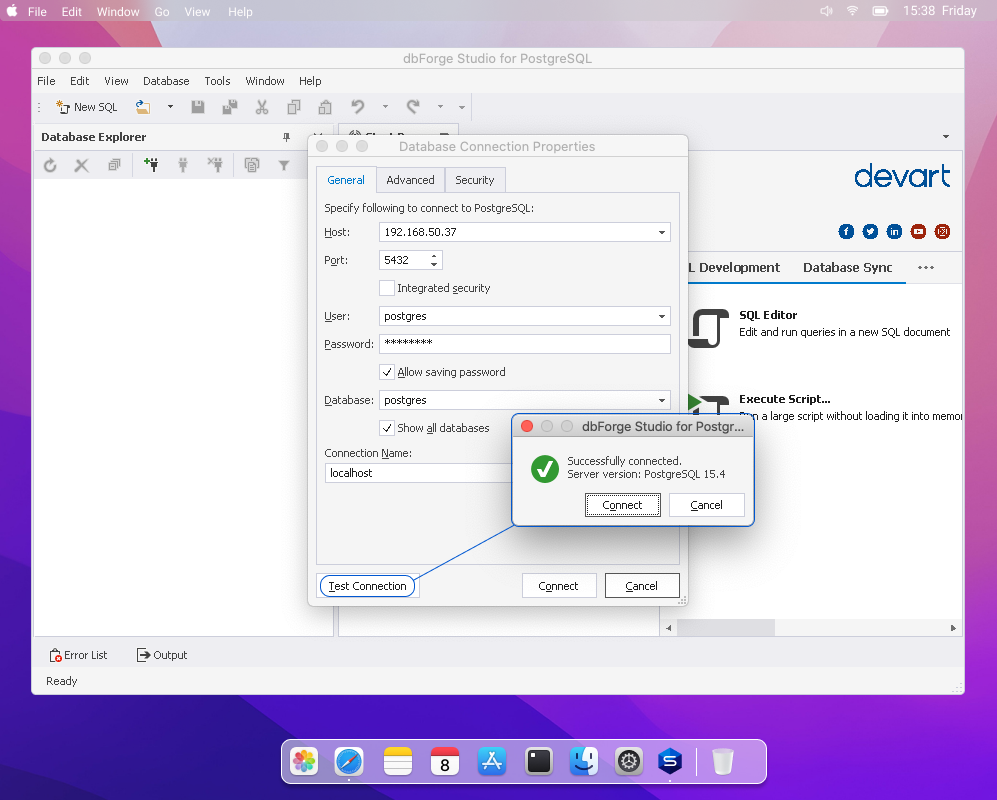
Once validation passes, click Connect. dbForge Studio for PostgreSQL will establish the session and display your database in Database Explorer, and you can begin running SQL queries, managing schemas, or importing data.
2. How to create and configure users in PostgreSQL
Creating a new user is just as easy. Click New SQL and enter the CREATE ROLE <username>; command. Run it with the Execute button. Once the Studio finishes the process, you will see the following notification: Query executed successfully.
Let us show you a few options to diversify this command. First, we create a user with no password:
Create a user with a password:
CREATE USER <username> WITH PASSWORD '<password>';
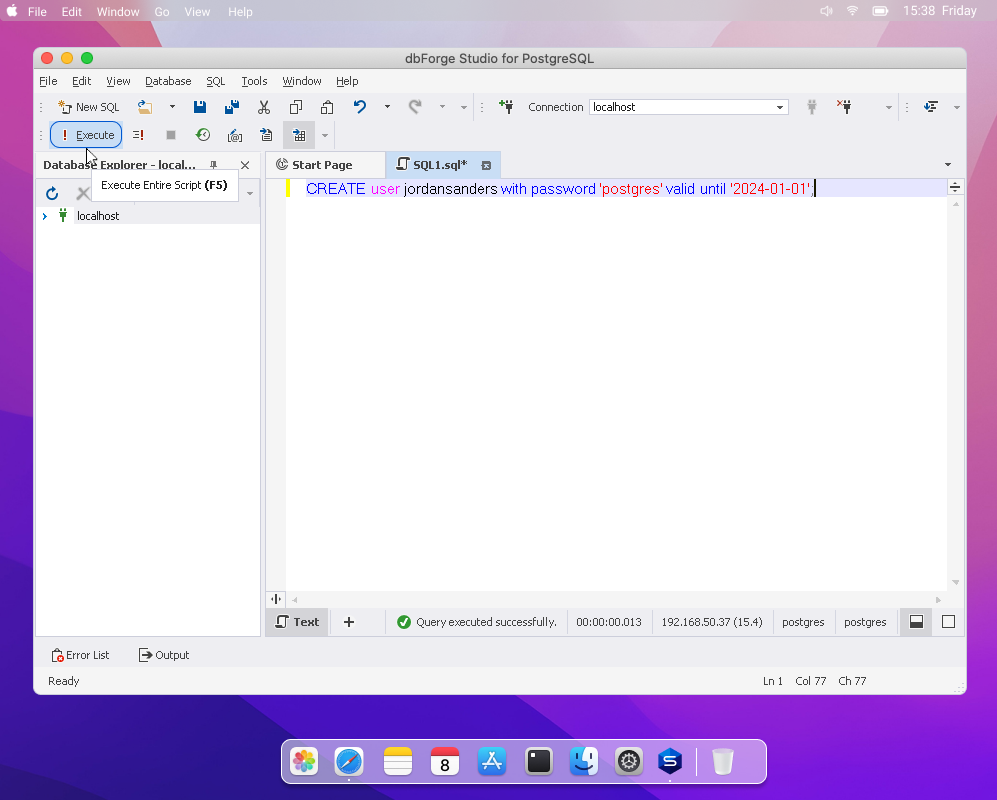
This is how you create a user with a password that is valid until a specified date:
CREATE USER <username> WITH PASSWORD '<password>' VALID UNTIL 'YYYY-MM-DD';
And this is how you create an account where the user can create databases:
CREATE USER <username> WITH PASSWORD '<password>' CREATEDB;
Similarly, you can configure users with the ALTER USER command. For instance, you can provide a user with the ability to create new users and databases:
ALTER USER <username> CREATEUSER CREATEDB;
Finally, this is how you delete a user:
3. How to create and drop a PostgreSQL database
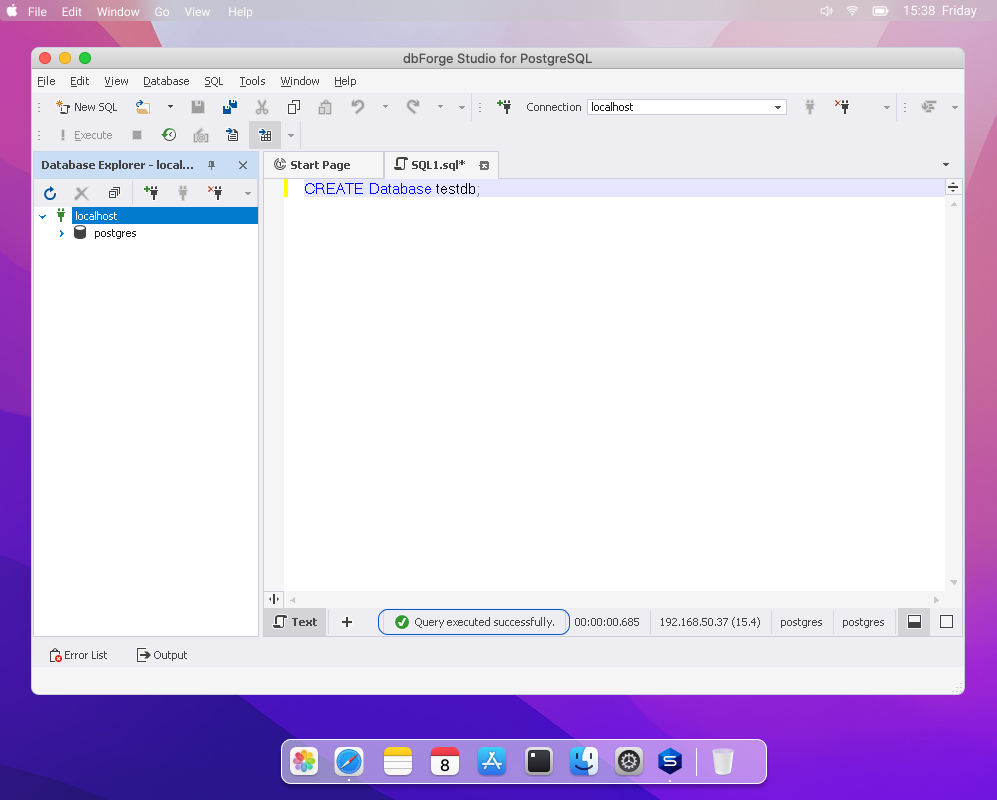
To create a new database, first, click New SQL.
In a new SQL document, enter the command, replacing my_database with your preferred name:
CREATE DATABASE <database name>;
In Database Explorer, click the Refresh button. Your new database will appear under your connection.

To drop the database, execute the following command:
DROP DATABASE my_database;
The specified database will be permanently removed.
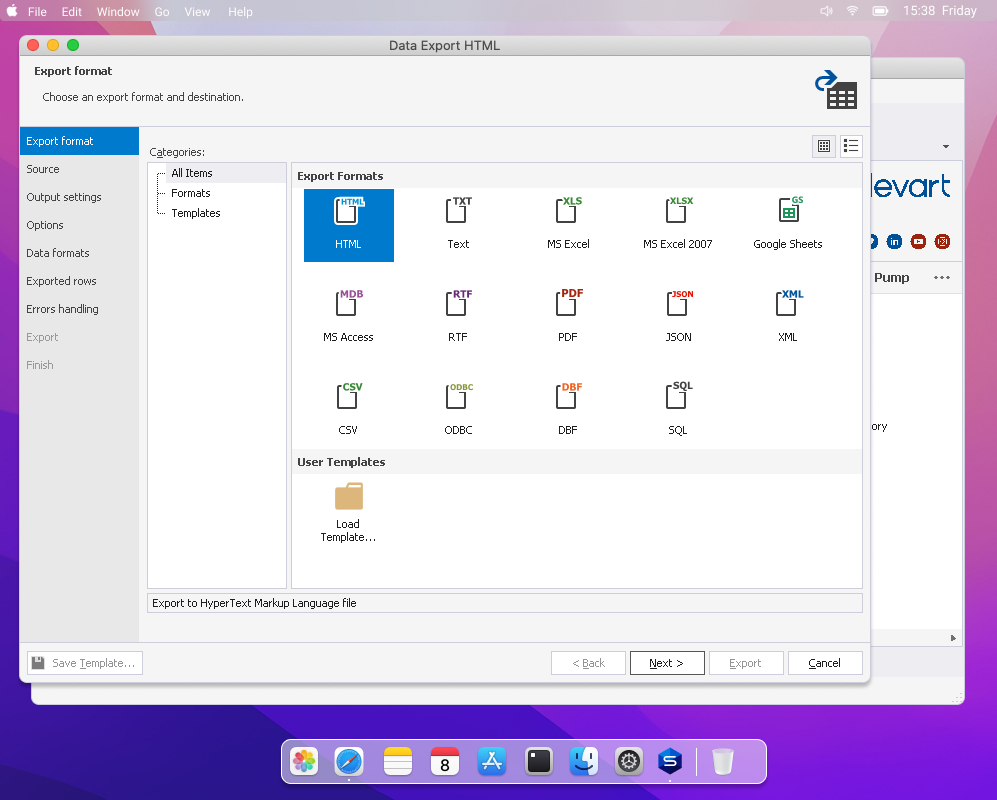
4. How to export and import PostgreSQL data
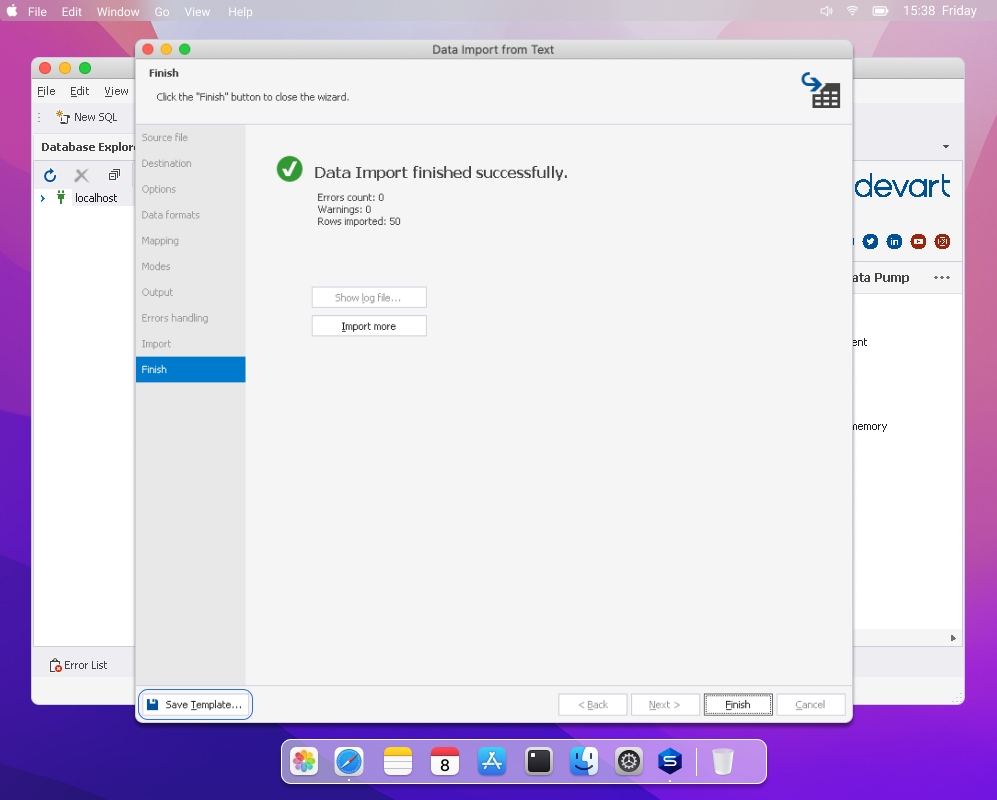
Now let's see how to import PostgreSQL data into your new database. You have a whopping 10 formats to choose from, including TXT, XLS, XLSX, Google Sheets, MDB, XML, JSON, CSV, ODBC, and DBF. Go to the Database menu and click Import Data to open the wizard.
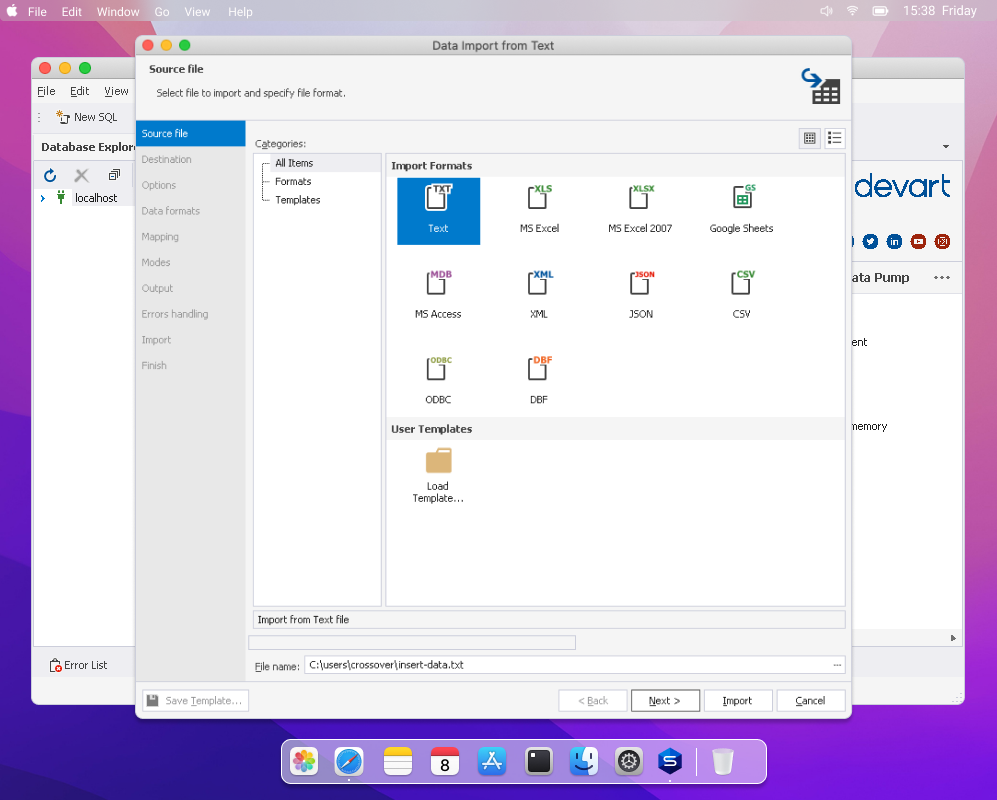
After you select a format, follow the wizard to configure the import settings. Note that the wizard tabs and available settings may vary depending on the format. After you configure everything as required, click Import, and wait a while for the process to be completed. Note that you can save your import settings as a template using the Save Template button.
Similarly, on the Database menu, click Export Data to get the export wizard ready. Here, you have even more formats to choose from, additionally including HTML, RTF, PDF, and SQL.