How to export SQL Server data to Microsoft Access
Whether you are dealing with diverse data sources, aiming for comprehensive analysis, or seeking a user-friendly interface
for collaboration, exporting data to MS Access can be a game-changer.
A Microsoft Access database file (MDB) was introduced by Microsoft to use in the Microsoft's Access database application.
An MDB file organizes data within related database tables through primary and foreign keys. The file contains
the database structure and entries and stores data entry forms, queries, stored procedures, reports,
and database security settings.
Some advantages of using MDB files might be as follows:
- Compact file size: MDB files have a relatively compact size compared to other database file formats, which can be beneficial in terms of storage space and portability
- Ease of use: Microsoft Access provides a user-friendly interface that makes it easy for individuals with varying levels of technical expertise to manipulate data
- Complete data structure: MDB files store the entire structure of database tables, including relationships, indexes, and field properties
- Support for queries and stored procedures: MDB files can also contain queries and stored procedures
- Database security settings: MDB files support the storage of database security settings, including information about user access levels, permissions, and other security configurations
- Quick development of small to medium-sized databases: MDB files are well-suited for the rapid development of small to medium-sized databases where simplicity and speed are crucial
Prerequisites
To get started, ensure you have an MDB file with data you want to export to a SQL Server database and dbForge Query Builder downloaded
and installed on the machine where you want to perform data export.
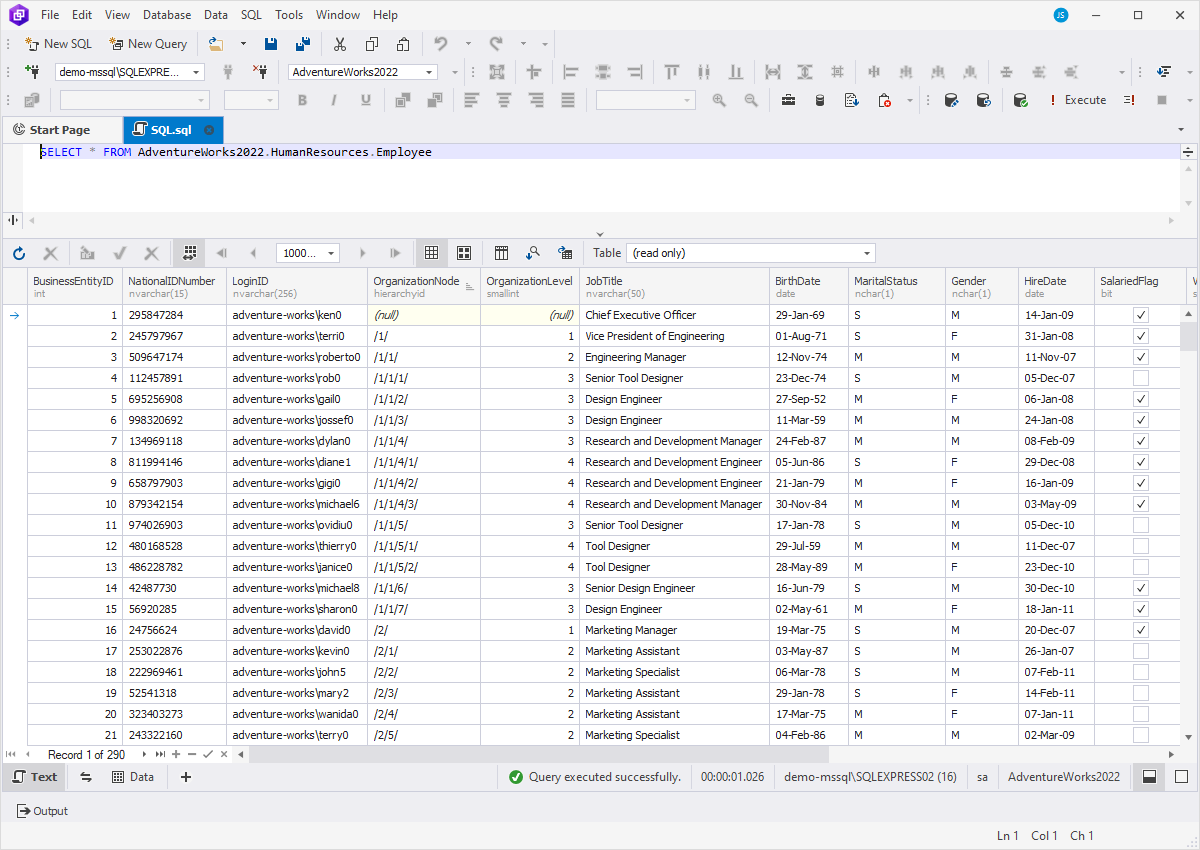
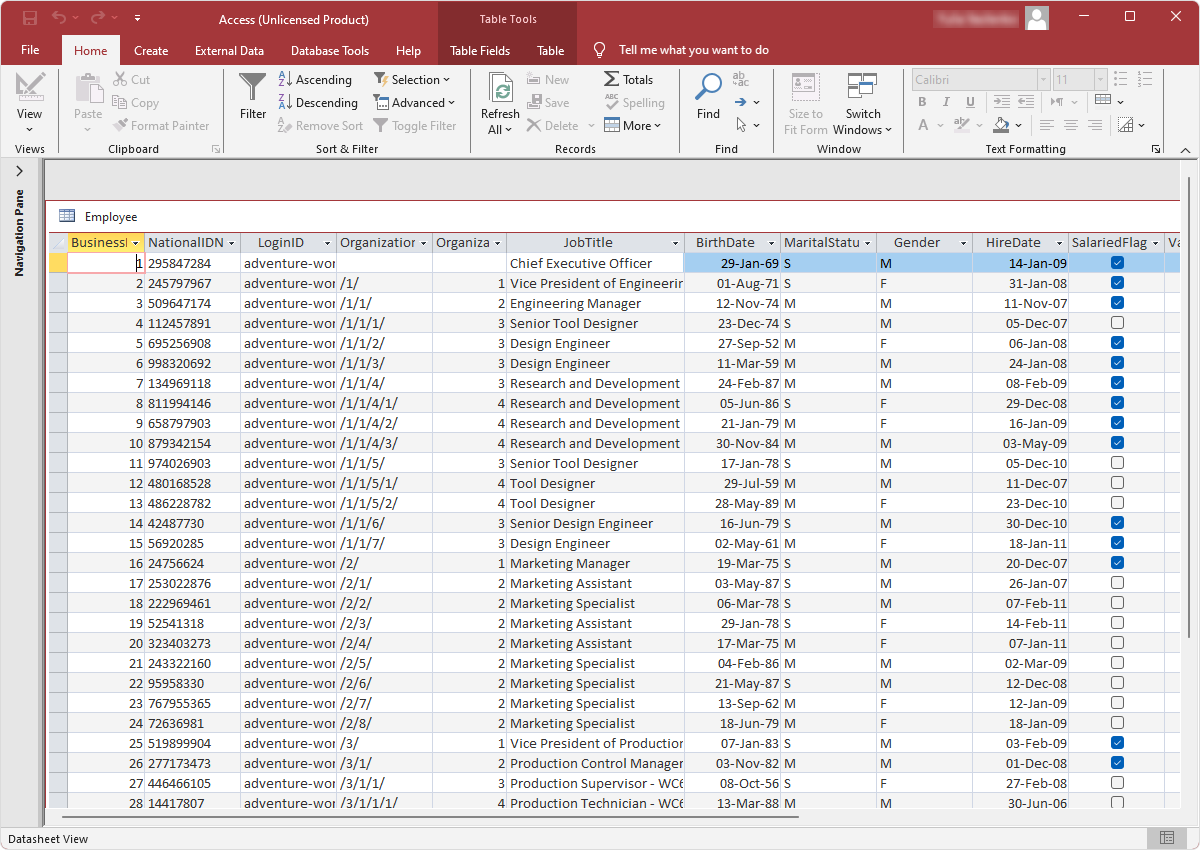
For demo purposes, we'll export data from the Employee table in the AdventureWorks2022 database. Let's retrieve and preview the data:
To export data to Microsoft Access
Now, let's see how to export SQL Server data to an MDB file using the Data Export wizard available in dbForge Query Builder.
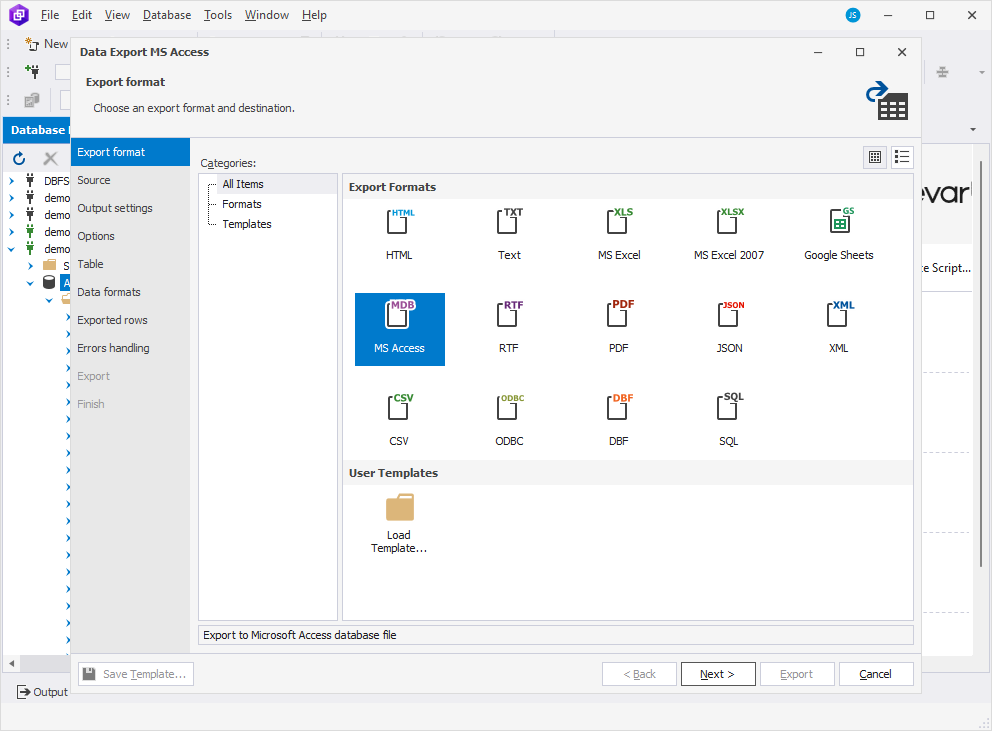
1. Open the Data Export wizard using one of the following ways:
- In Database Explorer, right-click the table which data you want to export and select Export Data.
- In Database Explorer, right-click the required database and select Tools > Export Data.
- On the ribbon, select Database > Export Data.
2. On the Export format page of the wizard, select the MS Access export format or load export options from a template file if you saved it previously. To proceed, click Next.
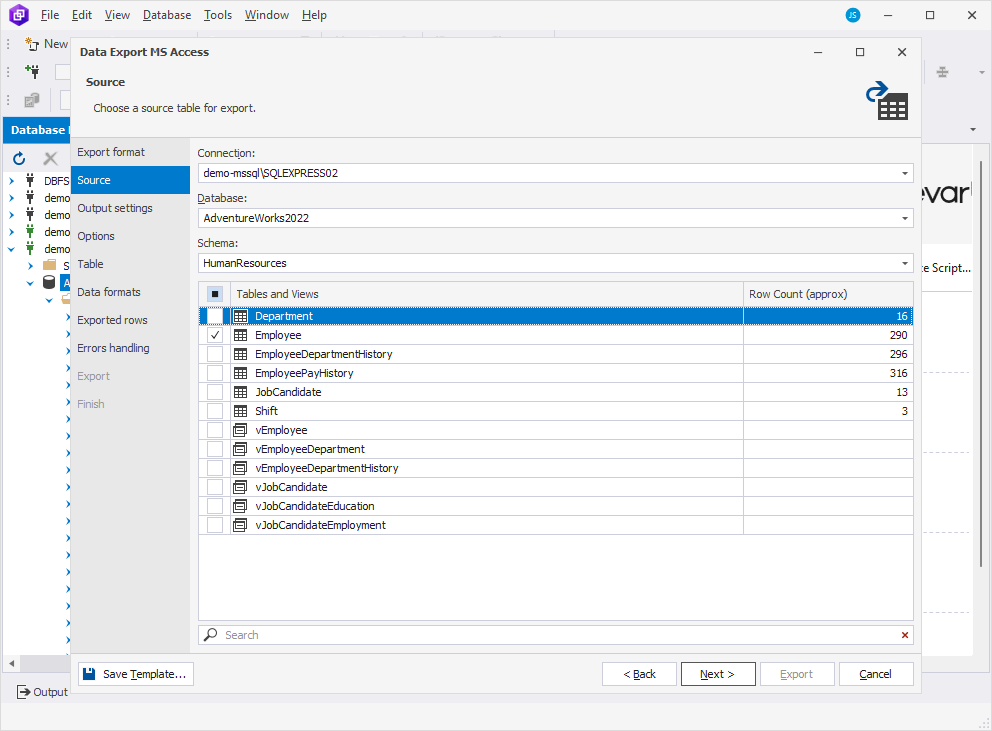
3. On the Source page, select a server connection, a database and its schema, tables, or views you want to export, and click Next.
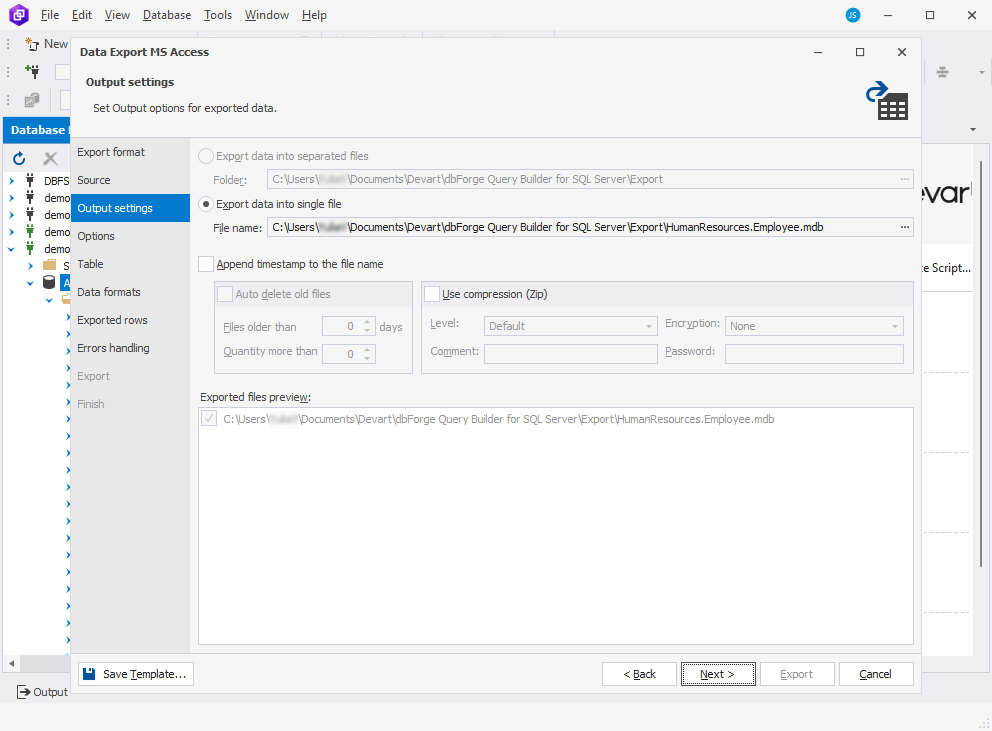
4. On the Output settings page, select the output option for the exported data:
- Export data into separated files, where you specify the path to the folder that will save the exported files.
- Export data into single file, where you specify the path and the file name.
The file directory will be displayed in the Exported files preview section.
You can also select some additional options:
- Append timestamp to the file name to add the current date and time to the file name.
- Auto delete old files to automatically delete the files that are older than a specified number of days.
- Use compression (Zip) to create an archive file of the exported files. You can also set the compression level, add a comment, encrypt your archive with AES128 or AES256 encryption, and specify a decryption password.
Note that if the target folder does not exist, the tool will prompt you to create it - click Yes to proceed.
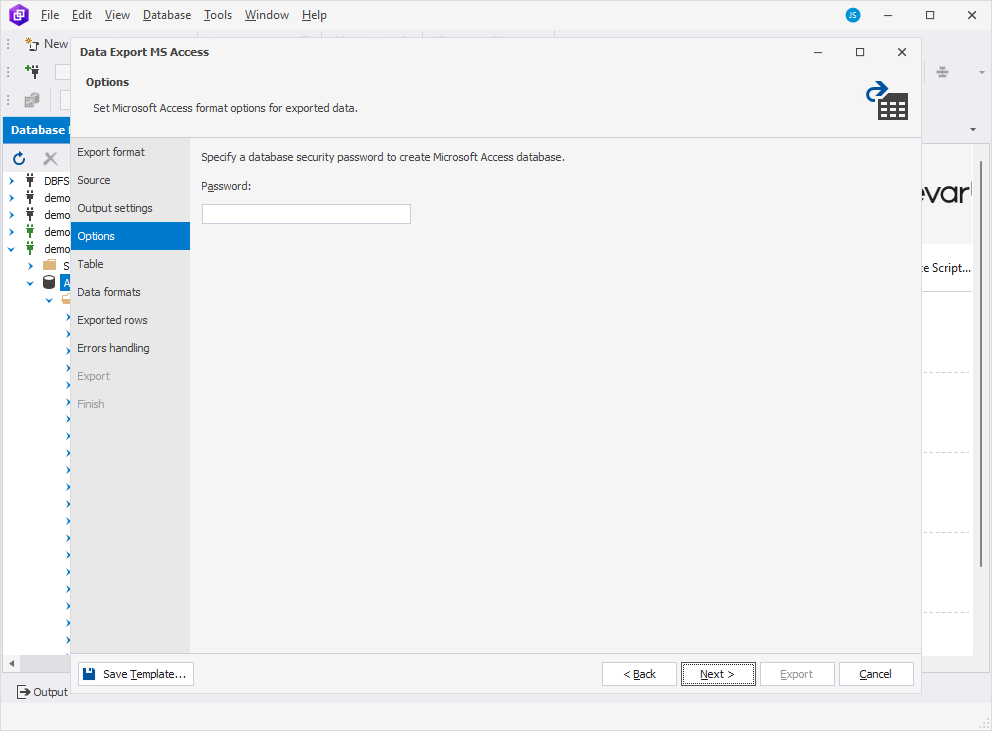
5. On the Options page, you can enter a security password to create a Microsoft Access database.
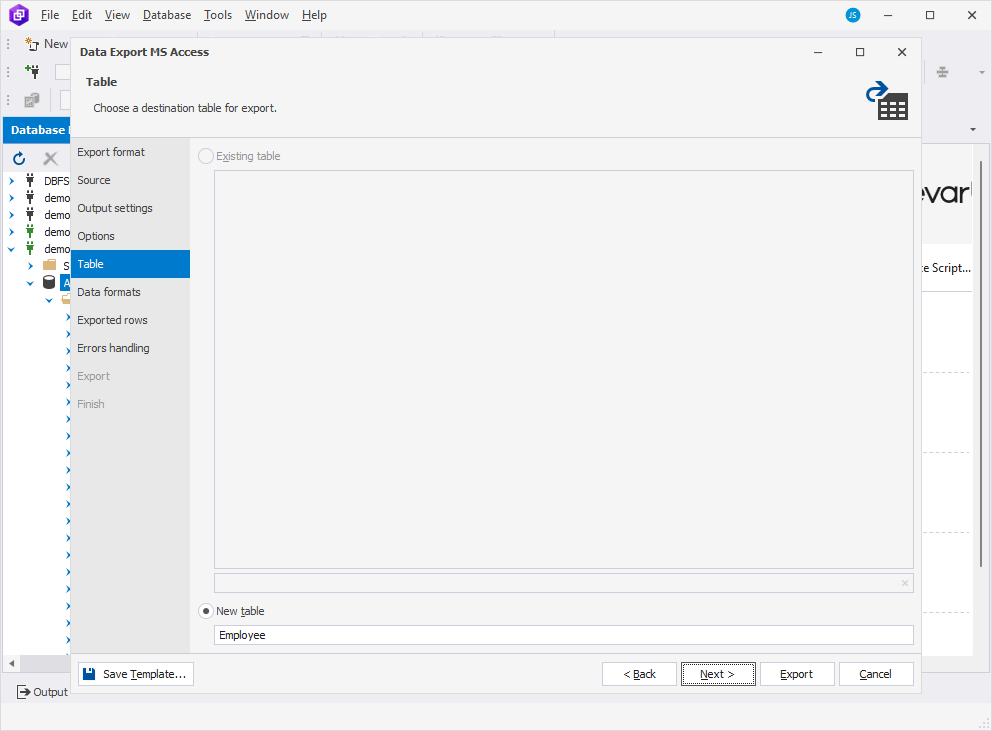
6. On the Table page, select whether you want to export data to a new or existing table, and then click Next.
7. On the Data formats page, all columns for export are selected by default. To exclude specific columns from export,
clear the checkboxes next to the corresponding columns. In addition, you can check their aliases and data types.

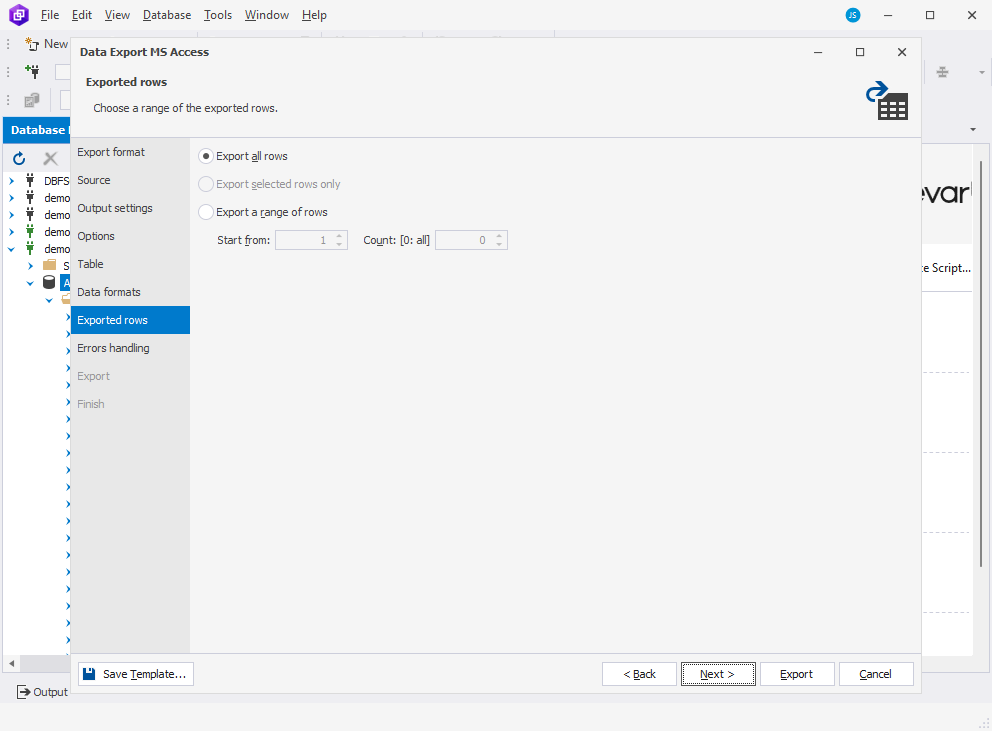
8. The Exported rows page allows you to select whether you want to export all rows, specific rows selected on the Data formats page or a specified range of rows.
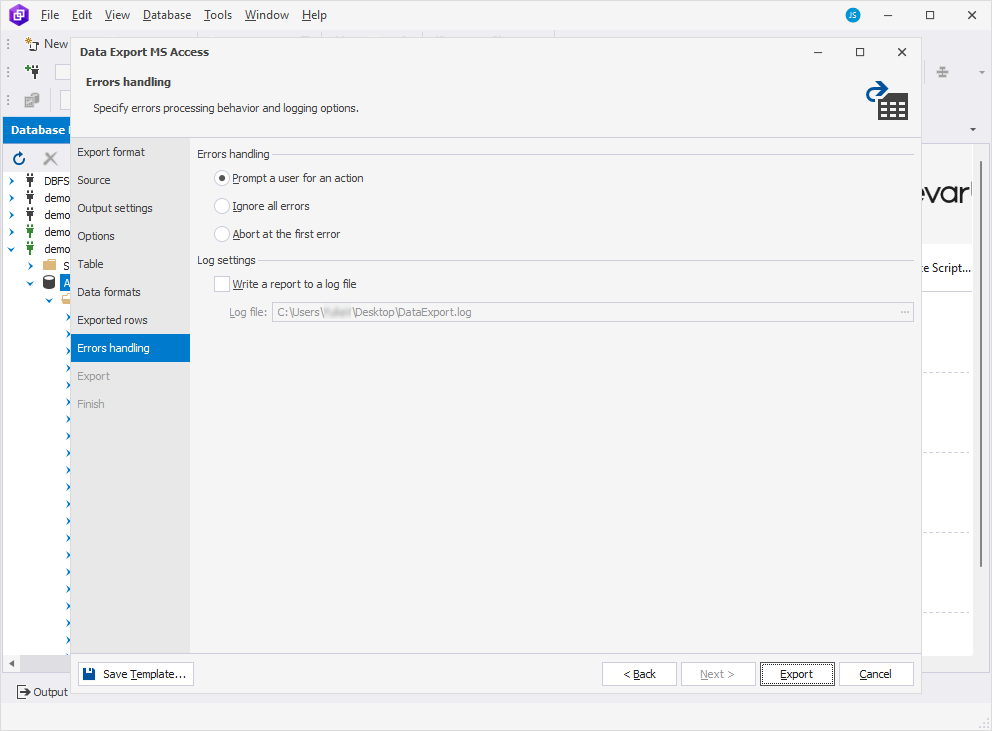
9. On the Errors handling page, you can define the error processing behavior by selecting one of the following options:
- Prompt a user for an action
- Ignore all errors
- Abort at the first error
To create a log file, select the Write a report to a log file checkbox and specify a path to the log file.
If you want to save your import settings as templates for recurring scenarios, click Save Template.
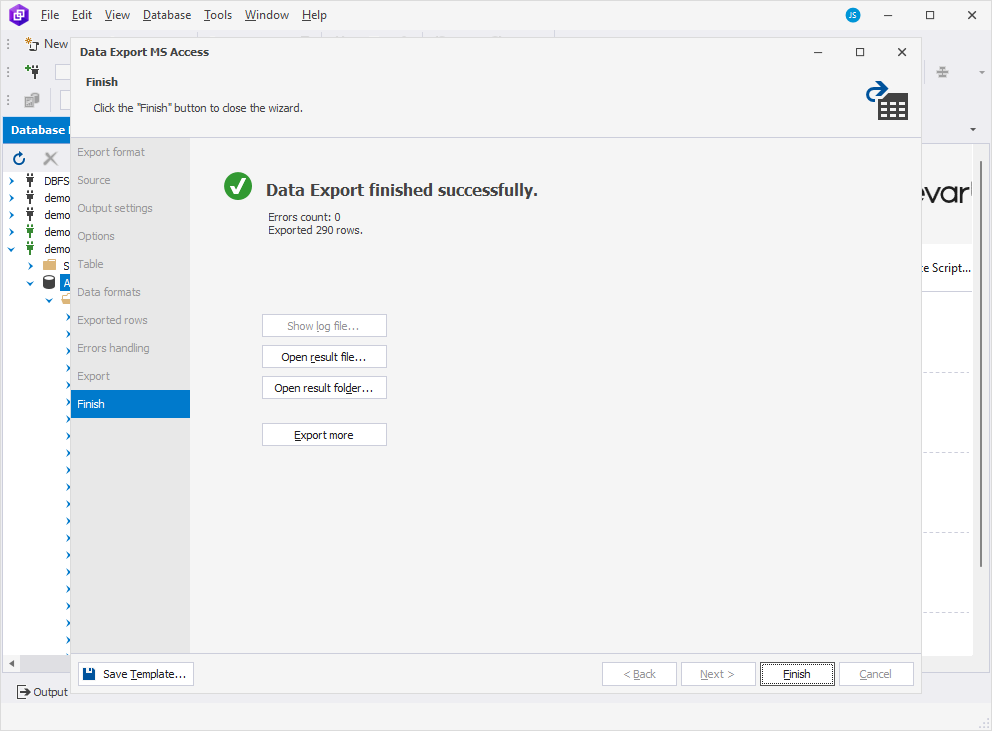
10. Click Export. When the data export process is completed, the progress page opens, informing you about the success or failure of the export operation.
In case of the successful data export, you can view the number of exported rows and any errors that occurred if you select the Ignore all errors option on the Error handling page.
You can also open the result file or folder, initiate another export operation, access the log file, or click Finish to close the wizard.
If the data export failed, you will see the error that aborted the operation. From this point, you can start a new data export operation.
Let's now see the table we've imported in the MS Access database.
Additional notes
To make data import efficient and optimize database performance, you can follow some tips including:
- Perform data validation to identify and fix any inconsistencies or errors before initiating the export process
- Create a backup of your data before initiating any export operation
- Define appropriate indexes on the tables involved in the export process
- Try using the Compact and Repair Database tool in Microsoft Access to optimize the MDB file size, resolve any internal fragmentation, and improve overall database performance
- Use batch files to reduce memory usage and enhance efficiency
- Ensure that the relationships between database tables are maintained during the export process
- Export only the necessary data rather than the entire dataset if applicable
- Consider breaking the export process into smaller batches when dealing with a large dataset
- Choose appropriate data types for your fields to minimize storage space and enhance query performance
- Ensure that the export process does not violate any integrity constraints, and take into account any triggers that may impact data modifications
Remember that following these tips may help you enhance the efficiency of exporting data to MDB files while ensuring data accuracy and optimizing overall database performance.
Conclusion
In this tutorial, we have provided a detailed, step-by-step guide about how to easily export data to an MDB file from a SQL Server database table using the Data Export wizard
built into dbForge Query Builder for SQL Server. In addition to data export and import capabilities, the tool helps build simple and advanced data manipulation queries in an intuitive UI.
By eliminating the need for manual coding, this feature minimizes effort and optimizes time utilization, making it a powerful asset for efficient database management.