Getting Started With Devart ODBC Driver for MongoDB
Open Database Connectivity (ODBC) is a widely used standard API that allows applications to access data from different database systems using SQL. In a typical ODBC architecture, applications don't connect directly to a database. Instead, they communicate with the ODBC Driver Manager, which then uses the appropriate ODBC driver to establish a connection to the target data source.
On the client side, the driver adheres to the ODBC standard, ensuring compatibility with any application. On the server side, the driver is tailored to a specific DBMS, such as MongoDB. This layered architecture eliminates the need for modifying applications for different databases. The driver takes care of translating SQL requests into commands that the specific database understands.
This article provides a step-by-step tutorial on how to install, configure, and test Devart ODBC Driver for MongoDB.
Advantages of Devart ODBC Driver for MongoDB
Native data connectivity
The Driver fully supports standard ODBC API functions and data types. It also provides easy access to live MongoDB data from anywhere and is compatible with the MongoDB API itself.
Real-time data access
You can access data directly from the ODBC-compliant application in real-time. This functionality provides a dynamic workspace that adapts and changes as quickly as your data..
Integration
The Driver is compatible with more than 250 database management tools and applications, analytics and reporting tools, programming languages, and IDEs. You can view, update, manage, and edit your MongoDB data directly in your preferred working environment.
Platform support
You can use Devart ODBC Driver for MongoDB with your 32-bit or 64-bit application on both x32 and x64 Windows, Linux, and macOS. No additional driver or application setup is required.
Secure connection
Devart ODBC Driver for MongoDB lets you securely use SSL connection options, along with support for the SSL protocol. Additionally, you can connect to MongoDB directly via HTTPS. If there is no direct access, a connection can be established through the proxy server.
Installation process
Devart ODBC Driver is easy to install. All you need is to download the Driver for MongoDB to your computer and follow the installation wizard instructions for each operating system provided below.
Windows
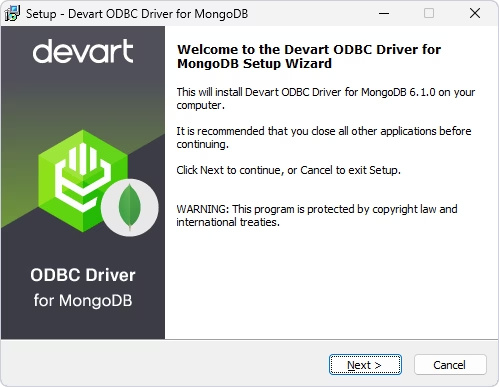
Download the installation file of ODBC Driver for MongoDB and execute it. The installation wizard launches.
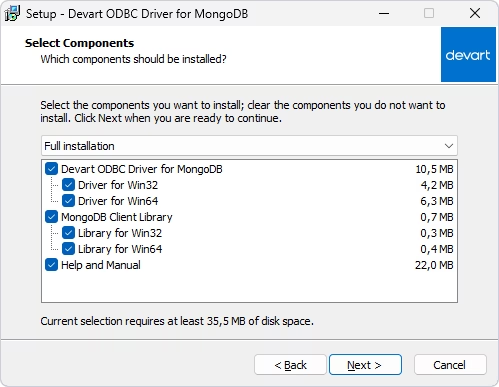
Follow the steps of the wizard: accept the license agreement and define the destination folder to install the Driver. Proceed to the Select Components page and select the version of the driver you need. You may also install Help and Manual alongside the driver.
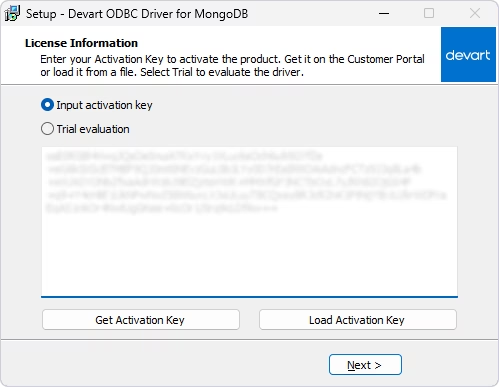
Click Next, proceed to the further steps, and click Install. The License Information dialog window appears. Select your license type and activate it.
If you own a paid version of the Driver, select Input activation key and insert your key into the text box. Alternatively, if you saved the activation key file locally on your computer, click Load Activation Key to browse and select the file.
If you have a Trial version, choose the Trial evaluation option in the dialog.
After that, click Next and, finally, press Finish to complete the installation.
Linux
To install Devart ODBC Driver for MongoDB on Linux, you can use either DEB or RPM packages. On Ubuntu, you need to install the DEB package that matches the bitness of your operating system.
Install the Driver on Ubuntu
Two options are available: manual installation via a GUI or via the command line.
GUI installation
Download the DEB package from the Devart website. Navigate to the folder with the downloaded package ("Downloads" by default) and double-click it. In the dialog window that opens, press Install.

Command-line installation
Open Terminal and navigate to the folder with the saved package:
Install on 32-bit system:
Install on 64-bit system:
Install the Driver on CentOS
Download the RPM package from the website and navigate to the folder with the downloaded file:
Install on 32-bit system:
Install on 64-bit system:
macOS
Devart ODBC Driver for MongoDB is fully compatible with macOS. However, it requires an ODBC Driver Manager to configure it. Devart provides its ODBC Administrator, a convenient GUI solution, which must be installed separately.
The ODBC Administrator PKG file is available on the download page. Another option is the built-in iODBC driver manager.
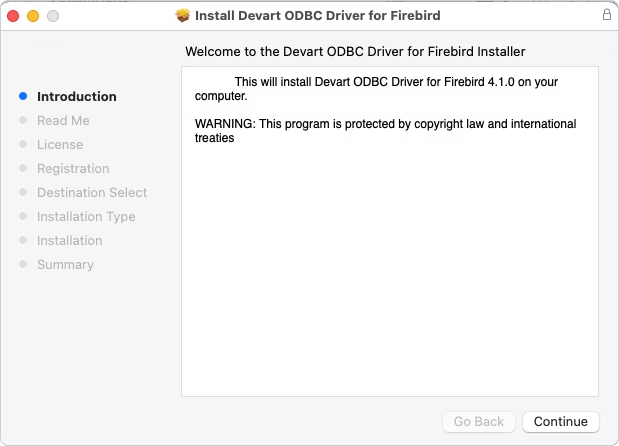
Download the latest version of the ODBC Driver for MongoDB PKG file from the Devart website and run it. In the Welcome dialog, click Allow to proceed.
Follow the required steps to install the Driver. Accept the license agreement and proceed.
On the Registration page, select your license type and activate the product. If you own a paid license, enter your Activation Key or load it from a file.
To use a Trial version, select the Trial evaluation option.

Click Continue, then Install to complete the installation.
Configure the ODBC Data Source Name
After installation, you need to create a Data Source Name (DSN) for your ODBC connection.
Windows
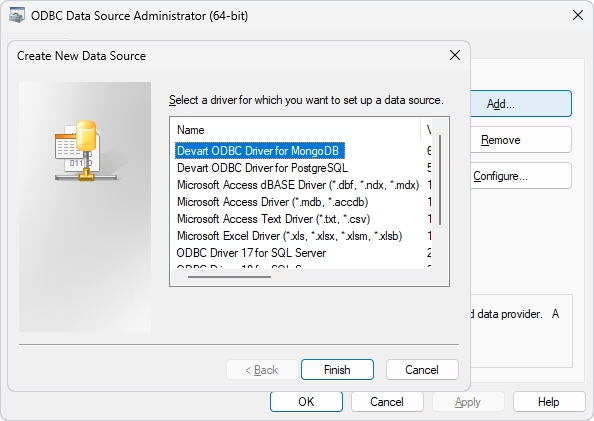
Open ODBC Data Source Administrator, select User DSN or System DSN, and click Add. Choose Devart ODBC Driver for MongoDB and click Finish.
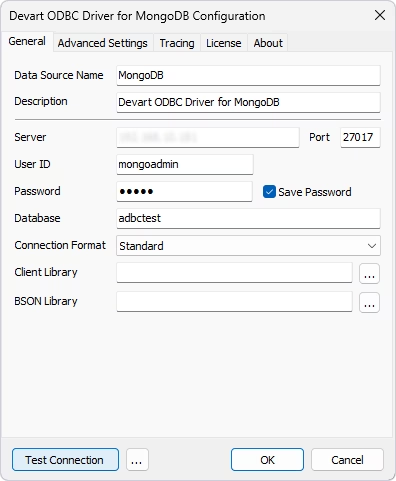
Enter your valid connection details and press Test Connection. A successful connection message should appear..
Linux
On Linux, you can configure an ODBC data source for Devart ODBC Driver for MongoDB in two ways:
- via the Devart ODBC Administrator GUI
- by manually editing the odbc.ini file
GUI configuration
Devart ODBC Administrator offers an intuitive user interface, so you can easily configure your DSN.
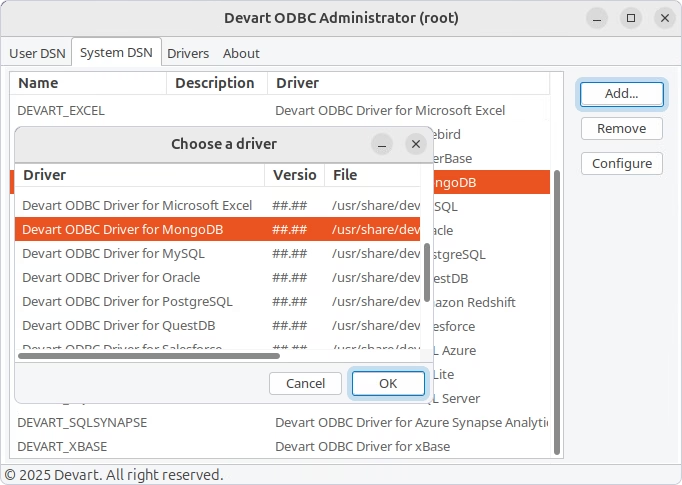
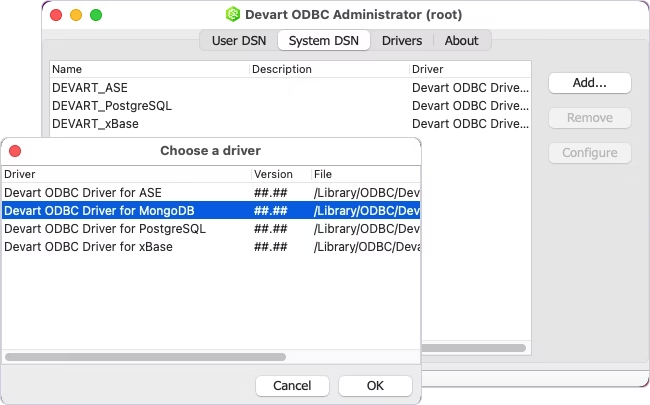
1. Open Devart ODBC Administrator, select System DSN (recommended), and click Add.
2. In the Choose a driver box, select Devart ODBC Driver for MongoDB and press OK to open the configuration dialog.
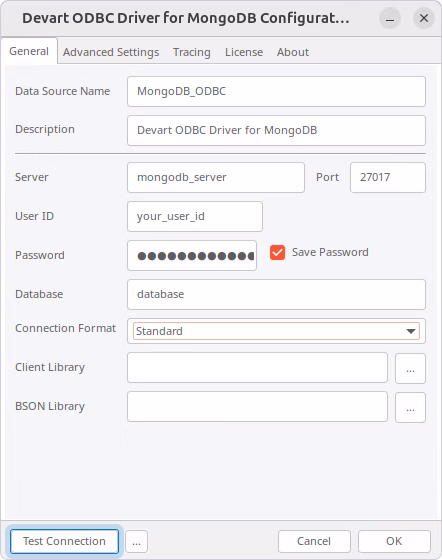
3. Enter the required connection parameters and press OK to save them. To test the connection with the MongoDB server, you press Test Connection in the Configuration window.
Manual configuration
After installing the Driver (DEB or RPM), you have the DSN named DEVART_MONGODB created. You can use it to test the connection with the MONGODB server.
Open the odbc.ini file located in the /etc folder. Find DEVART_MONGODB and specify the connection settings:
- Server=[your MongoDB server address]
- Port=[your MongoDB port]
- Database=[your MongoDB database name]
- Client Library=libmongoc-1.0.so.0BSON Library=libbson-1.0.so.0
macOS
On macOS, you have two options to configure an ODBC data source:
- via the Devart ODBC Administrator GUI
- via the built-in iODBC Driver Manager
GUI configuration via Devart ODBC Administrator
Open Devart ODBC Administrator, click System DSN (recommended), then Add. The Choose a driver dialog box appears. Select Devart ODBC Driver for MongoDB, press OK.
Enter the connection details for this data source. Verify your DSN settings by pressing Test connection and save them by pressing OK.

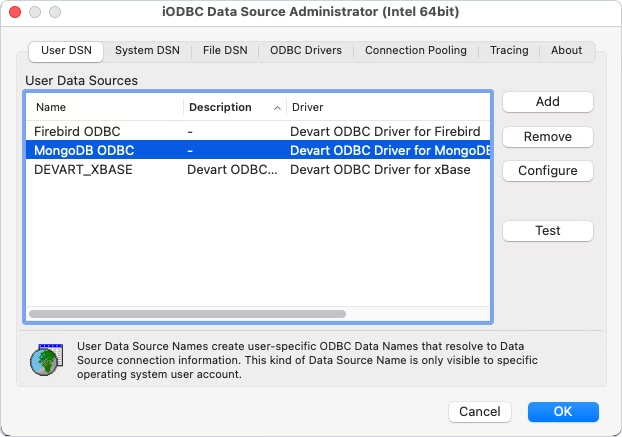
GUI configuration via iODBC Data Source Administrator
After you have installed Devart ODBC Driver for MongoDB on your macOS, you have the DEVART_MONGODB DSN created. You can use it to test the connection with MONGODB.
Run the iODBC utility, find DEVART_MONGODB, and click Configure.
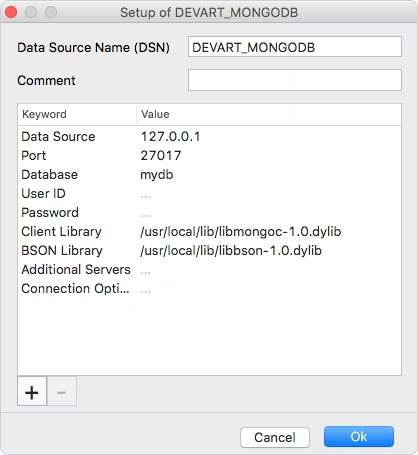
In the dialog that appears, specify the required connection settings and press OK.
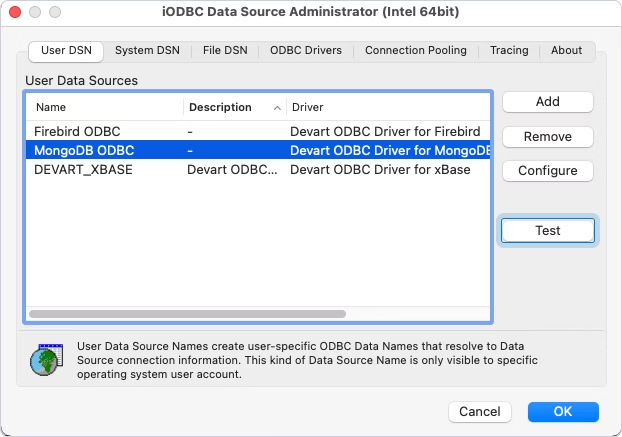
To test connection, press Test in iODBC Data Source Administrator.
Conclusion
Devart ODBC Driver for MongoDB integrates flawlessly with your applications on Windows, macOS, and Linux, and ensures reliable, fast, and secure connectivity to MongoDB data sources. You can try this Driver in action and see how it helps you in your work. Download the fully-functional free trial and test it under your actual workload!