QuickBooks Online is a cloud-based financial management solution designed for invoicing, expense tracking, and financial reporting tasks. It is a popular solution for businesses that seek better accessibility to accounting data and real-time collaboration. However, reliable and efficient connectivity becomes essential for retrieving and modifying data when third-party or integrated applications use QuickBooks Online as a data source.
One effective solution is dotConnect for QuickBooks Online, a data provider with built-in support for Entity Framework Core. It addresses common connectivity challenges and simplifies data access. In this article, we'll demonstrate how to connect to QuickBooks Online using EF Core and dotConnect, build a C# project, and perform everyday data operations.
Why dotConnect for QuickBooks?
Easy integration with QuickBooks Online
Ensures effortless connection to QuickBooks Online, allowing .NET applications to access accounting data such as customers, invoices, and payments without dealing with the complexity of the API.
Interactive OAuth token generation
Streamlines authentication via Interactive OAuth, where users sign in through a browser-based login flow. After authorization, dotConnect automatically gets and manages access and refresh tokens.
User-friendly ADO.NET classes
Uses well-known ADO.NET classes, enabling an easy start and creating a convenient working environment.
Advanced ORM support
Fully supports EF Core, Dapper, NHibernate, LinqConnect, and other technologies for efficient QuickBooks Online data management.
Full ADO.NET compliance
Conforms to the latest ADO.NET standards and innovations for seamless integration with .NET applications.
Priority support & frequent updates
Includes priority support, detailed documentation, and regular updates for continuous improvement.
Download and activate dotConnect for QuickBooks
You can start using dotConnect for QuickBooks immediately with a 30-day free trial. Choose one of the following installation options:
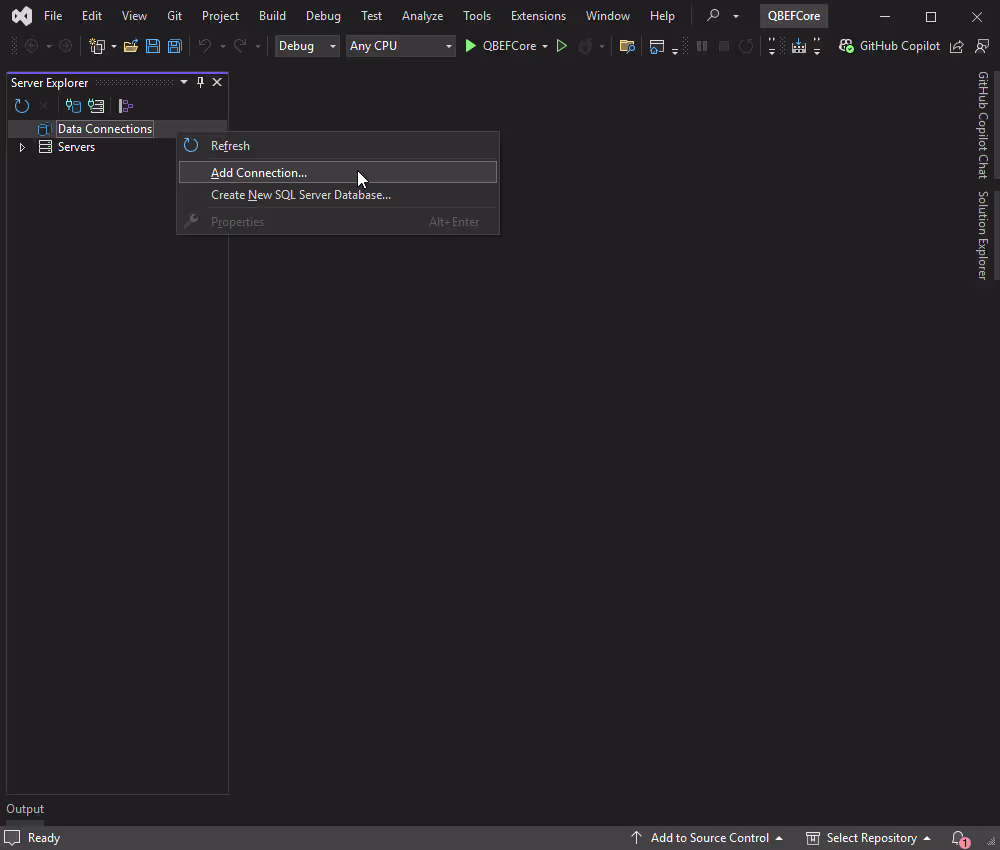
In the Server Explorer, right-click Data Connections and select Add Connection...
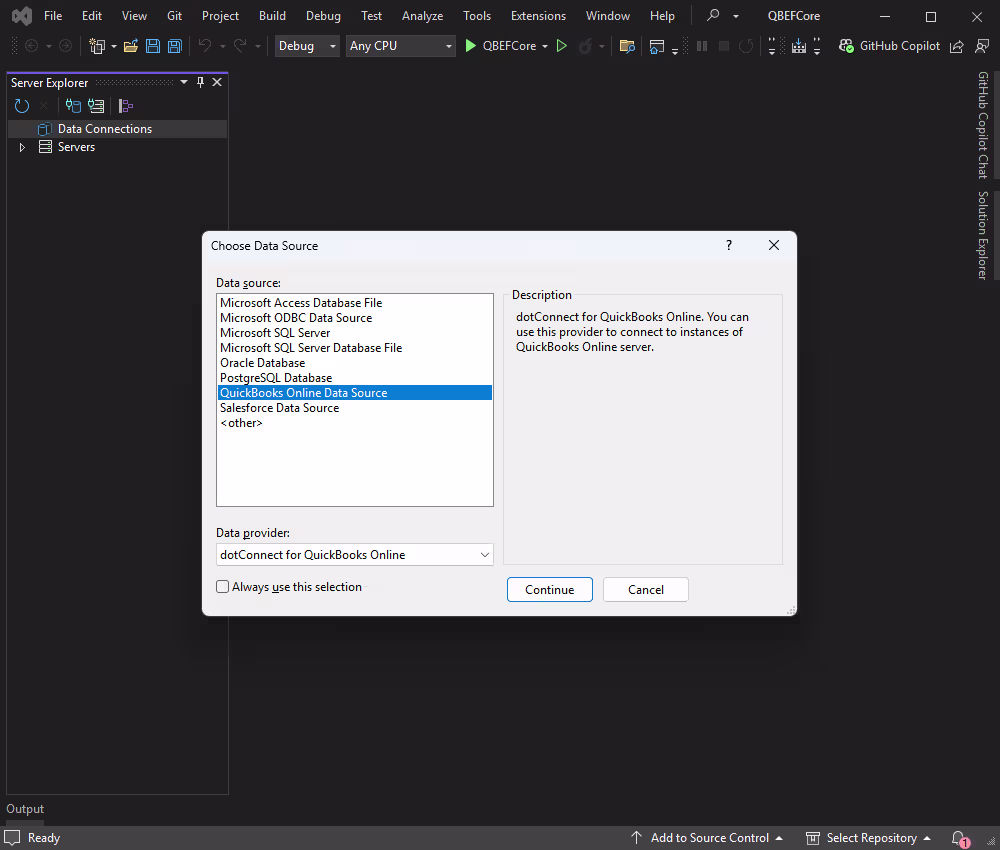
In the Choose Data Source window, select dotConnect for QuickBooks from the list of installed data providers. Click Continue.
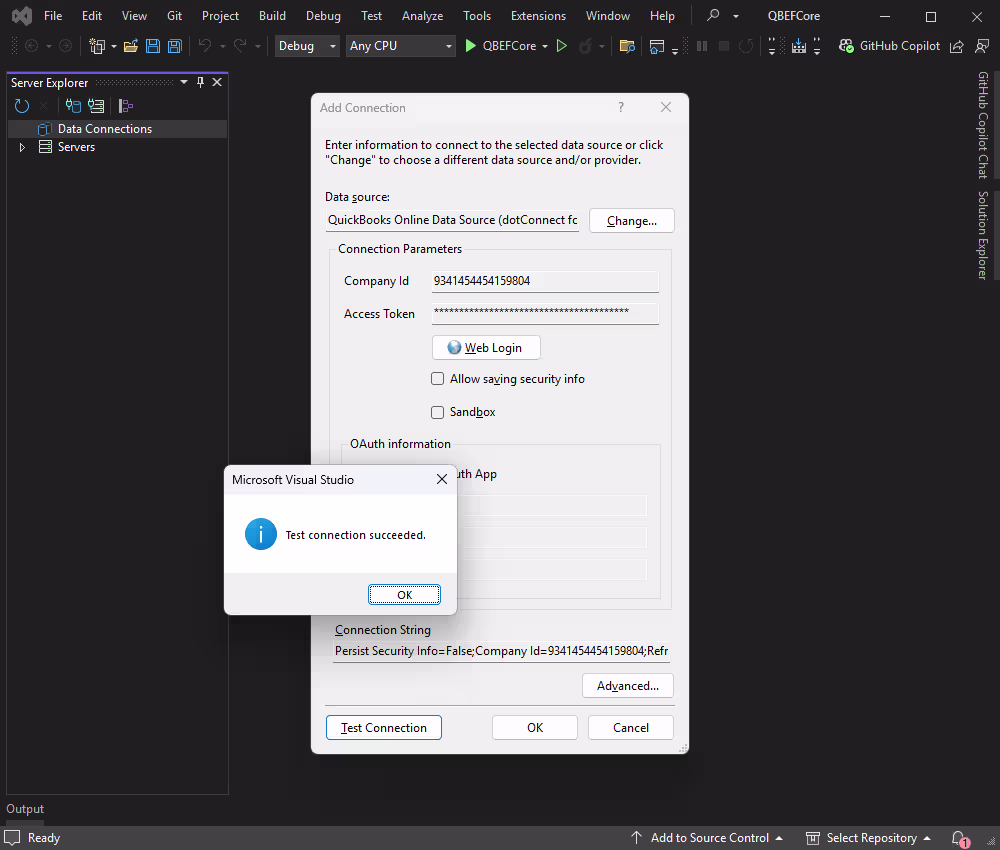
In the Add Connection window, click Web login and enter the Company ID and Access Token.
Click Test Connection to verify the connection settings. Now you can connect to QuickBooks Online.
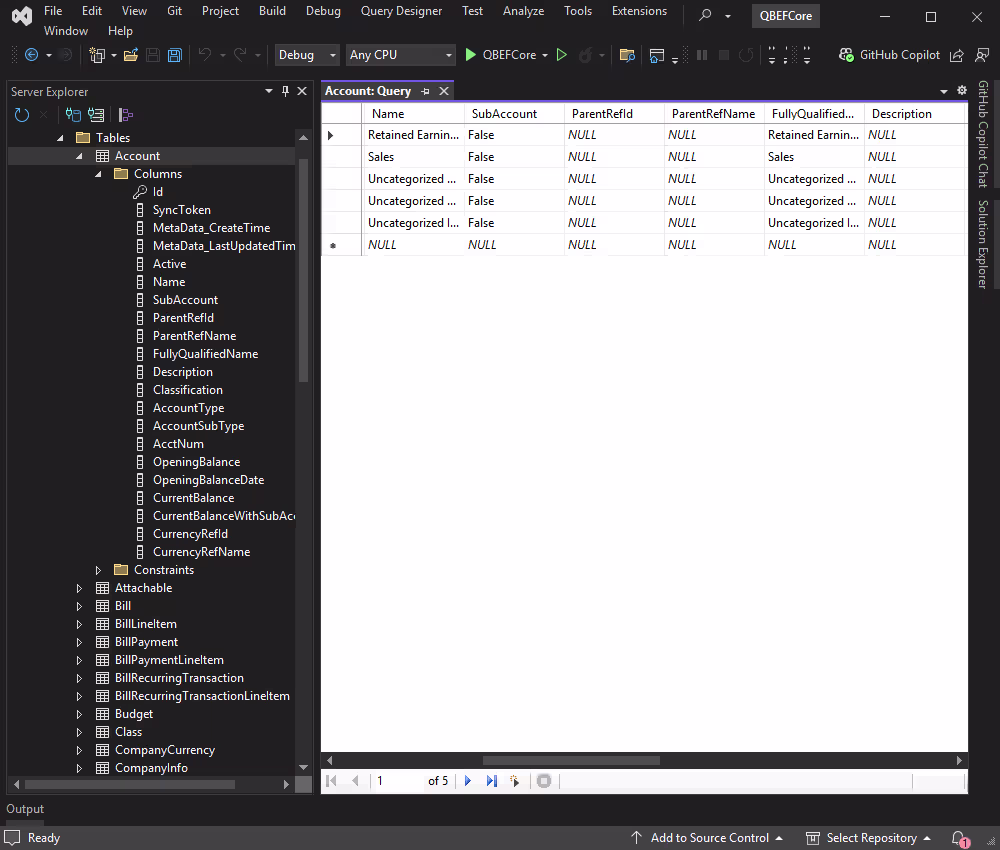
Expand the newly created data connection to view the database structure in the Server Explorer. Then expand the Tables node to see a list of tables in the database. Further expand any table to view its columns.
To fetch data from a table, right-click the table name and select Retrieve Data from Table. A query window opens with a SELECT statement to retrieve the necessary data portion from the table.
Create an EF Core model
After configuring the database, the next stage is to create an EF Core model. You can do this in two ways: with Scaffold-DbContext or via Entity Developer.
Create an EF Core model using Scaffold-DbContext
Check the EF Core Tools that you need to have installed. To install them globally, run the following command in the .NET command-line interface (CLI):
dotnet tool install --global dotnet-ef
Install Scaffold-DbContext using Package Manager Console. In Visual Studio, go to Tools > NuGet Package Manager > Package Manager Console and run the following command:
When the package is installed, you can use Scaffold-DbContext to generate DbContext and entity classes. Run the command below in the Package Manager Console, replacing values with your actual credentials:
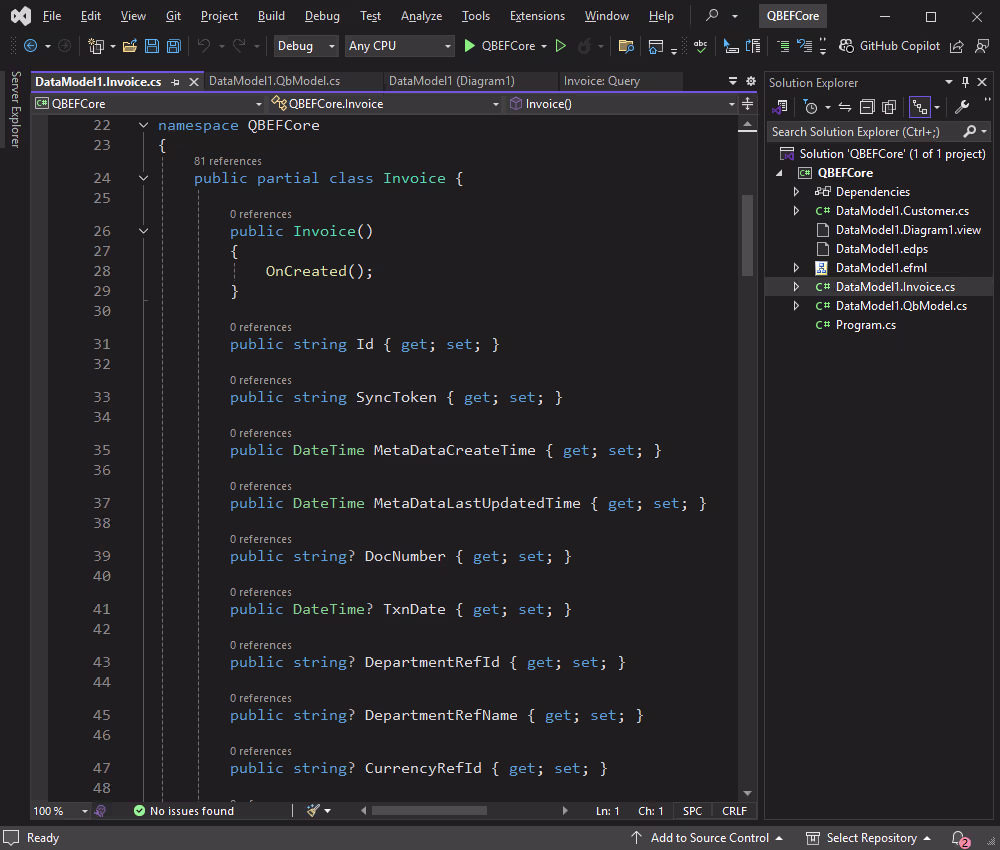
This command generates the ModelContext file and the Models folder that contains the table entity classes, which you will see in the Solution Explorer. Now, the DbContext classes are successfully created.
Connection string
The following table lists the valid names for values within the QuickBooks Online connection strings.
Name
Description
Authentication Type
Authentication method to use. The supported types are Refresh Token, Access Token, and OAuthInteractive
Company Id
Unique identifier for a QuickBooks company
Access Token
QuickBooks OAuth 2.0 access token
Client Id
One of the two OAuth 2.0 credentials obtained when the application is registered
Client Secret
The second part of the two OAuth 2.0 credentials
License Key
License key that should be specified in the connection string
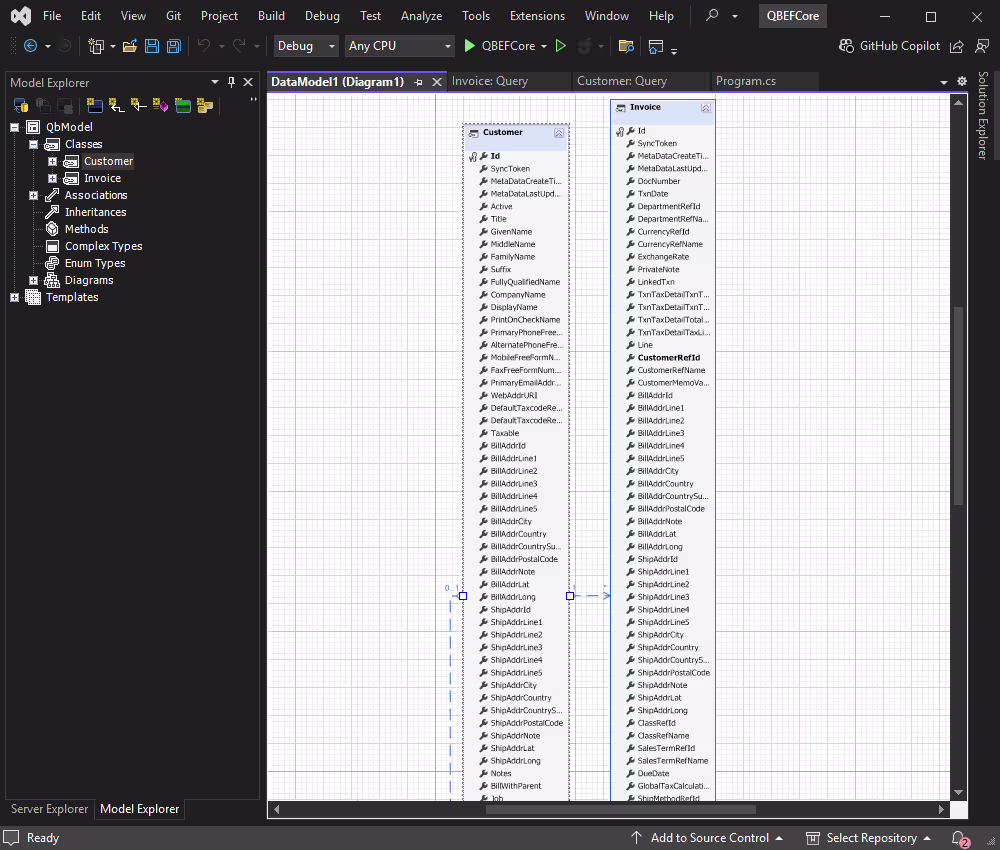
Another approach to creating EF Core models is with the help of Entity Developer, a powerful ORM designer with both the model-first and database-first approaches, excellent visualization, and flawless integration with Visual Studio.
Follow the detailed illustrated guide to create your database model using Entity Developer. When this process is complete, it will open the model you created.
The DbContext class is successfully created as well.
Now, we can proceed to performing data-related operations in our application.
Read data from QuickBooks
This tutorial assumes that the Customer table with data exists in your QuickBooks Online account. Adjust the field names and data types as necessary to match your actual data model, and use the following code to retrieve data from QuickBooks Online into your application.
using(var context = new QbModel()) {
try {
var customers = context.Customers
.Select(c =>new {
DisplayName = c.DisplayName, // Use DisplayName instead of FullyQualifiedName
CompanyName = c.CompanyName,
PrimaryEmailAddrAddress = c.PrimaryEmailAddrAddress
})
.Take(10) // Limit the results to 10 customers
.ToList();
foreach(var customer in customers) {
Console.WriteLine($"Display Name: {customer.DisplayName}");
Console.WriteLine($"Company Name: {customer.CompanyName}");
Console.WriteLine($"Email: {customer.PrimaryEmailAddrAddress}");
Console.WriteLine(new string('-', 20));
}
} catch (Exception ex) {
Console.WriteLine($"An error occurred: {ex.Message}");
}
}
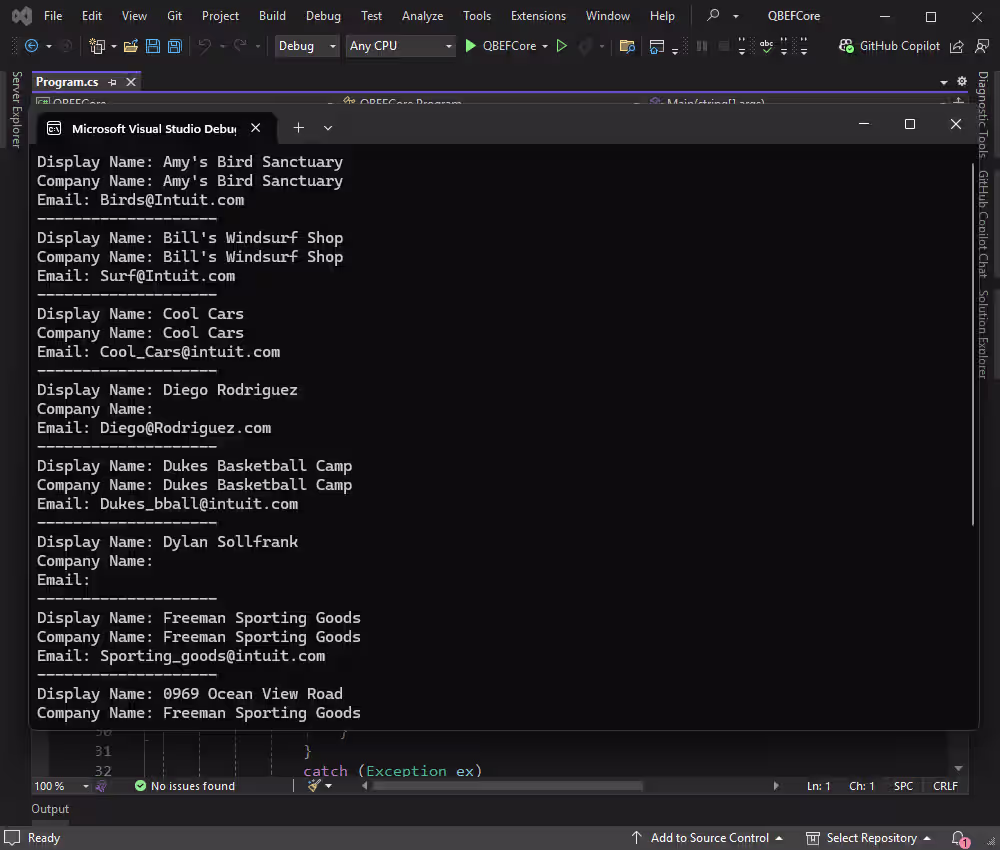
You can see the data from the DisplayName, CompanyName, and PrimaryEmailAddrAddress fields retrieved and displayed for each customer successfully.
Insert new records into QuickBooks
In most applications, a common scenario involves inserting records into a database and displaying the results. The example below demonstrates how to add records and retrieve the updated data.
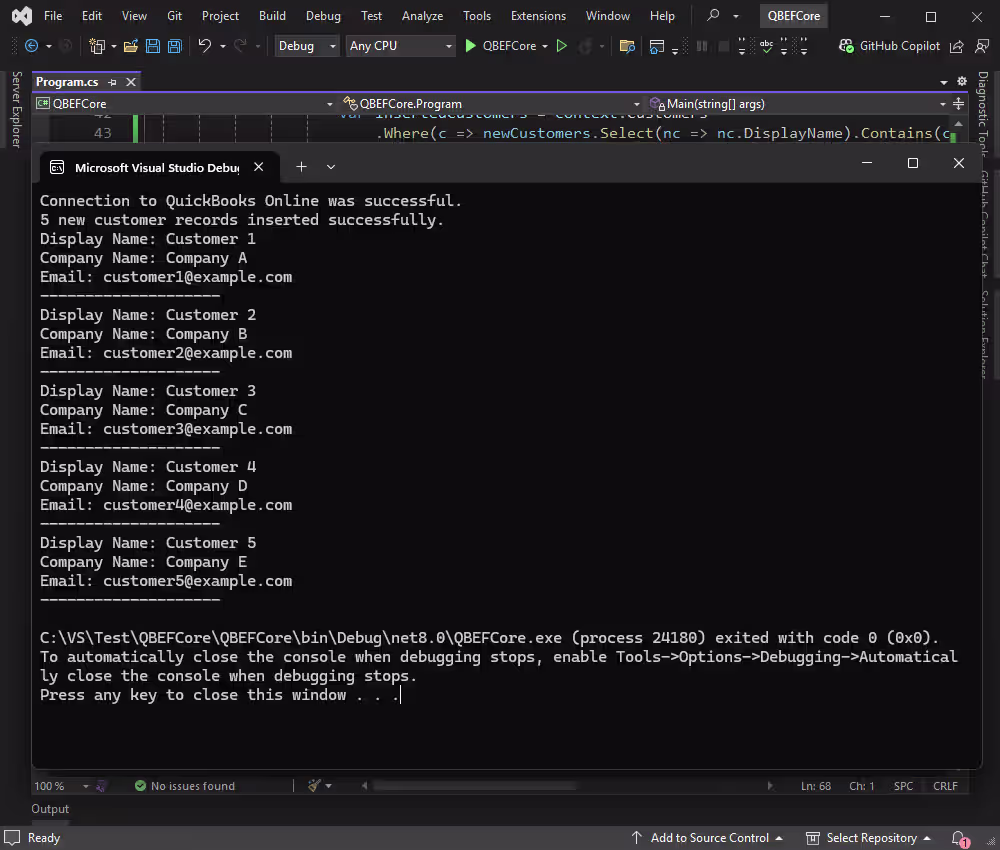
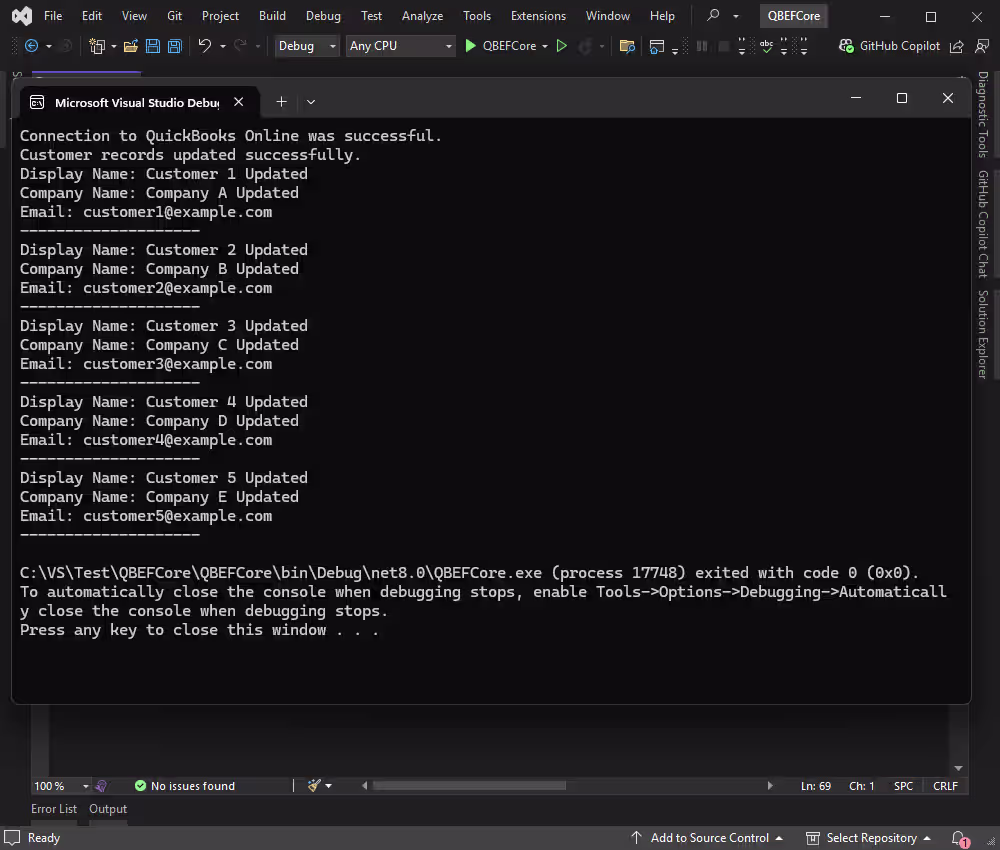
This way, we have created and added five new customer records to the Customers DbSet using the AddRange method. The SaveChanges method is called to push these changes to the database.
We can see the new data in the application:
Update QuickBooks data
Let's update the existing records with DisplayName values Customer 1, Customer 2, and so on. We need to modify the DisplayName and CompanyName fields.
We filter the records by using the Updated value in the DisplayName and CompanyName fields. Call the SaveChanges method to save the updates in the database.
Delete data from QuickBooks
Assume we need to delete the last added records from the database. For that, we use the RemoveRange method.
using(var context = new QbModel()) {
try {
// Check connection statusvar canConnect = context.Database.CanConnect();
if (canConnect) {
Console.WriteLine("Connection to QuickBooks Online was successful.");
}
else {
Console.WriteLine("Failed to connect to QuickBooks Online.");
return;
}
// Find and delete the specific recordsvar customersToDelete = context.Customers
.Where(c =>new [] {
"Customer 1 Updated",
"Customer 2 Updated",
"Customer 3 Updated",
"Customer 4 Updated",
"Customer 5 Updated"
}
.Contains(c.DisplayName))
.ToList();
context.Customers.RemoveRange(customersToDelete);
context.SaveChanges();
Console.WriteLine("Customer records deleted successfully.");
// Optionally, verify deletion by attempting to retrieve the deleted recordsvar deletedCustomers = context.Customers
.Where(c =>new [] {
"Customer 1 Updated",
"Customer 2 Updated",
"Customer 3 Updated",
"Customer 4 Updated",
"Customer 5 Updated"
}
.Contains(c.DisplayName))
.ToList();
if (!deletedCustomers.Any()) {
Console.WriteLine("Verified: The specified customer records have been deleted.");
}
else {
Console.WriteLine("Some records were not deleted.");
}
}
catch (Exception ex) {
Console.WriteLine($"An error occurred: {ex.Message}");
}
}
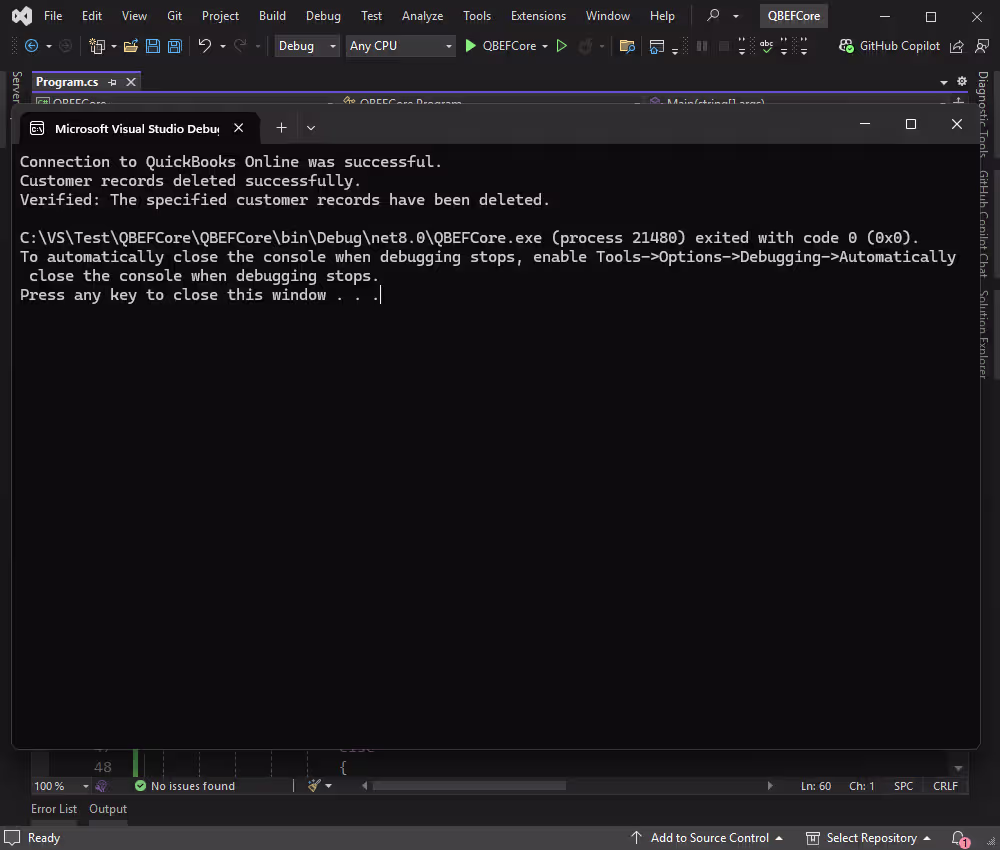
When we execute this code, it deletes specified customer records and verifies the results.
Conclusion
Using QuickBooks Online as a data source for C# applications is a popular choice. However, the effectiveness of any application depends on reliable data connectivity, ensuring correct connections and easy access to retrieve, update, and manage data stored in that source.
dotConnect for QuickBooks Online provides a direct connection to this cloud service without additional clients or libraries. It enables you to develop C# applications using ADO.NET and EF Core, delivering fast, stable, and smooth data access.
You can try dotConnect for QuickBooks Online with a fully functional 30-day trial, letting you test its features in real-world scenarios under actual workload. To help you get started as quickly and easily as possible, we suggest you refer to the documentation, which is replete with useful tips and walkthroughs.
FAQ
How do you install and activate dotConnect for QuickBooks Online in a .NET project?
Install dotConnect for QuickBooks Online using the EXE installer or by adding the Devart.Data.QuickBooks NuGet package to your project. Then obtain your Activation Key from your Devart Customer Portal and include it in the connection string via the License Key parameter.
How do you authenticate to QuickBooks Online using Interactive OAuth in dotConnect?
To authenticate with QuickBooks Online, set the connection string parameter:
Authentication Type=OAuthInteractive
When the QuickBooksConnection opens, a browser window launches for you to sign in to your Intuit account and grant access. After authorization, dotConnect automatically retrieves and stores the access and refresh tokens.
How do you create a connection to QuickBooks Online using dotConnect in C#?
Define a connection string that includes CompanyId, authentication parameters, and the License Key. Then create a QuickBooksConnection instance with this string and call Open() inside a try-catch block to establish the connection and handle possible errors.
Can you query QuickBooks Online data using SQL with dotConnect?
Yes, dotConnect allows you to work with QuickBooks Online data using SQL queries. Developers can retrieve and manipulate objects such as Customers, Invoices, and Payments through familiar SQL commands.
Can you connect to QuickBooks Online using Entity Framework Core and dotConnect?
Yes, you can use Entity Developer to visually generate an EF Core model from QuickBooks Online entities, or run Scaffold-DbContext with the Devart.Data.QuickBooks.EFCore package and a dotConnect connection string (including License Key) to create the DbContext and entity classes.
Is it possible to access QuickBooks Online data in Visual Studio Server Explorer with dotConnect?
Yes, open Visual Studio Server Explorer, add a new Data Connection, choose dotConnect for QuickBooks Online as the provider, configure authentication and company details, test the connection, and explore QuickBooks Online objects directly in the IDE.
I'm a technical content writer who loves turning complex topics — think SQL, connectors, and backend chaos–into content that actually makes sense (and maybe even makes you smile). I write for devs, data folks, and curious minds who want less fluff and more clarity. When I'm not wrangling words, you'll find me dancing salsa, or hopping between cities.