Blazor is a modern web framework that uses HTML and C# to build interactive web applications. One of its biggest advantages is the ability to create reusable components that make building complex user interfaces easier.
SQLite is a lightweight and fast database engine that requires no separate server installation. Because it is simple, reliable, and portable, it is widely used on mobile devices and desktop applications.
When building applications, connecting the user interface to a database is essential since applications rely on stored data to function properly. This tutorial will demonstrate how to integrate SQLite with a Blazor application and manage databases directly from C# code.
Why dotConnect for SQLite?
Advanced encryption
Provides integrated support for the SQLite Encryption Extension with AES, Blowfish, TripleDES, Cast128, and RC4 encryption algorithms.
Advanced ORM Support
Fully supports EF Core, Dapper, NHibernate, LinqConnect, and more for efficient data management.
Full ADO.NET Compliance
Conforms to ADO.NET standards for seamless integration with .NET applications.
SQLite-specific data types
Includes specific features and fully supports all unique data types for accurate and complete data representation.
IDE integration
Features native integration with Visual Studio and complete design-time support for accelerated development.
Support & frequent updates
Includes priority support, detailed documentation, and regular updates for continuous improvement.
Download and activate dotConnect for SQLite
You can start using dotConnect for SQLite immediately with a 30-day free trial. Choose one of the following options:
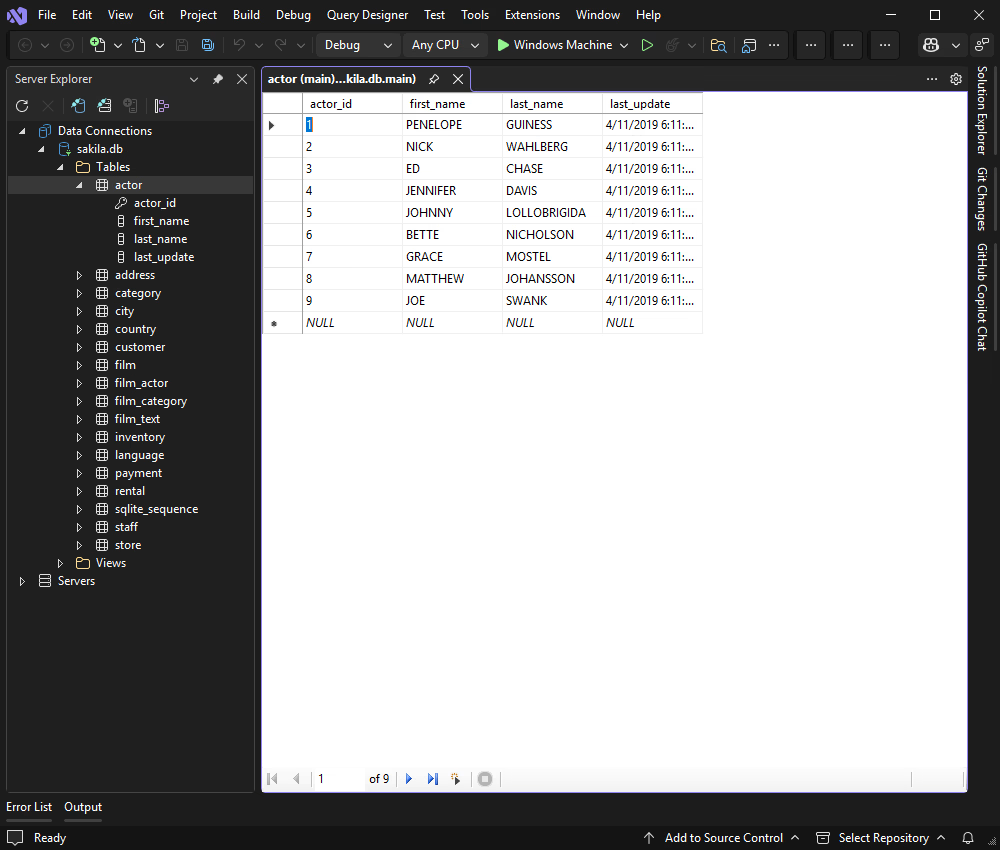
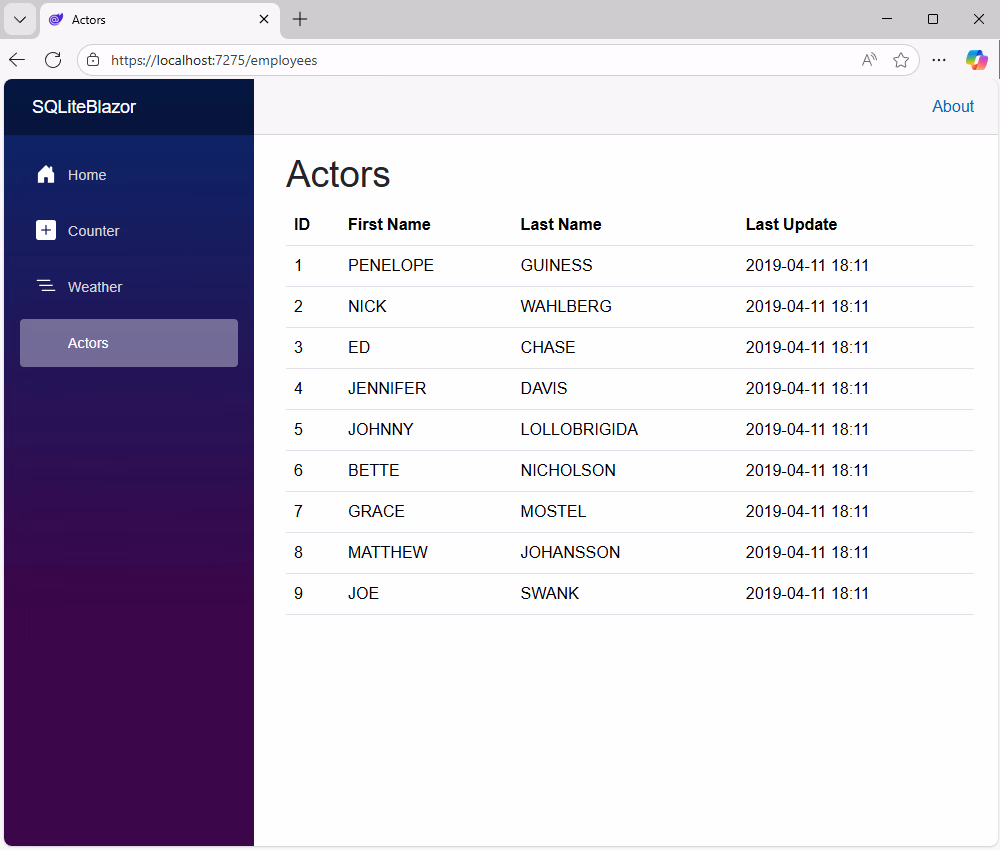
In this section, we are going to establish a connection to the SQLite database and display data in a read-only table. This ensures our database connection and data service are correctly configured and provides the base upon which we will build the other CRUD operations.
Create the data model (Actor.cs)
In your project, create a new folder named Data. Inside it, create a class file named Actor.cs. This class will act as a model to hold the data for each actor record.
In the Data folder, create a new class ActorService.cs. This service will contain the logic to interact with the database. Note that we will use dependency injection to provide this service to our components, so the class is not static.
The connection string uses the Data Source key pointing to the .db file path. The License Key is required for the Devart provider.
// Program.csusing SQLiteBlazor.Components;
using SQLiteBlazor.Data;
var builder = WebApplication.CreateBuilder(args);
// Add services to the container.
builder.Services.AddRazorComponents()
.AddInteractiveServerComponents();
// Register the ActorService
builder.Services.AddScoped<ActorService>();
var app = builder.Build();
// ...
Create the Actors page (Actors.razor)
In the Components/Pages folder, create a new Razor Component named Actors.razor. This page will fetch and display the data.
We have successfully built a read-only Blazor application that connects to a SQLite database and displays the data in a table. This confirms that your core setup, including dependency injection and data retrieval, is working correctly.
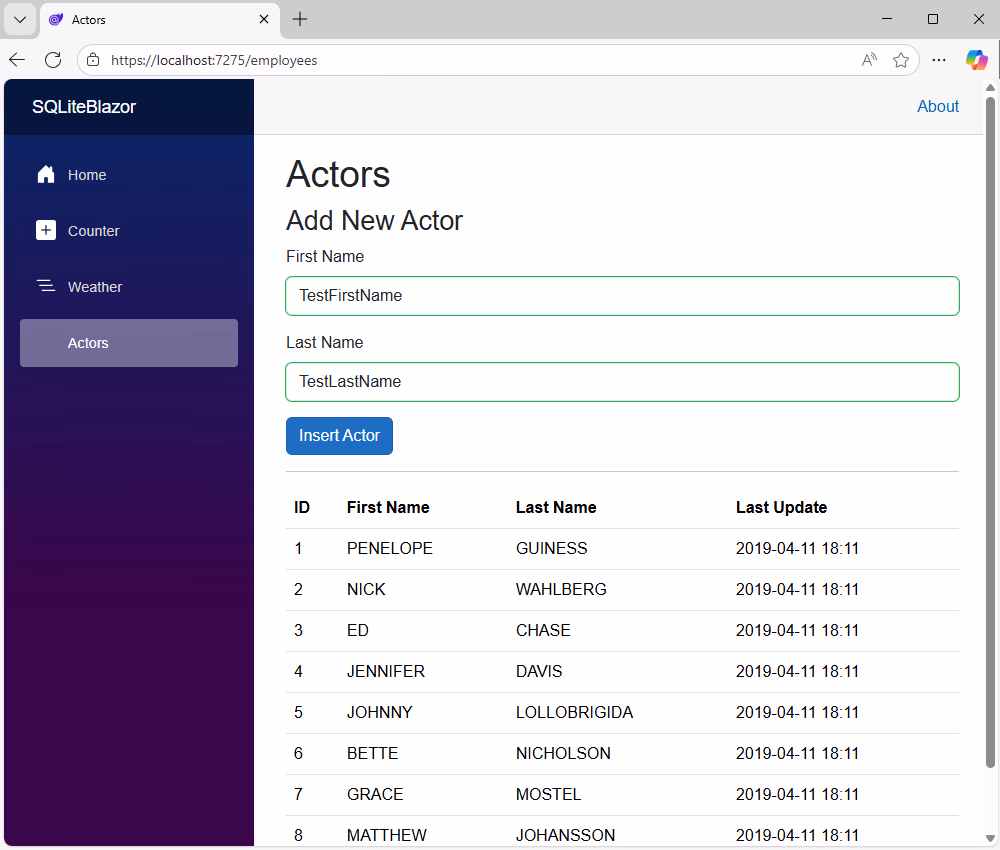
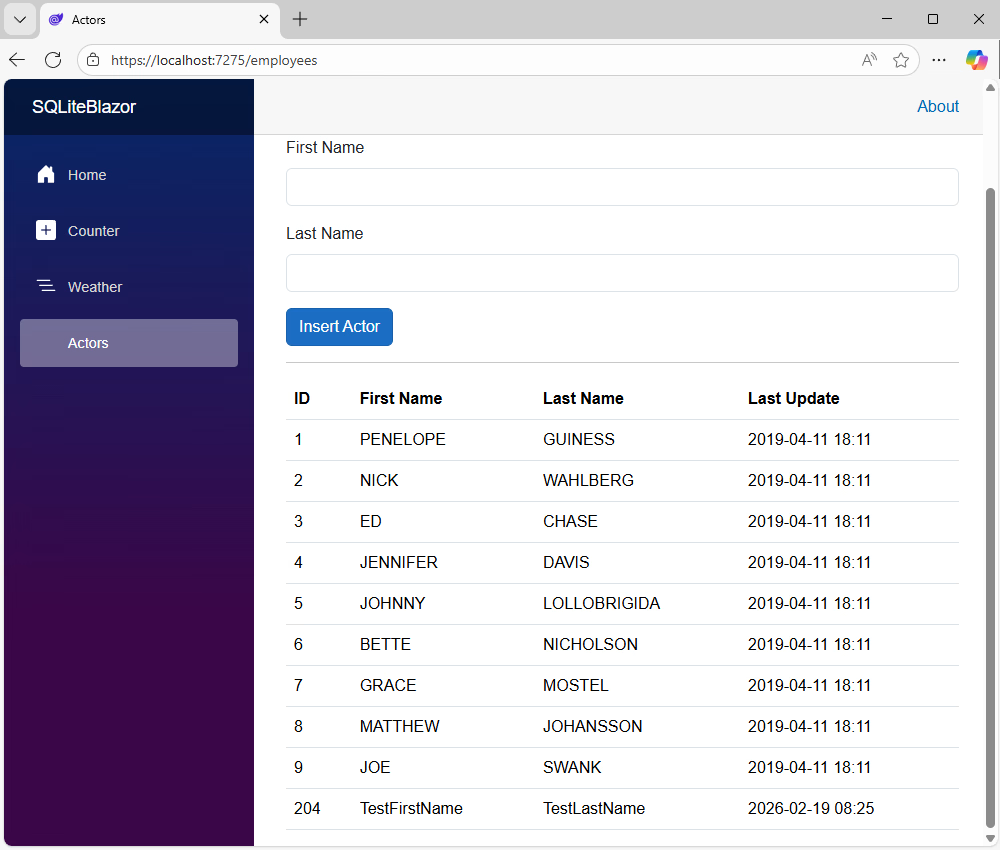
Insert SQLite data
Our next task is to add the ability to create new records. This involves adding an EditForm to the UI and implementing the corresponding logic to execute an INSERT SQL command.
SQLite uses strftime('%Y-%m-%d %H:%M:%S', 'now') as the equivalent of MySQL's NOW() for the current timestamp.
Update the UI (Actors.razor)
Modify Actors.razor to add a dedicated EditForm for creating new actors.
private List<Actor>? actors;
private Actor newActor = new();
private Actor actorToEdit = new();
protectedoverrideasync Task OnInitializedAsync()
{
await LoadActors();
}
privateasync Task LoadActors()
{
actors = await ActorSvc.GetAllActorsAsync();
}
privateasync Task HandleInsert()
{
await ActorSvc.InsertActorAsync(newActor);
newActor = new(); // Clear the form after insertawait LoadActors(); // Refresh the list
}
// HandleUpdate, SetActorForUpdate, and ClearForm methods will be added in Step 3
}
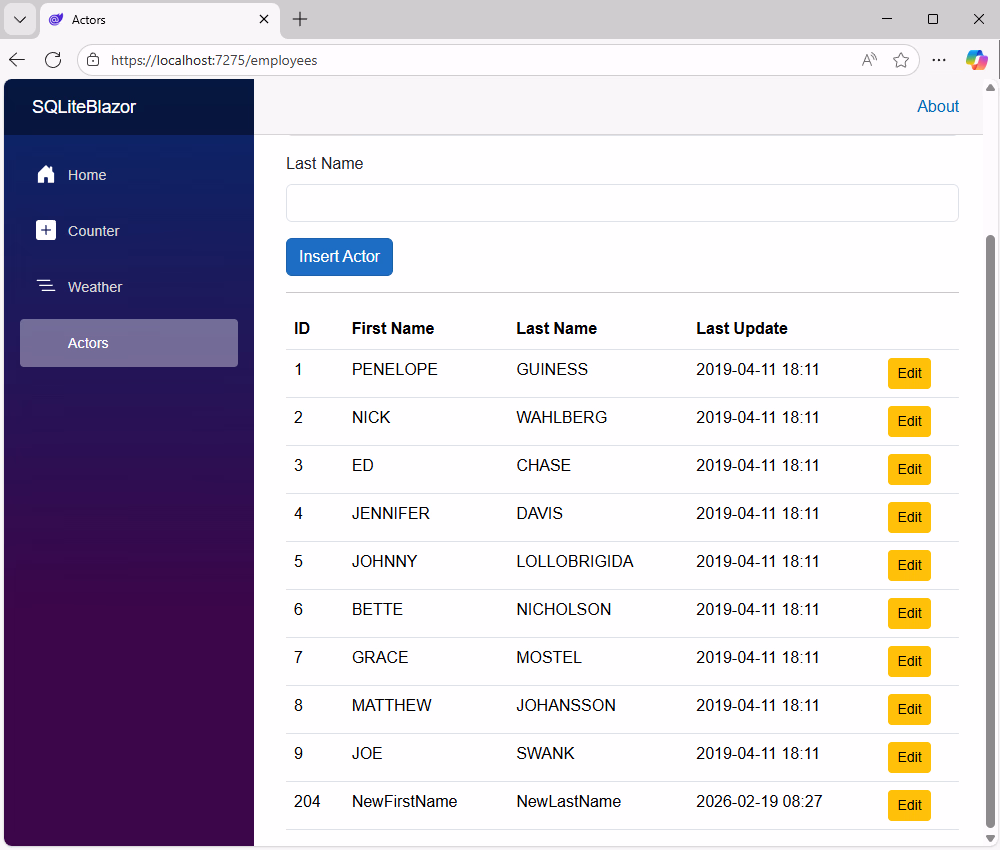
Therefore, our application can add new records to the database. Users can input data into the form, click the Insert Actor button, and see the table update immediately with the new entry.
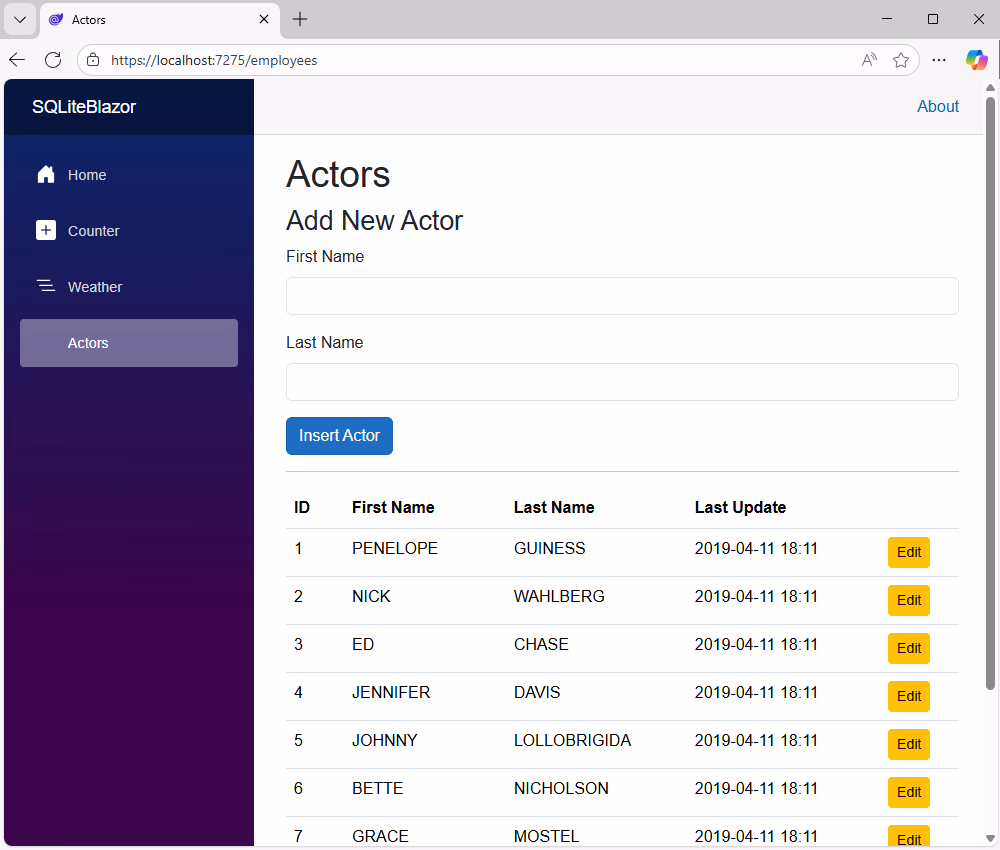
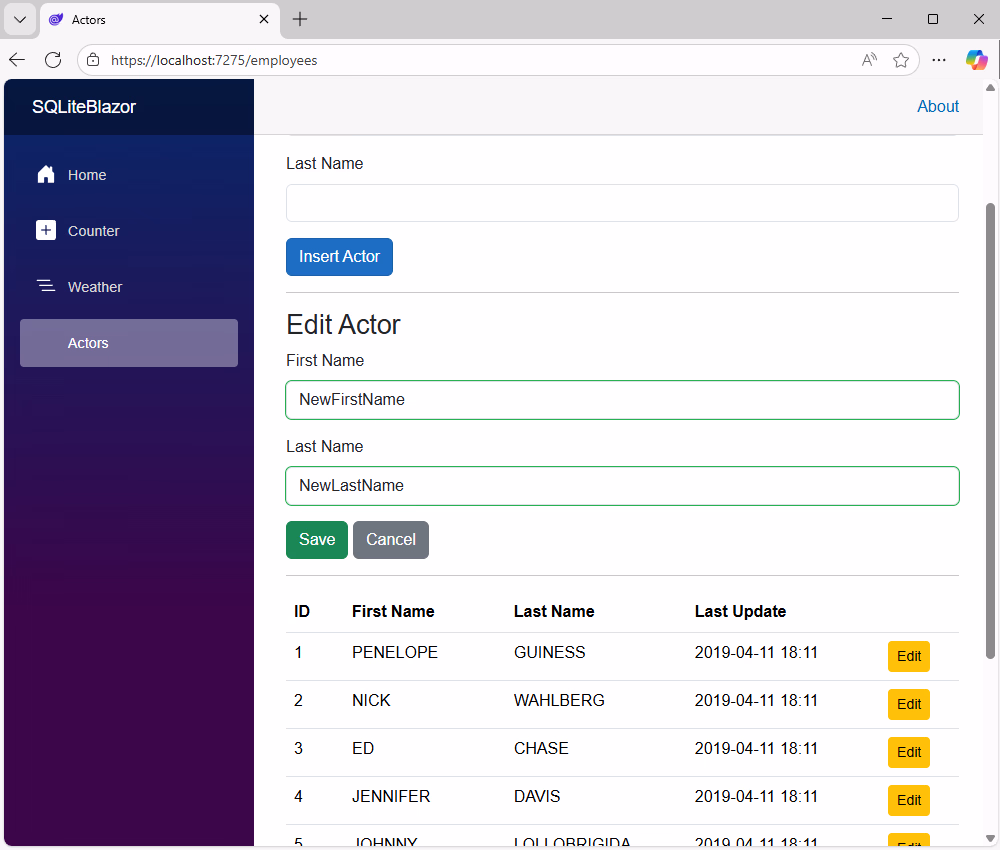
Update SQLite data
We also need to implement the ability to edit existing records. This requires adding Edit buttons to our table and setting the logic to populate the form for editing. We will reuse the same EditForm.
Update the UI (Actors.razor)
Modify Actors.razor to include a conditional EditForm for updating actors and add Edit and Delete buttons to each row in the table.
private List<Actor>? actors;
private Actor newActor = new();
private Actor actorToEdit = new();
protectedoverrideasync Task OnInitializedAsync()
{
await LoadActors();
}
privateasync Task LoadActors()
{
actors = await ActorSvc.GetAllActorsAsync();
}
privateasync Task HandleInsert()
{
await ActorSvc.InsertActorAsync(newActor);
newActor = new();
await LoadActors();
}
privatevoidSetActorForUpdate(Actor actor)
{
// Create a copy to avoid modifying the list directly
actorToEdit = new Actor
{
ActorId = actor.ActorId,
FirstName = actor.FirstName,
LastName = actor.LastName
};
}
privateasync Task HandleUpdate()
{
await ActorSvc.UpdateActorAsync(actorToEdit);
ClearForm();
await LoadActors();
}
privatevoidClearForm()
{
actorToEdit = new();
}
// HandleDelete method will be added in Step 4
}
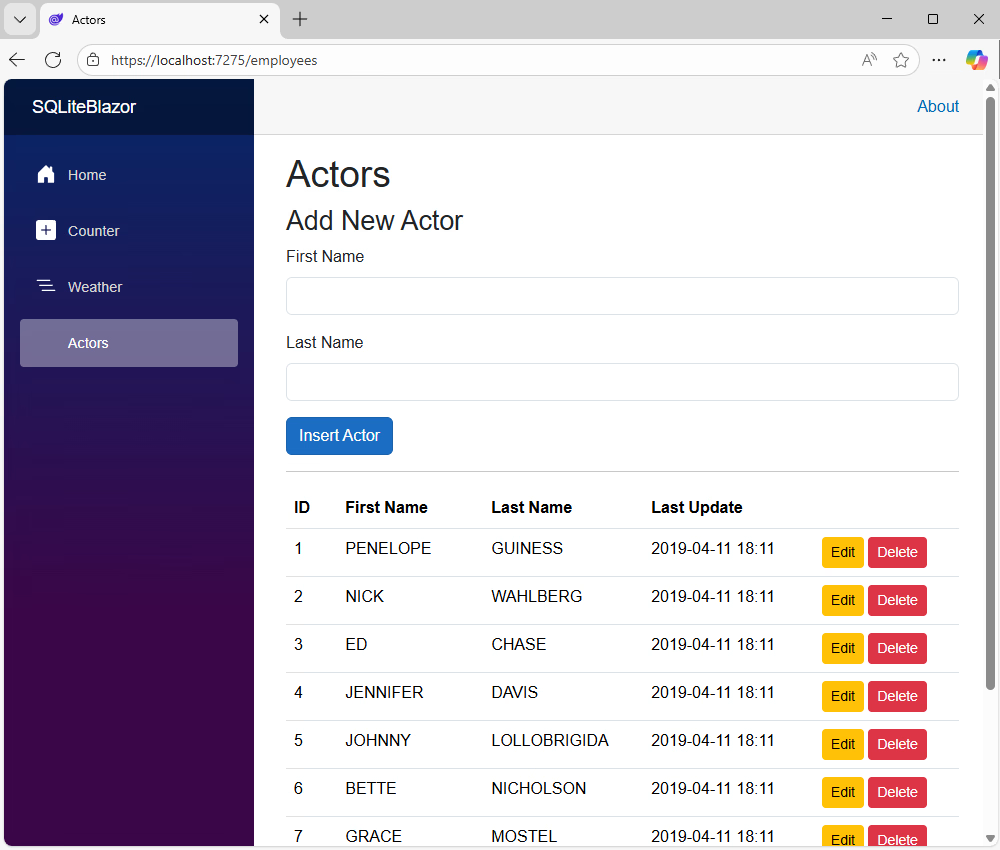
After performing these steps, the application becomes able to support editing data. Users can click Edit on an actor, change their details in the form, and save the changes back to the database.
Delete SQLite data
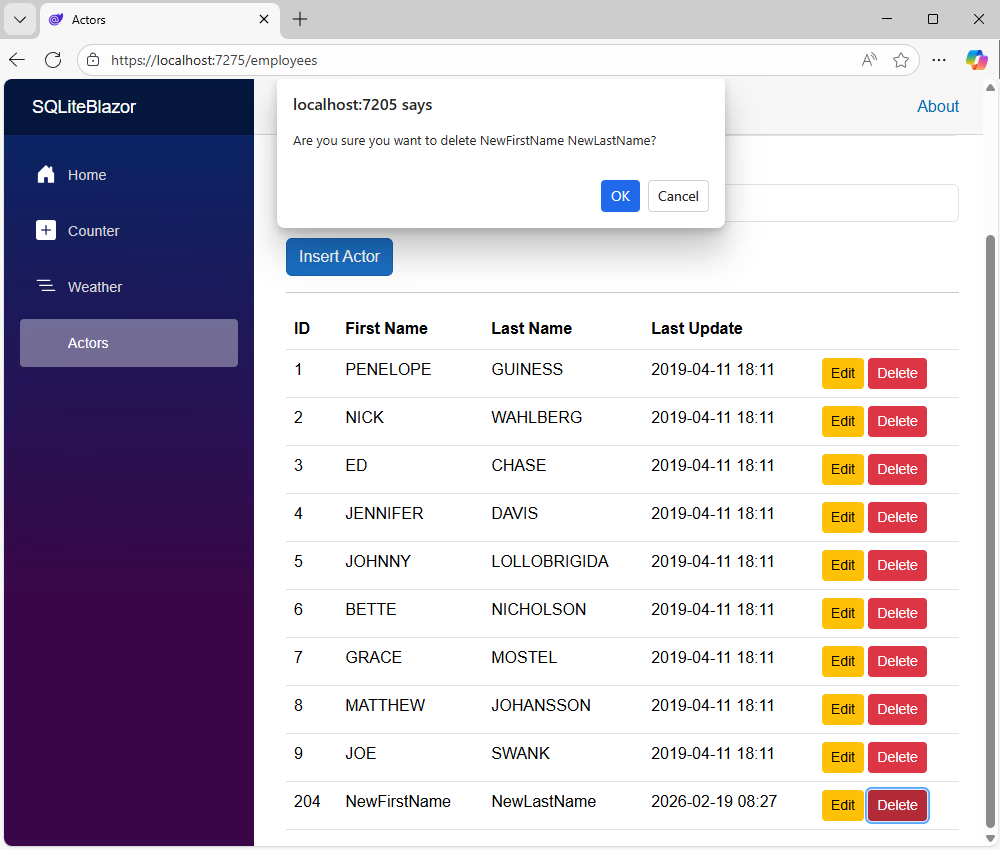
Finally, we implement the deletion functionality. This involves adding a Delete button and using Blazor's JavaScript Interop feature to show a confirmation dialog.
Update the UI (Actors.razor)
We have already added the Delete button. It will call HandleDelete(actor) which we are going to implement now.
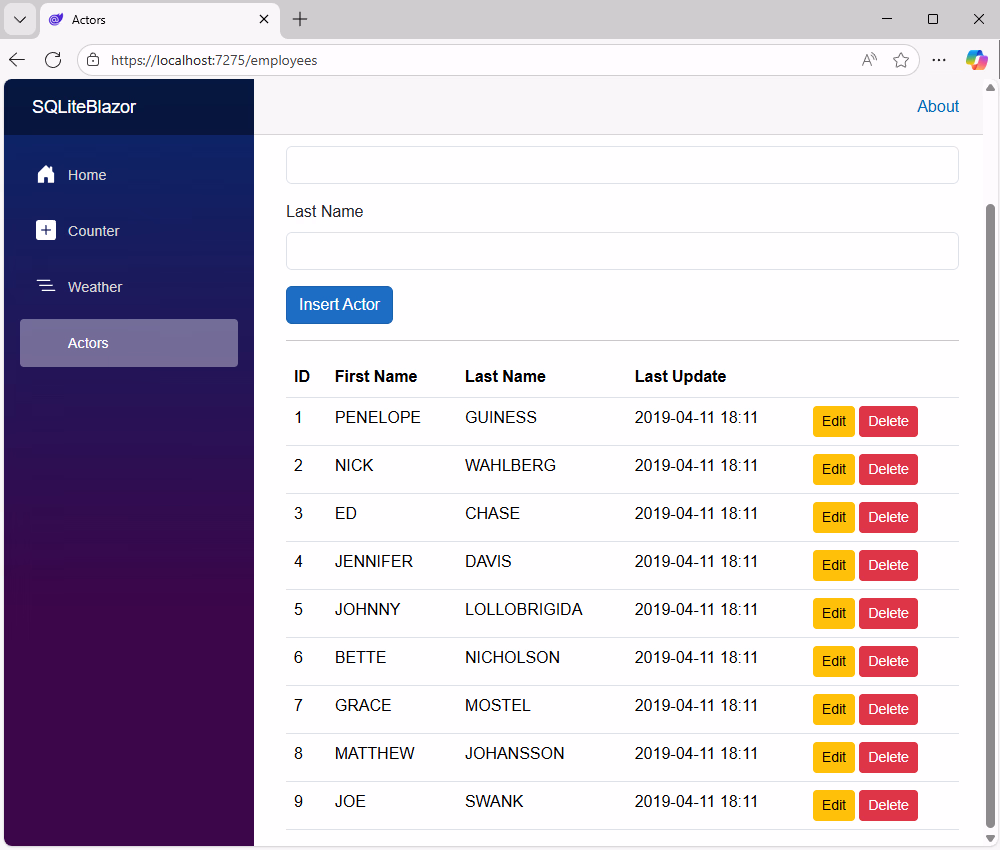
We have completed the creation of our Blazor application with full CRUD functionality to read, create, update, and delete records in a SQLite database through a modern web interface.
Video tutorial
Conclusion
In this tutorial, we demonstrated how to connect a Blazor application to an SQLite database and perform basic data operations, including retrieving, updating, inserting, and deleting records.
From here, you can continue building agile, data-driven applications that integrate with SQLite. dotConnect for SQLite can help by providing direct data access and efficient data manipulation within your application. Try it with a fully functional free trial to see how it can simplify many everyday development tasks.
FAQ
How do you install and activate dotConnect for SQLite in a .NET project?
Install dotConnect for SQLite either by running the Windows installer (EXE) or by adding the Devart.Data.SQLite NuGet package to your .NET project. Then, retrieve your activation key from the Devart Customer Portal and specify it in your connection string by using the License Key parameter to activate the provider and connect successfully.
How do you create a connection to SQLite using dotConnect in C#?
Define a connection string that includes host, user ID, password, database, and the License Key value, then create an SQLiteConnection instance with this string and call Open() inside a TRY-CATCH block to test and handle connection errors.
How do you enable encryption for secure SQLite connections with dotConnect?
Use SQLite Native Network Encryption by configuring encryption in the sqlnet.ora file on both client and server sides. No special parameters are required in the connection string.
Can you connect to SQLite using Entity Framework Core and dotConnect?
Yes, you can either use Entity Developer to visually create an EF Core model from the database or run Scaffold-DbContext with a dotConnect connection string (including License Key) to generate the DbContext and entity classes.
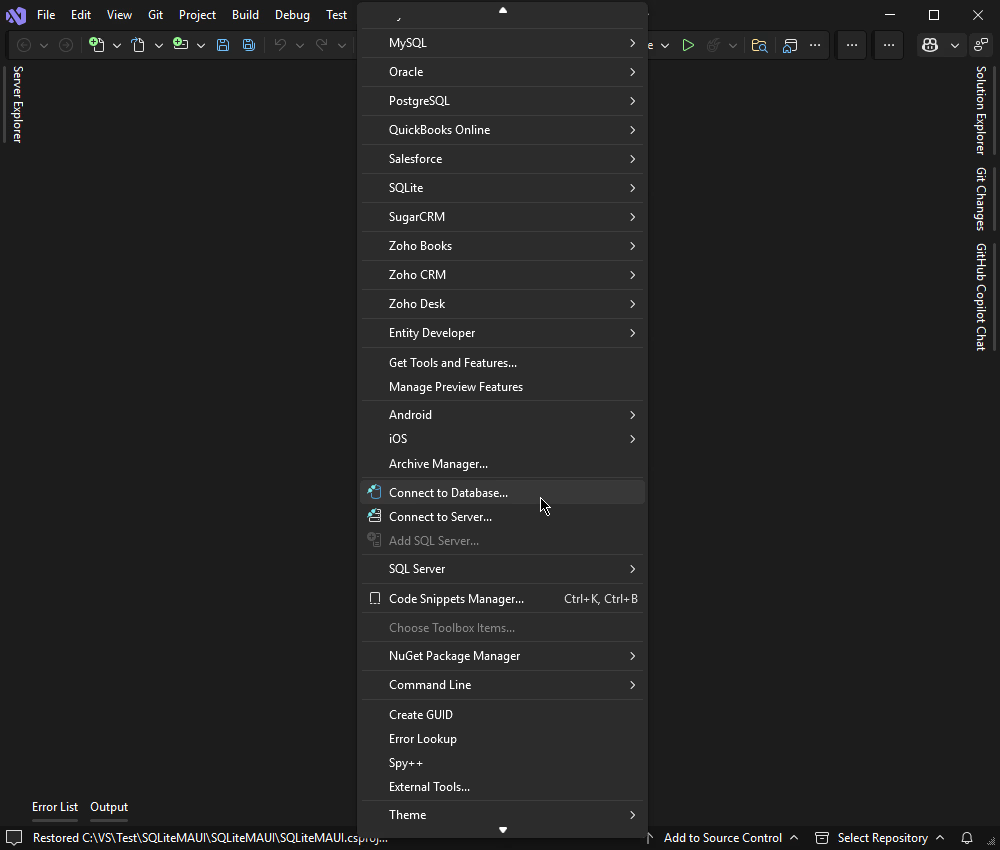
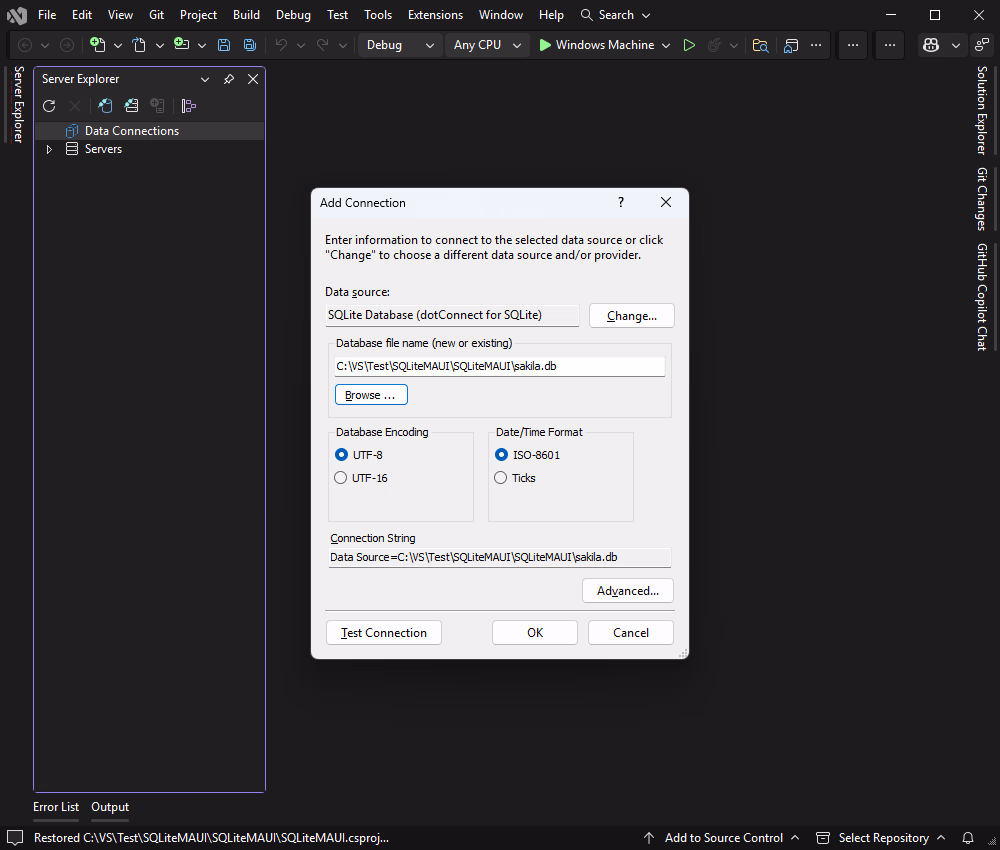
Is it possible to connect to SQLite using Visual Studio Server Explorer with dotConnect?
Yes, add a new Data Connection in Server Explorer, select dotConnect for SQLite as the provider, enter your credentials, test the connection, and browse SQLite data directly in Visual Studio.
I'm a technical content writer who loves breaking complex tech topics into clear and helpful content that's enjoyable to read. With a solid writing background and growing skill in software
development and database tools, I create content that's accurate, easy to follow, and genuinely useful. When I'm not writing, you'll probably find me learning something new or sweating it out at the gym.