SQLite is a lightweight, serverless database engine that's ideal for local data storage in .NET applications. When combined with Entity Framework Core, it becomes a powerful solution for rapid development with minimal configuration.
In this tutorial, you'll learn how to connect a C# application to SQLite using dotConnect for SQLite, generate EF Core models with Entity Developer, and implement full CRUD operations—all within a streamlined, efficient workflow.
Why dotConnect for SQLite?
Advanced encryption
Provides integrated support for the SQLite Encryption Extension with AES, Blowfish, TripleDES, Cast128, and RC4 encryption algorithms.
Advanced ORM Support
Fully supports EF Core, Dapper, NHibernate, LinqConnect, and more for efficient data management.
Full ADO.NET Compliance
Conforms to ADO.NET standards for seamless integration with .NET applications.
SQLite-specific data types
Includes specific features and fully supports all unique data types for accurate and complete data representation.
IDE integration
Features native integration with Visual Studio and complete design-time support for accelerated development.
Support & frequent updates
Includes priority support, detailed documentation, and regular updates for continuous improvement.
Download and activate dotConnect for SQLite
You can start using dotConnect for SQLite immediately with a 30-day free trial. Choose one of the following options:
Entity Developer allows you to visually design and generate EF Core models, making database application development faster, easier, and more efficient. If you don't have it already installed, close your Visual Studio instance, download Entity Developer, and install it following the on-screen instructions.
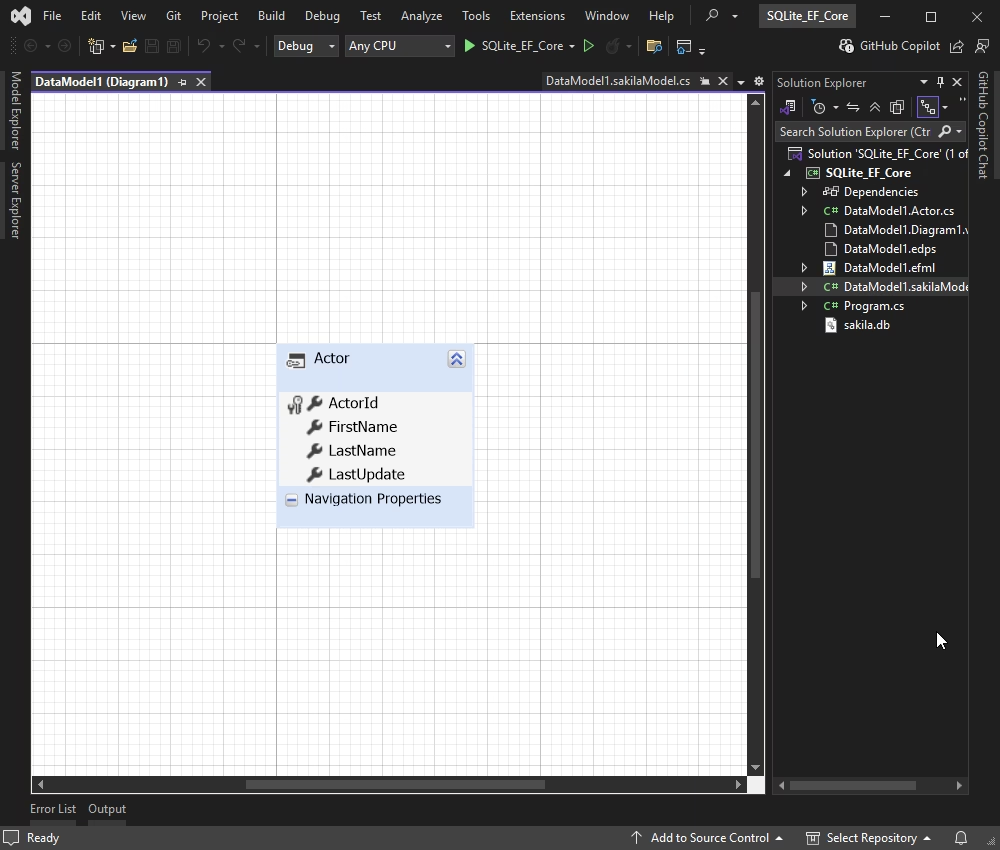
Follow the detailed illustrated guide to create your database model using Entity Developer. When this process is complete, the model you created opens. Check this model and context classes.
If you don't use Microsoft Visual Studio but instead use Microsoft VS Code, JetBrains Rider, etc., you can use Entity Developer as a standalone application and work with models there.
Create an EF Core model using Scaffold-DbContext
You can use Scaffold-DbContext to generate DbContext and entity classes for your database. Run the following command, replacing values with your actual credentials:
This command generates the ModelContext file and the Models folder containing the table entity classes.
Connect and retrieve SQLite data
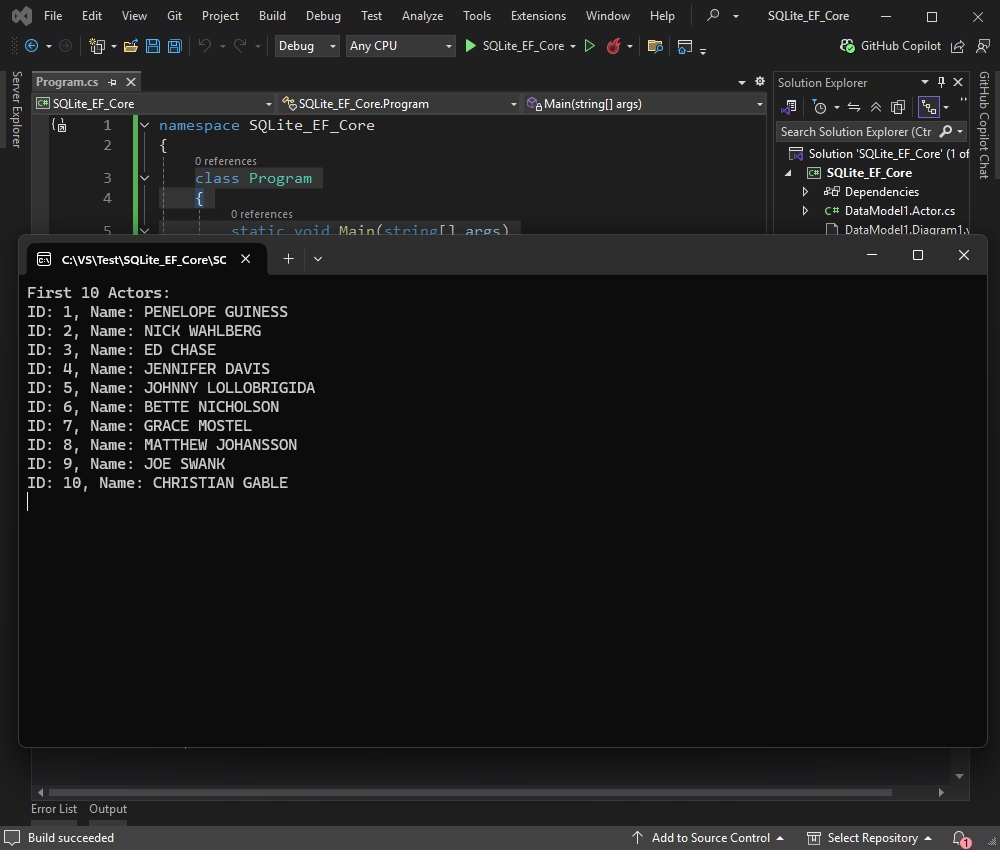
This section connects to an SQLite database and retrieves the first 10 rows from the Actor table. The sakilaModel DbContext is configured with an SQLite connection string in OnConfiguring.
Run the application. Results are shown in the console, listing the first 10 actors retrieved from the SQLite database. This output verifies that the data context and query are functioning as expected.
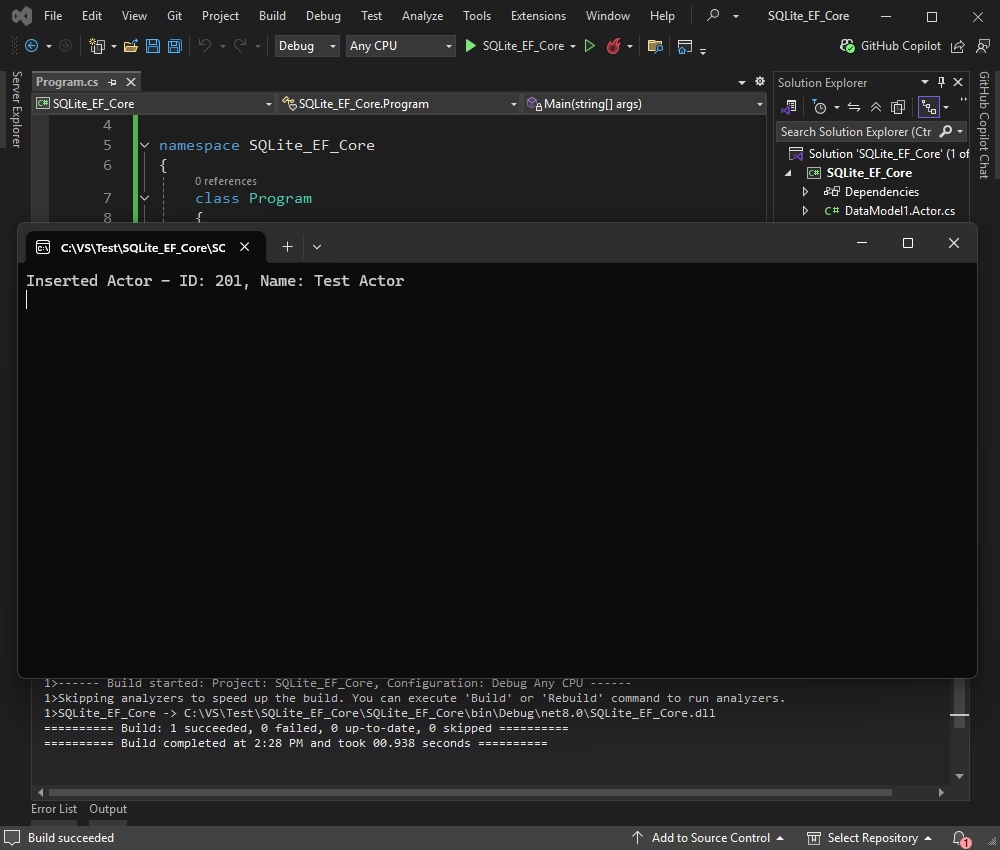
Insert new records using EF Core
This section inserts a new test actor into the Actor table using EF Core’s Add and SaveChanges methods.
classProgram
{
staticvoidMain(string[] args)
{
try
{
usingvar context = new sakilaModel();
var actor = context.Actors.FirstOrDefault(a => a.FirstName == "Updated" && a.LastName == "Star");
if (actor != null)
{
context.Actors.Remove(actor);
context.SaveChanges();
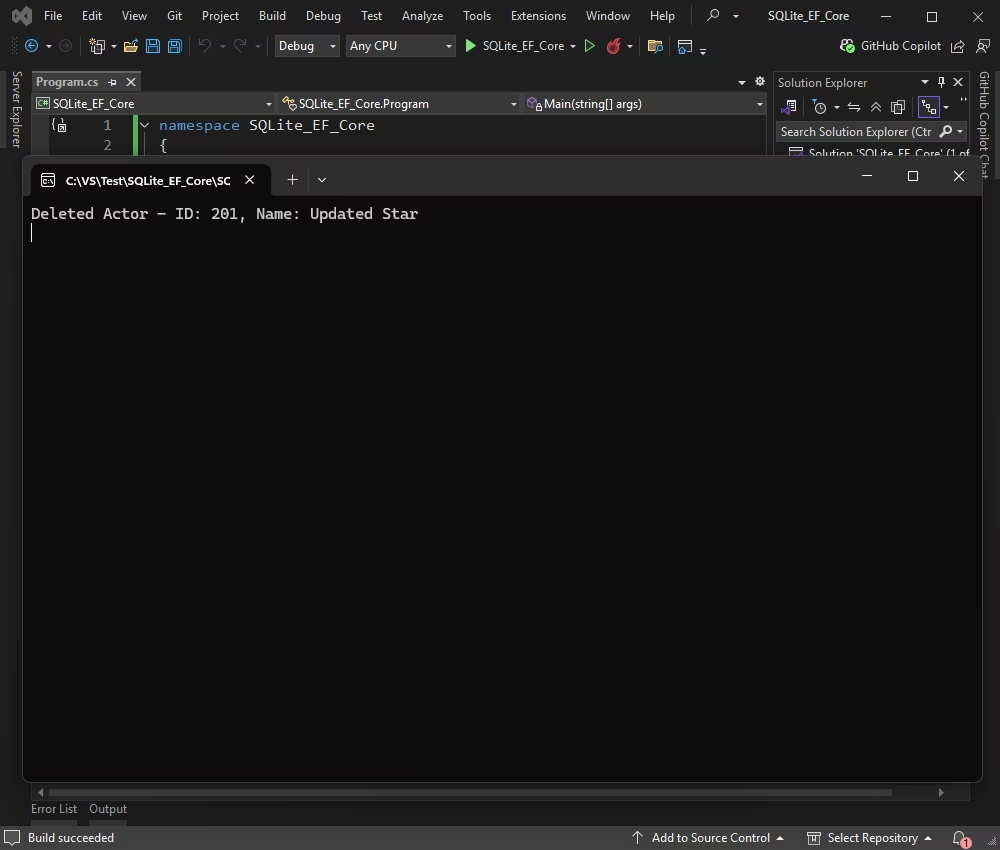
Console.WriteLine($"Deleted Actor - ID: {actor.ActorId}, Name: {actor.FirstName}{actor.LastName}");
}
else
{
Console.WriteLine("Actor not found.");
}
}
catch (Exception ex)
{
Console.WriteLine($"Error: {ex.Message}");
}
Console.ReadKey();
}
}
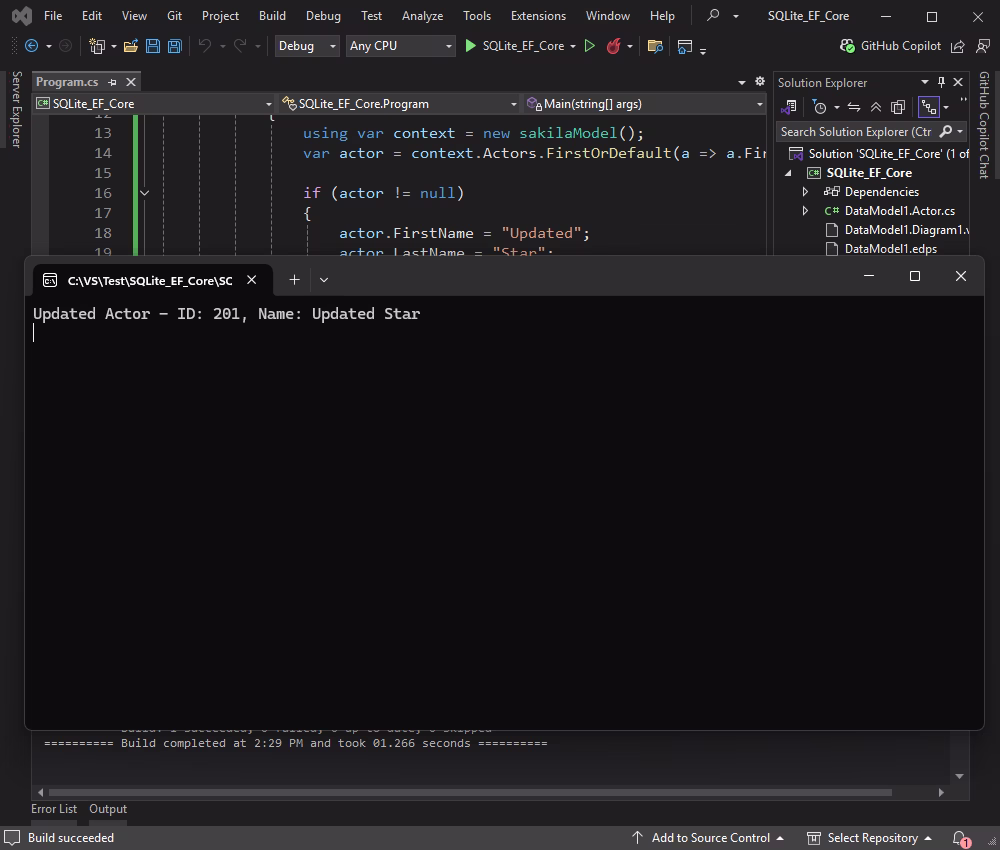
The console confirms the deletion.
Video tutorial: Connect to SQLite with EF Core
Conclusion
Thanks to its simplicity and portability, SQLite is a great choice for desktop, mobile, and lightweight web applications. When combined with EF Core, it provides a flexible and efficient way to access and manage data. This makes it an excellent option for projects that require a lightweight, file-based database solution.
In this tutorial, we explored how to integrate Entity Framework Core with SQLite using dotConnect for SQLite. The guide explained how to generate a data model with Entity Developer and demonstrated how to perform CRUD operations. You can try it yourself with a fully functional free trial to see how it can simplify many everyday development tasks.
FAQ
How do you install and activate dotConnect for SQLite in a .NET project?
Install dotConnect for SQLite either by running the Windows installer (EXE) or by adding the Devart.Data.SQLite NuGet package to your .NET project. Then, retrieve your activation key from the Devart Customer Portal and specify it in your connection string by using the License key parameter to activate the provider and connect successfully.
How do you create a connection to SQLite using dotConnect in C#?
Define a connection string that includes host, user ID, password, database, and the License key value, then create an SQLiteConnection instance with this string and call Open() inside a TRY-CATCH block to test and handle connection errors.
How do you enable encryption for secure SQLite connections with dotConnect?
Use SQLite Native Network Encryption by configuring encryption in the sqlnet.ora file on both client and server sides. No special parameters are required in the connection string.
Can you connect to SQLite using Entity Framework Core and dotConnect?
Yes, you can either use Entity Developer to visually create an EF Core model from the database or run Scaffold-DbContext with a dotConnect connection string (including License key) to generate the DbContext and entity classes.
Is it possible to connect to SQLite using Visual Studio Server Explorer with dotConnect?
Yes, add a new Data Connection in Server Explorer, select dotConnect for SQLite as the provider, enter your credentials, test the connection, and browse SQLite data directly in Visual Studio.
I'm a technical content writer who loves breaking complex tech topics into clear and helpful content that's enjoyable to read. With a solid writing background and growing skill in software
development and database tools, I create content that's accurate, easy to follow, and genuinely useful. When I'm not writing, you'll probably find me learning something new or sweating it out at the gym.