Using Dapper allows inserting multiple records in a single transaction. It is helpful when you need to improve performance and ensure atomicity.
using System;
using System.Collections.Generic;
using System.Data;
using Dapper;
namespace DapperSQLiteExample {
class Program {
static void Main(string[] args) {
using(IDbConnection db = DatabaseConfig.GetConnection()) {
List < Actor > newActors = GetNewActors();
InsertActors(db, newActors);
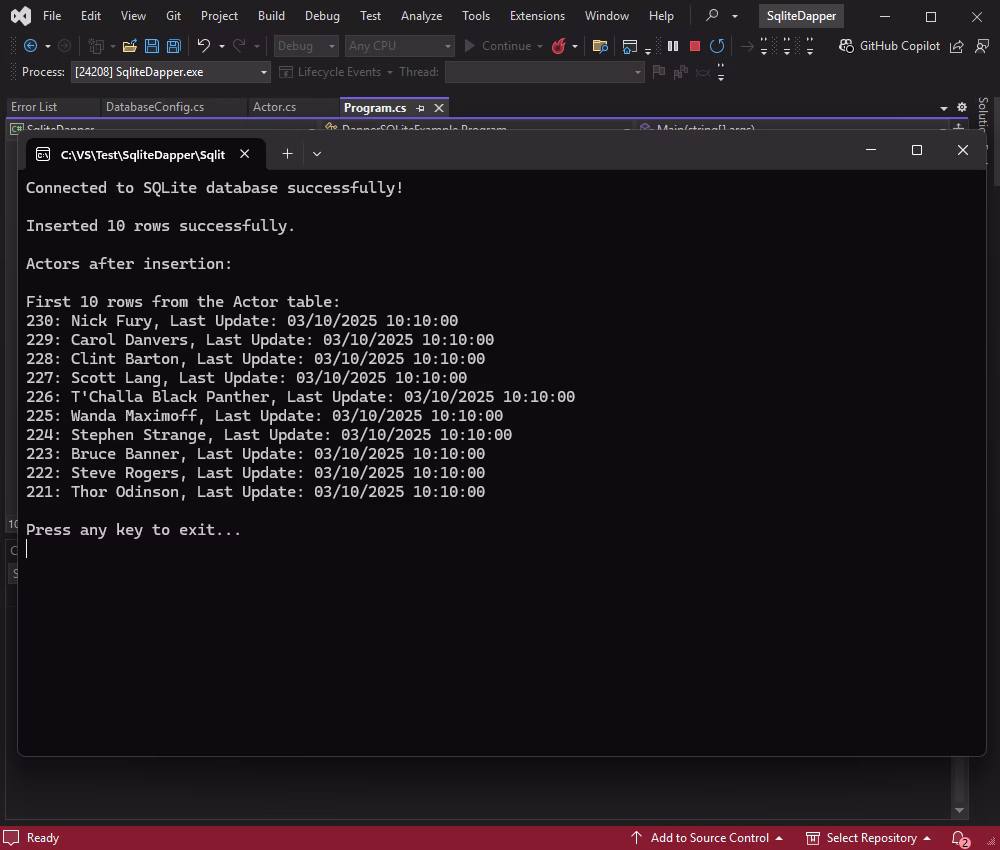
Console.WriteLine("\nActors after insertion:");
DisplayActors(db);
}
Console.WriteLine("\nPress any key to exit...");
Console.ReadKey();
}
private static void InsertActors(IDbConnection db, List < Actor > actors) {
string sql = "INSERT INTO actor (actor_id, first_name, last_name, last_update) VALUES (:ActorId, :FirstName, :LastName, :LastUpdate);";
int rowsInserted = db.Execute(sql, actors);
Console.WriteLine($"\nInserted {rowsInserted} rows successfully.");
}
private static void DisplayActors(IDbConnection db) {
string sql = "SELECT actor_id AS ActorId, first_name AS FirstName, last_name AS LastName, last_update AS LastUpdate FROM actor ORDER BY actor_id DESC LIMIT 10;";
IEnumerable < Actor > actors = db.Query < Actor > (sql);
Console.WriteLine("\nFirst 10 rows from the Actor table:");
foreach(var actor in actors) {
Console.WriteLine($"{actor.ActorId}: {actor.FirstName} {actor.LastName}, Last Update: {actor.LastUpdate}");
}
}
private static List < Actor > GetNewActors() {
return new List < Actor > {
new Actor {
ActorId = 221,
FirstName = "Thor",
LastName = "Odinson",
LastUpdate = DateTime.Now.ToString("yyyy-MM-dd HH:mm:ss")
},
new Actor {
ActorId = 222,
FirstName = "Steve",
LastName = "Rogers",
LastUpdate = DateTime.Now.ToString("yyyy-MM-dd HH:mm:ss")
},
new Actor {
ActorId = 223,
FirstName = "Bruce",
LastName = "Banner",
LastUpdate = DateTime.Now.ToString("yyyy-MM-dd HH:mm:ss")
},
new Actor {
ActorId = 224,
FirstName = "Stephen",
LastName = "Strange",
LastUpdate = DateTime.Now.ToString("yyyy-MM-dd HH:mm:ss")
},
new Actor {
ActorId = 225,
FirstName = "Wanda",
LastName = "Maximoff",
LastUpdate = DateTime.Now.ToString("yyyy-MM-dd HH:mm:ss")
},
new Actor {
ActorId = 226,
FirstName = "T'Challa",
LastName = "Black Panther",
LastUpdate = DateTime.Now.ToString("yyyy-MM-dd HH:mm:ss")
},
new Actor {
ActorId = 227,
FirstName = "Scott",
LastName = "Lang",
LastUpdate = DateTime.Now.ToString("yyyy-MM-dd HH:mm:ss")
},
new Actor {
ActorId = 228,
FirstName = "Clint",
LastName = "Barton",
LastUpdate = DateTime.Now.ToString("yyyy-MM-dd HH:mm:ss")
},
new Actor {
ActorId = 229,
FirstName = "Carol",
LastName = "Danvers",
LastUpdate = DateTime.Now.ToString("yyyy-MM-dd HH:mm:ss")
},
new Actor {
ActorId = 230,
FirstName = "Nick",
LastName = "Fury",
LastUpdate = DateTime.Now.ToString("yyyy-MM-dd HH:mm:ss")
}
};
}
}
}
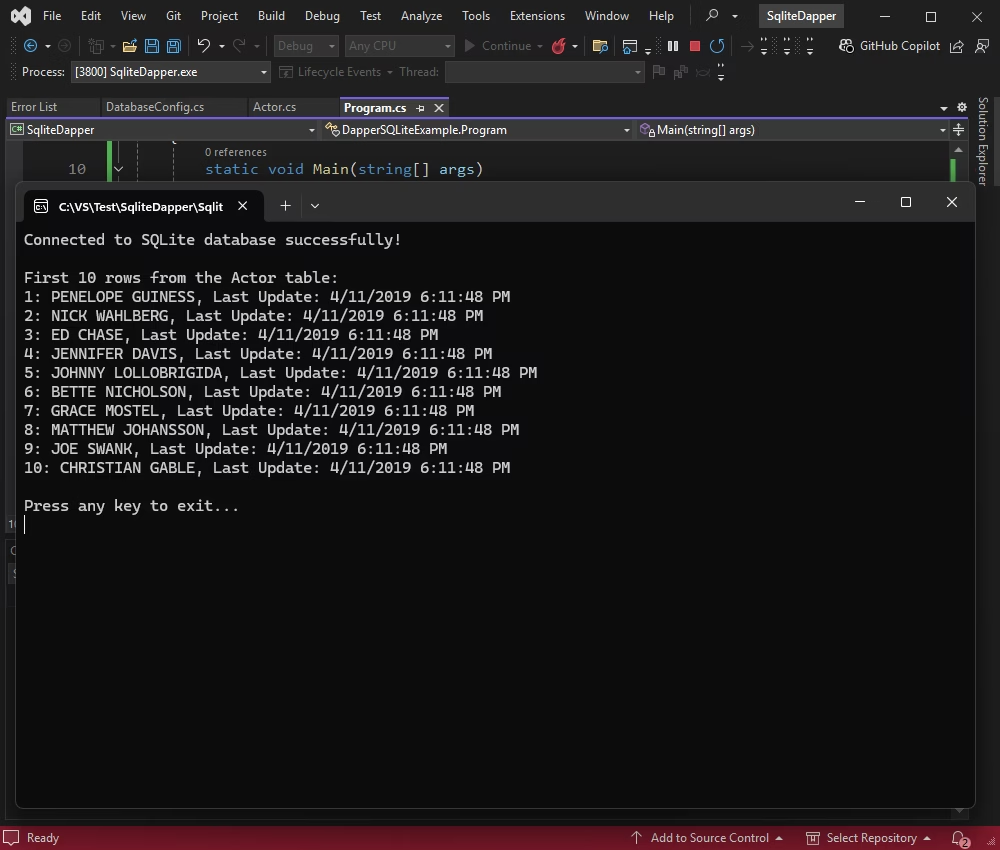
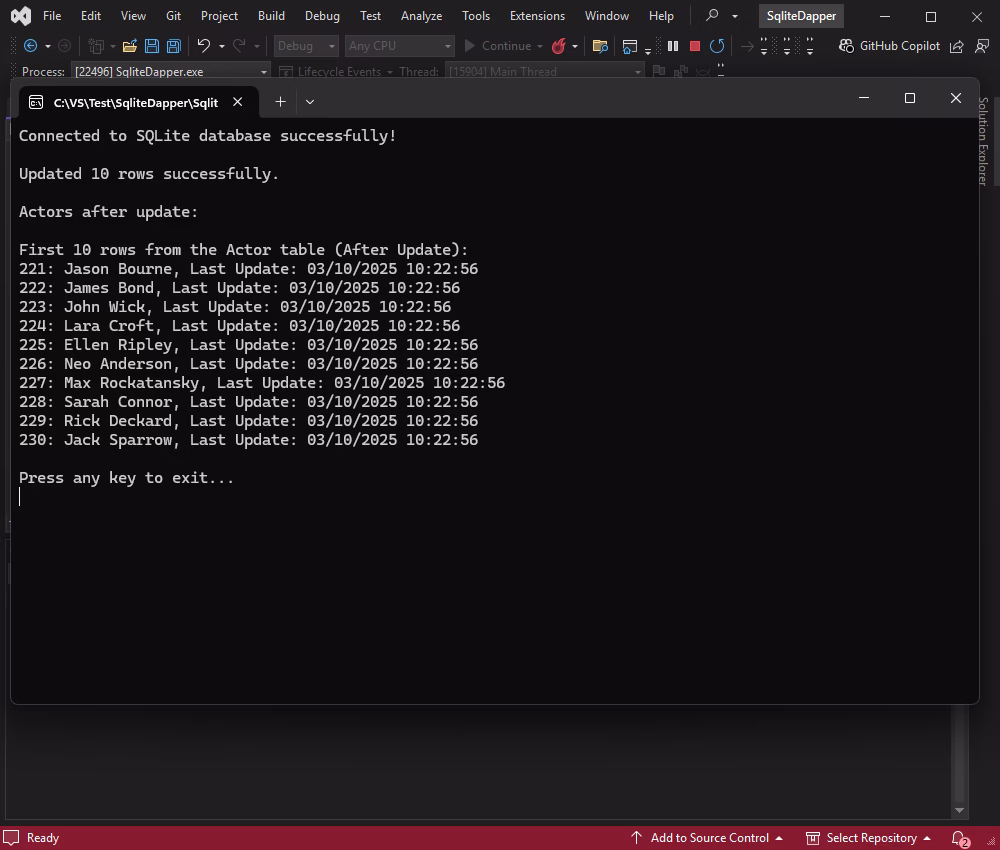
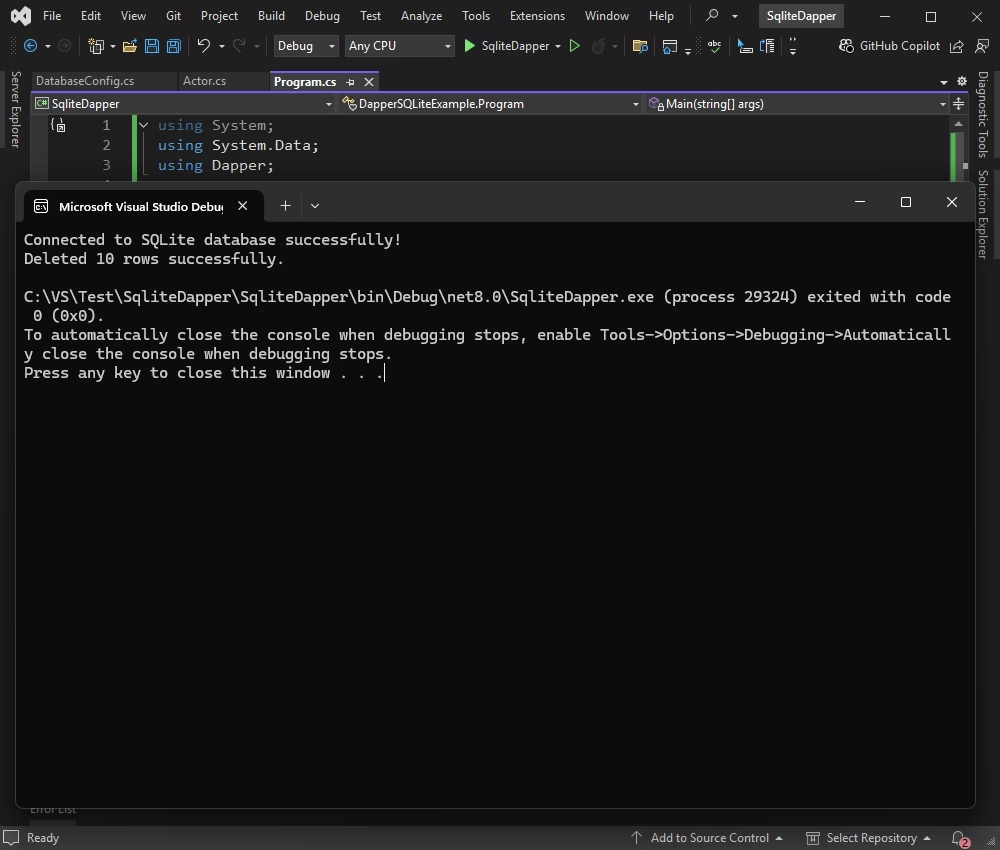
You can see the result in the application.