Copy a table with data within the same Oracle database
Duplicating a table in Oracle is helpful in many scenarios. For example, you might want to:
- Create a backup before running updates or deletions.
- Test queries on a safe copy without affecting production data.
- Migrate data between environments.
- Build reporting tables that mirror existing structures.
All these cases require you to know how to perform table duplication. Now, let's explore how you can do it.
How to copy a table with data using SQL
To copy a table with data in Oracle, use the following SQL syntax:
CREATE TABLE new_table_name
AS
SELECT *
FROM original_table;
This command creates a new table that fully replicates the structure and data of the existing one. It is the most common way to make Oracle copy a table with data using the CREATE TABLE AS SELECT statement.
If you need to copy only specific columns instead of the entire dataset, specify them in the query:
CREATE TABLE new_table AS
SELECT column_name1,column_name2
FROM original_table;
In cases where the target table already exists, and you only want to duplicate the data, run the following command:
INSERT INTO new_table
SELECT *
FROM original_table;
This way, you can clone a table in Oracle either with the entire dataset or just the necessary parts, depending on your requirements.
Copy a table to another schema in Oracle
Sometimes you need to duplicate a table into a different schema. For example, when consolidating data, sharing tables with another team, or preparing a separate environment for testing. Oracle allows you to achieve this using SQL commands while ensuring data integrity.
A SQL example with INSERT INTO schema.table
To copy data from a table in your current schema to a table in another schema, use the following syntax:
INSERT INTO target_schema.new_table
SELECT *
FROM source_schema.existing_table;
This approach assumes that the destination table already exists in the target schema. It efficiently transfers all data while keeping the source table intact.
Required user privileges and permissions
- The
INSERT privilege on the target table or schema.
- The
SELECT privilege on the source table.
- The
CREATE TABLE privilege if creating the new table in the target schema.
Without these permissions, Oracle will prevent the operation, ensuring secure and controlled data access across schemas.
By combining these commands with the appropriate privileges, you can reliably perform Oracle copy table operations across schemas, enabling safe data sharing and testing without affecting production tables.
Copy a table without data within the same Oracle database
To copy a table without data in Oracle, use this SQL pattern:
CREATE TABLE new_table_name
AS
SELECT *
FROM existing_table_name WHERE 1=0;
This command creates a new table that replicates only the structure of the original table—including columns, data types, and default values—without copying any of the existing data. It is the most straightforward way to copy an Oracle table without data and is commonly used when you need an empty template for testing, staging, or building new tables based on existing designs.
Using this approach, you can efficiently copy an Oracle table's structure only, ensuring the new table matches the original layout while remaining empty and ready for fresh data.
Copy a table from one Oracle database to another
Copying tables between databases or schemas in Oracle can be essential for testing, reporting, or data migration. Below are the main approaches, divided into practical scenarios.
Copy a table between schemas on the same server
To copy a table from one schema to another within the same Oracle database, use the following SQL syntax:
INSERT INTO new_schema.table
SELECT *
FROM old_schema.table;
Note
Ensure the target table exists and that you have the necessary privileges to perform the copy table operation.
This command duplicates all data from the source table into a table in the target schema. It is a simple and effective method when both schemas reside on the same database server.
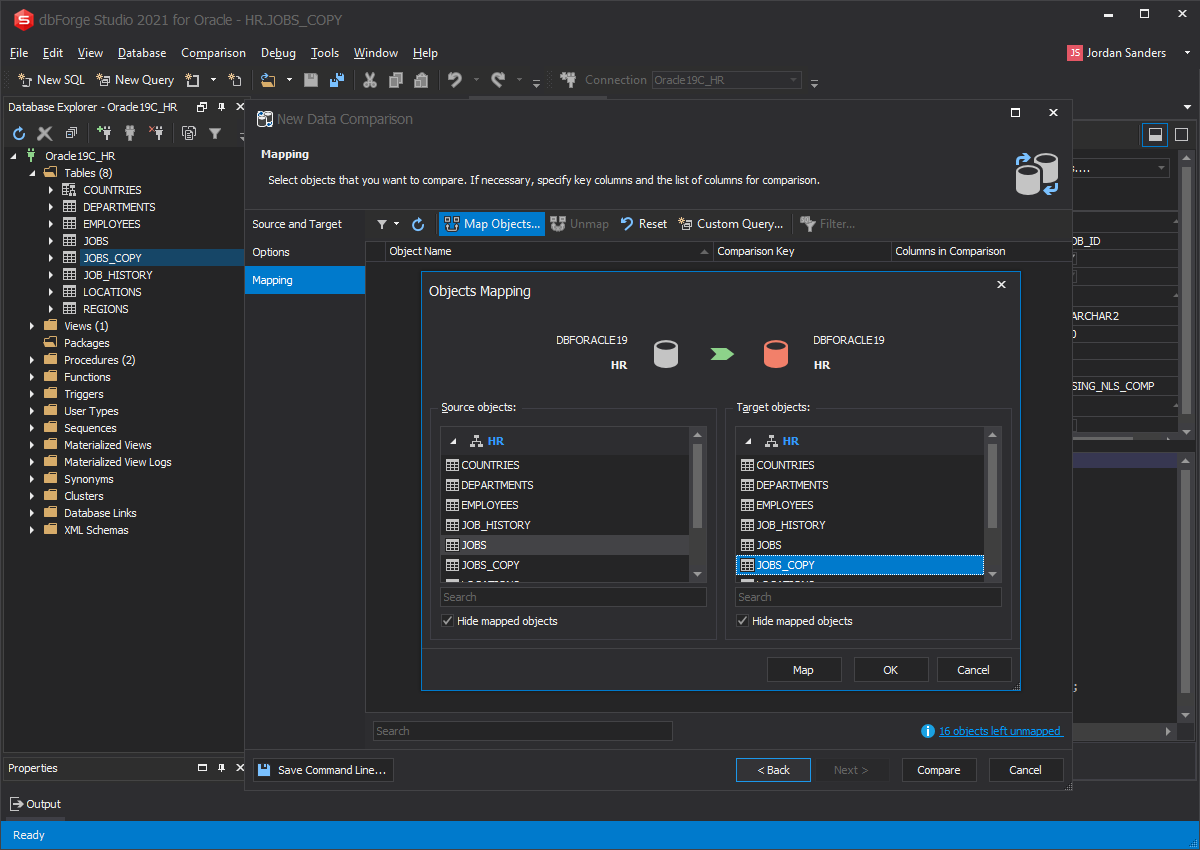
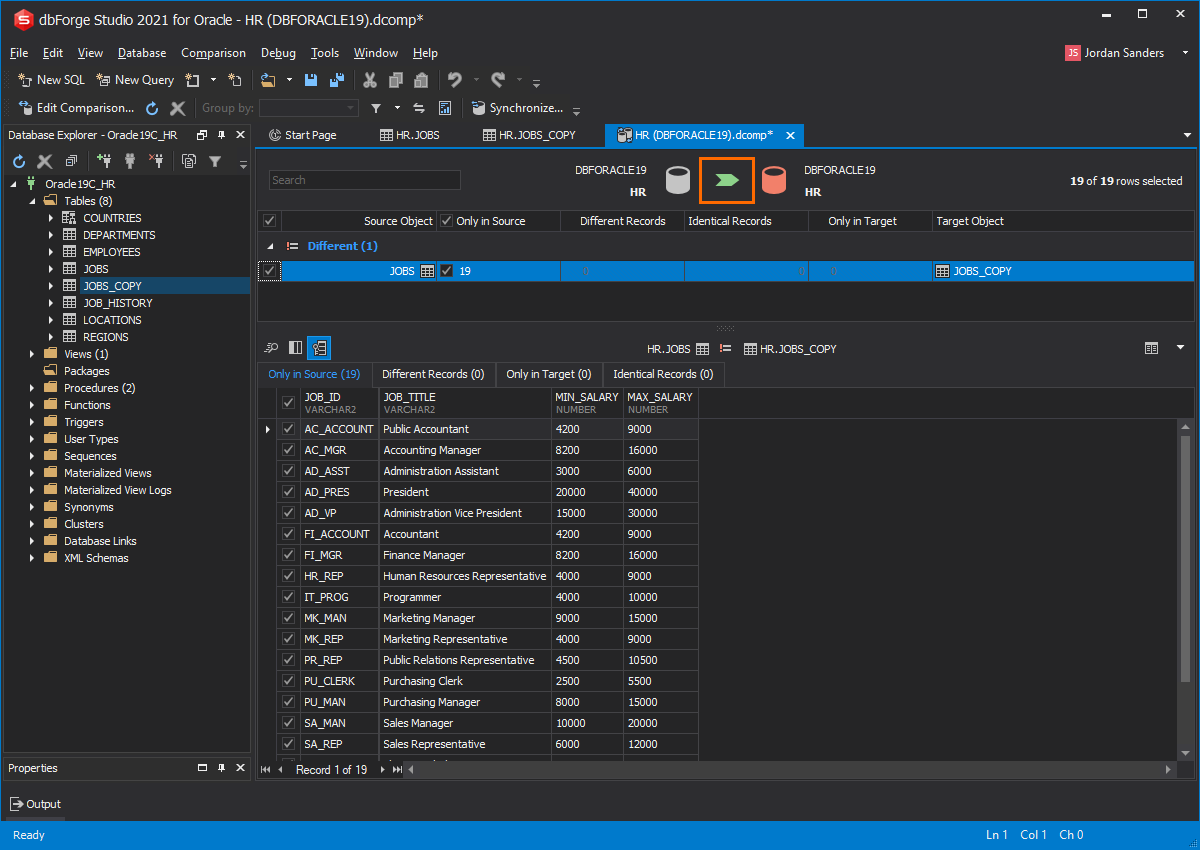
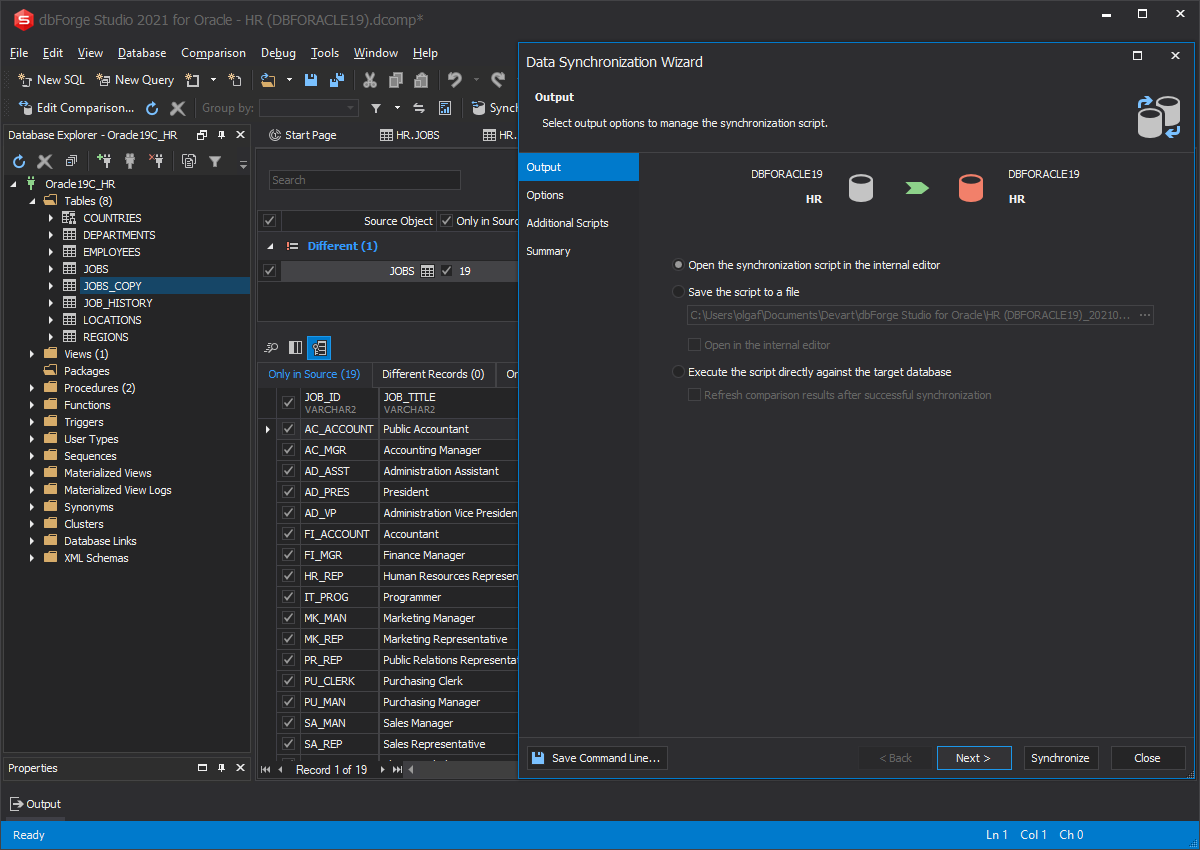
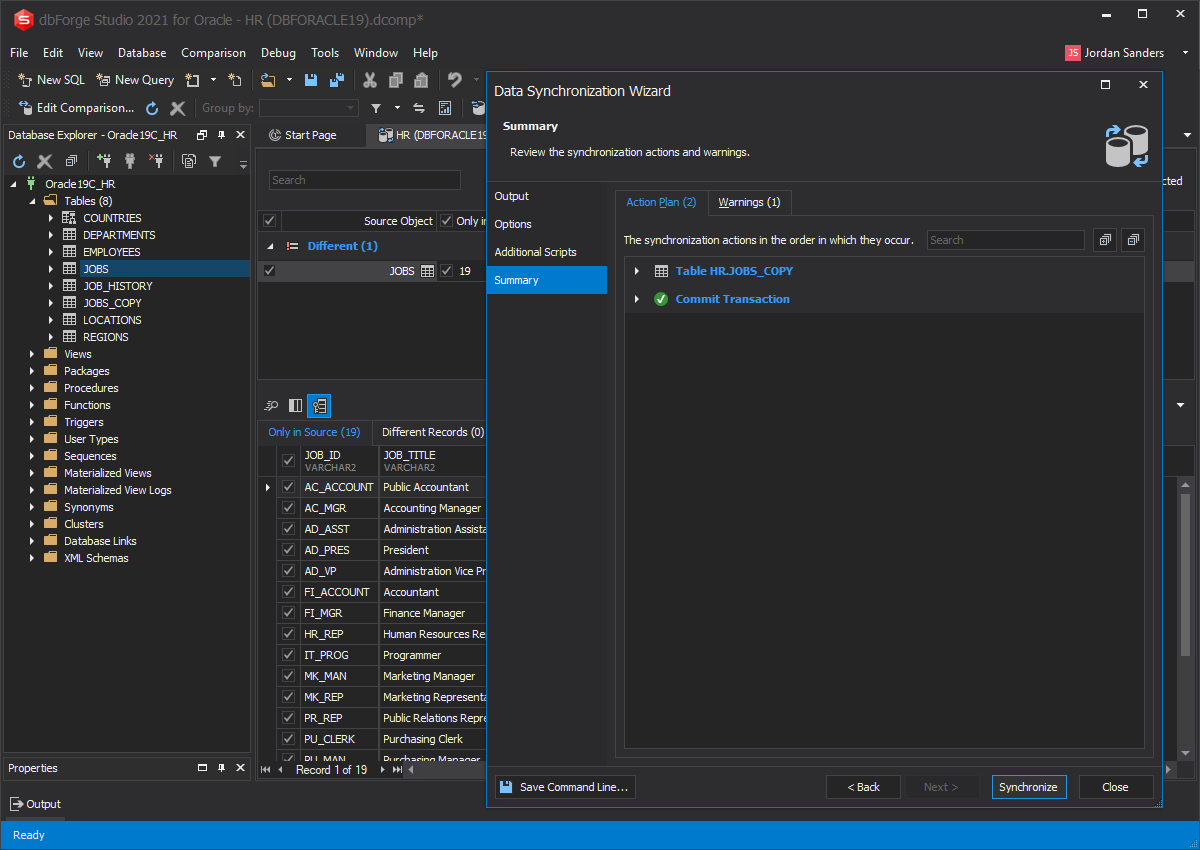
Copying a table between remote Oracle databases
When copying an Oracle database table to a database located on another server, you can use database links or tools such as SQL*Plus or dbForge Studio for Oracle. A database link allows you to reference the remote database directly in your SQL query, enabling seamless data transfer. For example:
INSERT INTO remote_table@remote_db_link
SELECT *
FROM local_table;
Before performing this operation, ensure:
-
You have valid credentials for both databases.
-
Appropriate privileges (
SELECT on the source table and INSERT on the destination table).
-
Network access between the servers.
By following these instructions, you can efficiently copy an Oracle table to another schema or across databases while preserving data integrity and minimizing downtime.