


Video guide: How to install dbForge Studio for SQL Server on macOS
Besides the step-by-step workflow described above, you can consult our video guide that shows the process on installing dbForge Studio on macOS in detail.
macOS is one of the most popular operating systems in the world, with a loyal following, second only to Microsoft Windows—in terms of numbers, that is. And if we talk user-friendliness, performance, reliability, and the sheer breadth of capabilities, it might as well be second to none. So, it is no wonder that macOS is quite widely used for database development—and, taken together with Microsoft SQL Server, which is the world's biggest proprietary relational DBMS, they make a powerful combo.
On this page, you will learn how to get this combo to work—how to install SQL Server 2022 on macOS via Docker, how to establish a connection, and how to proceed to actual database development and management most quickly and easily.
First, let's list the prerequisites for installation:
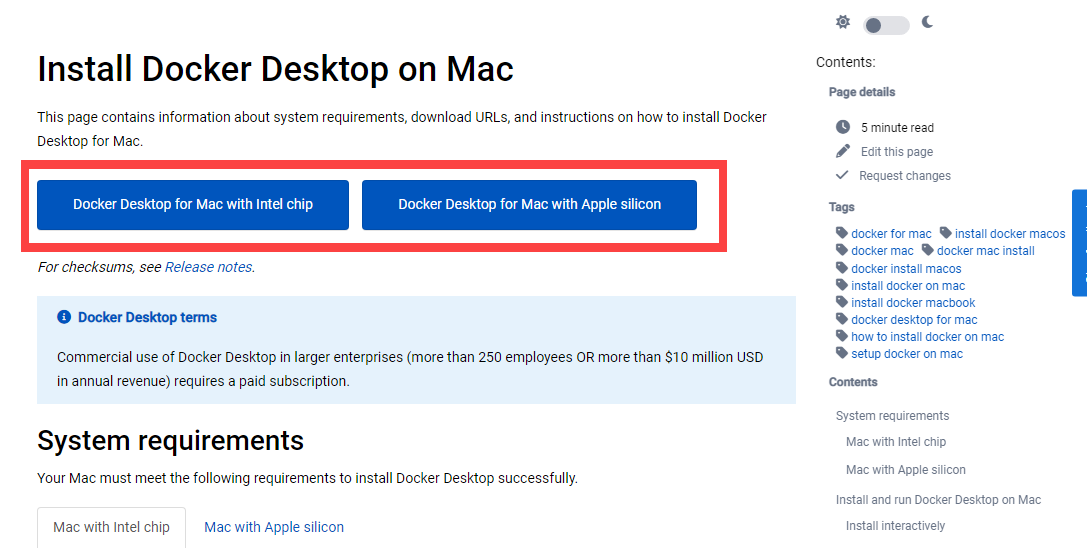
1. Go to the official download page and download the Docker Desktop file. Depending on the Mac you are using (either with an Intel chip or with an Apple Silicon), click the respective link to start the download.
2. Double-click the downloaded .dmg file to begin the installation and move the Docker application icon to your Applications folder.
That's it! Now you can get down to installing SQL Server on your Mac.
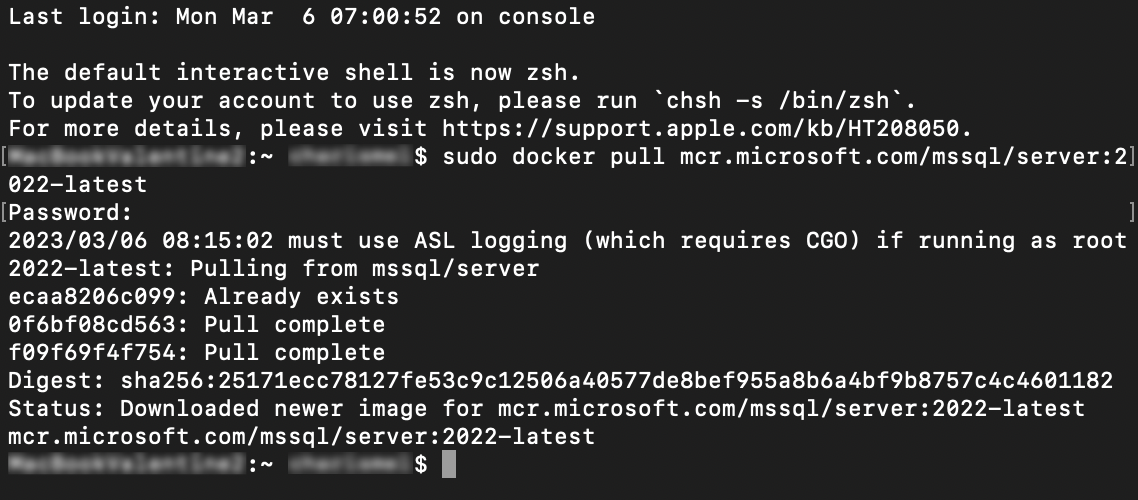
1. In Terminal, enter and run the following command.
If Terminal prompts you to enter the password to your Mac, do so. Eventually, the completed download will look similar to the following.
2. After the download is complete, enter and run the following command.
docker run -d --name SQL_Server_Docker -e 'ACCEPT_EULA=Y' -e 'SA_PASSWORD=DB_Password' -p 1433:1433 mcr.microsoft.com/mssql/server:2022-latestThis command consists of the following parameters:
-d — launches your Docker container name in the daemon mode, enabling it to run in the background, without the need to keep your Terminal window open.
--name — specifies the name for your Docker container. In our example, the name is SQL_Server_Docker.
-e 'ACCEPT_EULA=Y' — confirms that you accept the Docker EULA (End User License Agreement).
-e 'SA_PASSWORD=DB_Password' — sets your database password. In our example, the password is DB_Password.
-p 1433:1433 — maps your Docker container to the local port 1433.
-p 1433:1433 — selects an image file for Docker to use.
After it's done, SQL Server should be running on your Mac. To make sure it is so, you can check the status of your SQL Server Docker container with the following command.
Now check the output. If the STATUS column says Up, your Docker container is running properly. If it says Exited, something has gone wrong, and your container is not running.
This is where things become really interesting. After all, the installation and setup of SQL Server is a fleeting moment—and afterwards, you need to find a proper set of tools that will help you interact with your databases. We've got one for you—dbForge Studio for SQL Server—an IDE that is designed to cover the majority of possible tasks related to the development, management, and administration of SQL Server databases. Add here the intuitive user interface of the Studio, and you get yourself a toolset that will make your routine work with databases a pleasure.
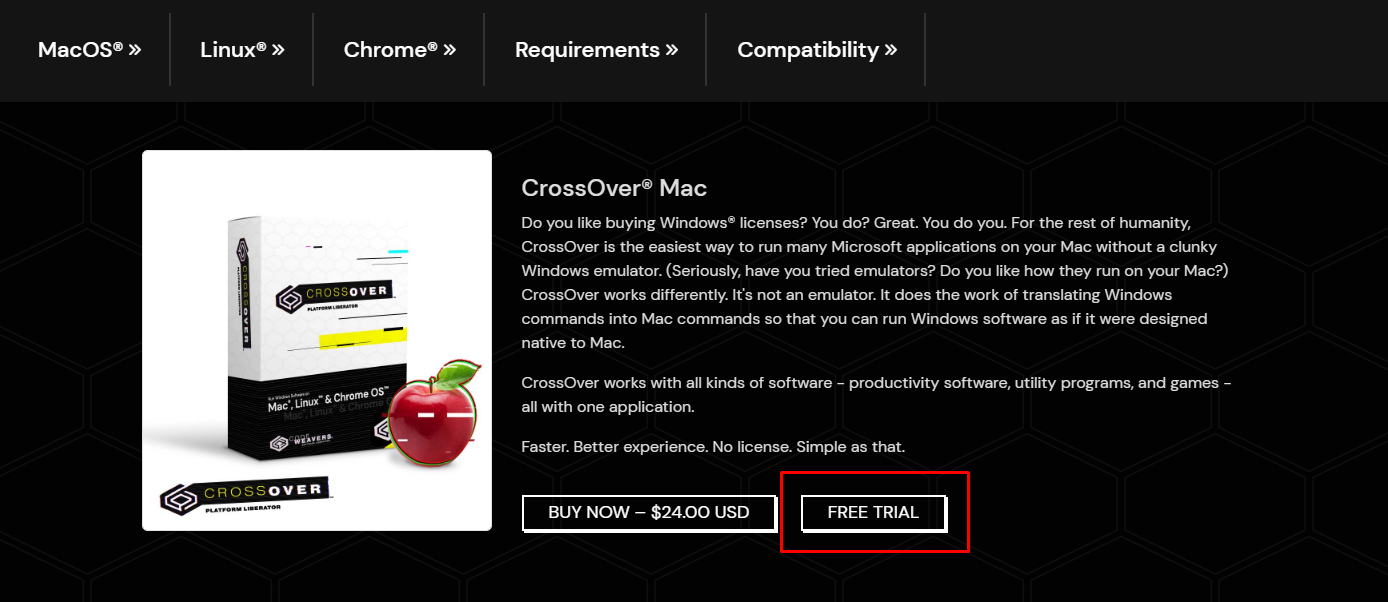
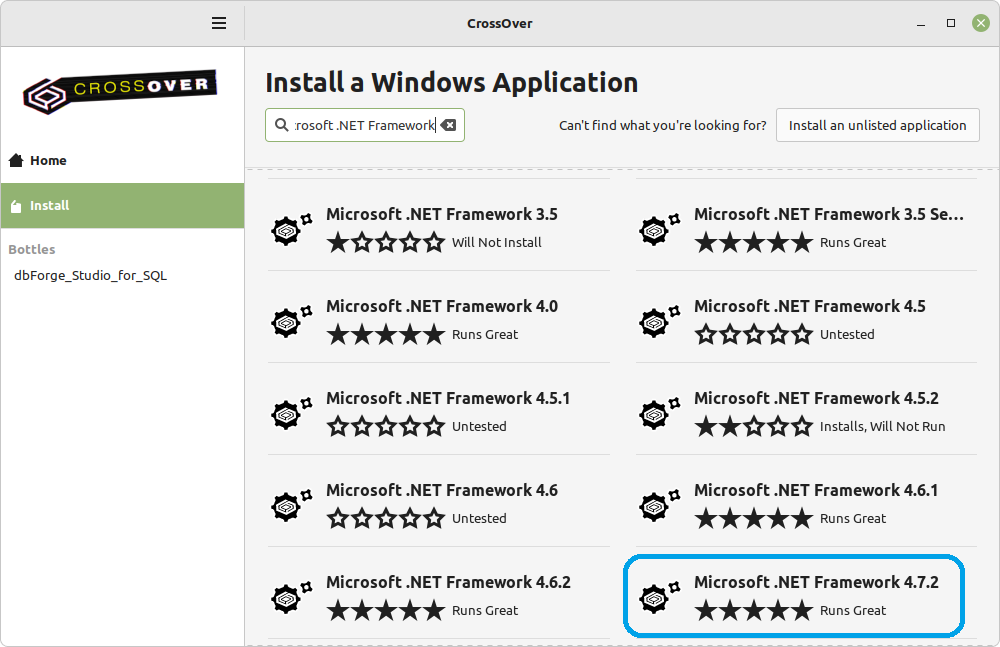
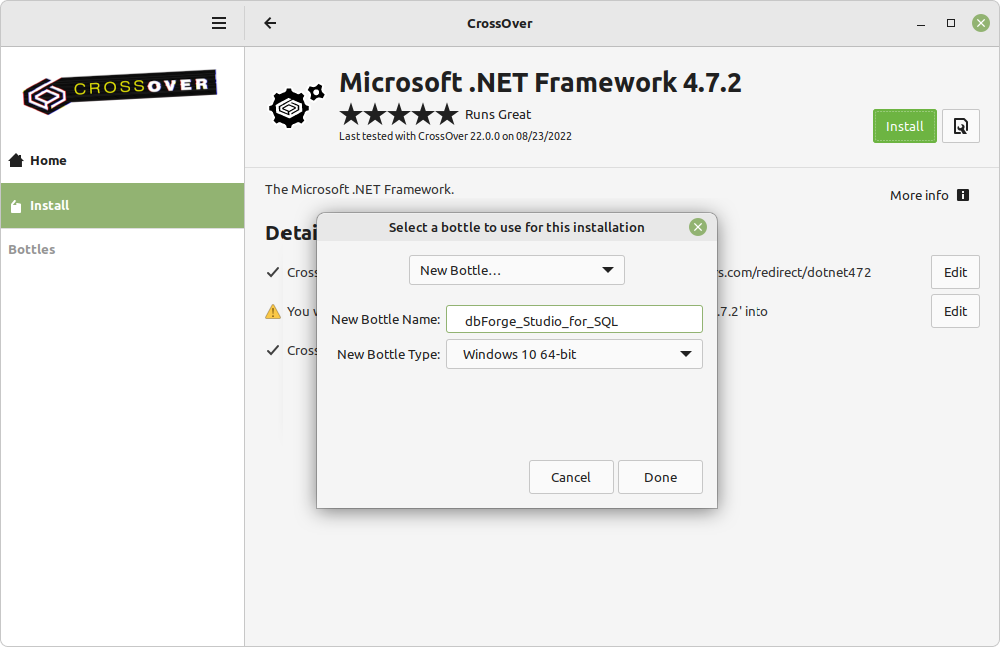
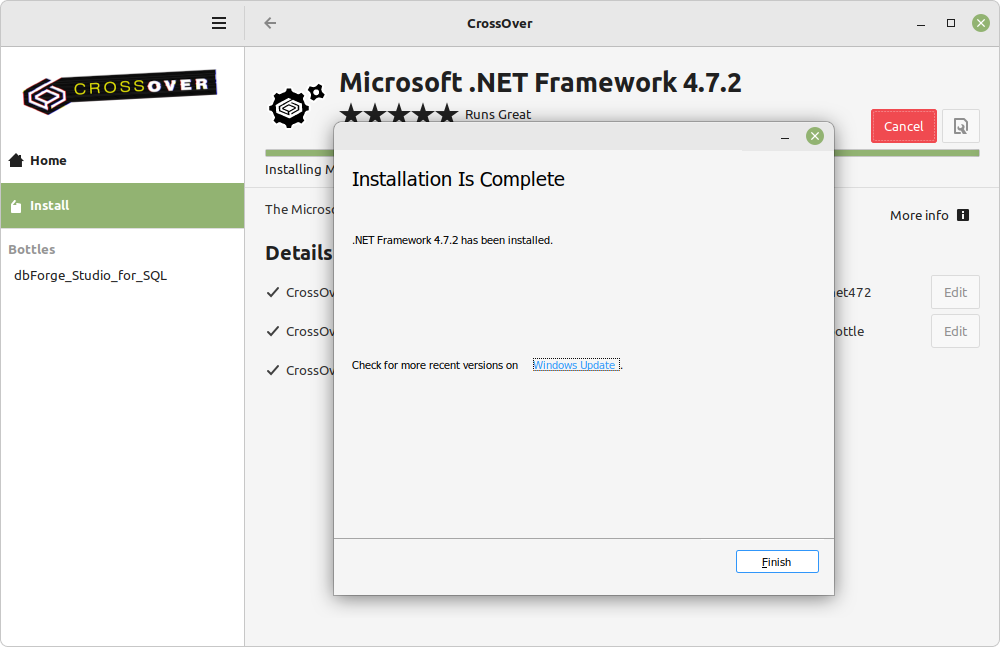
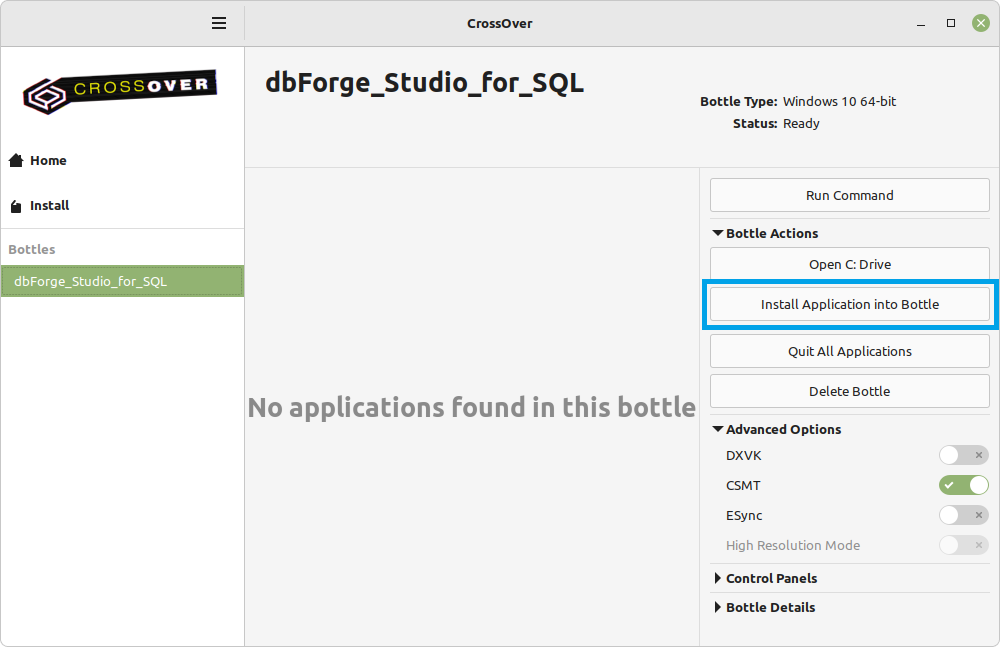
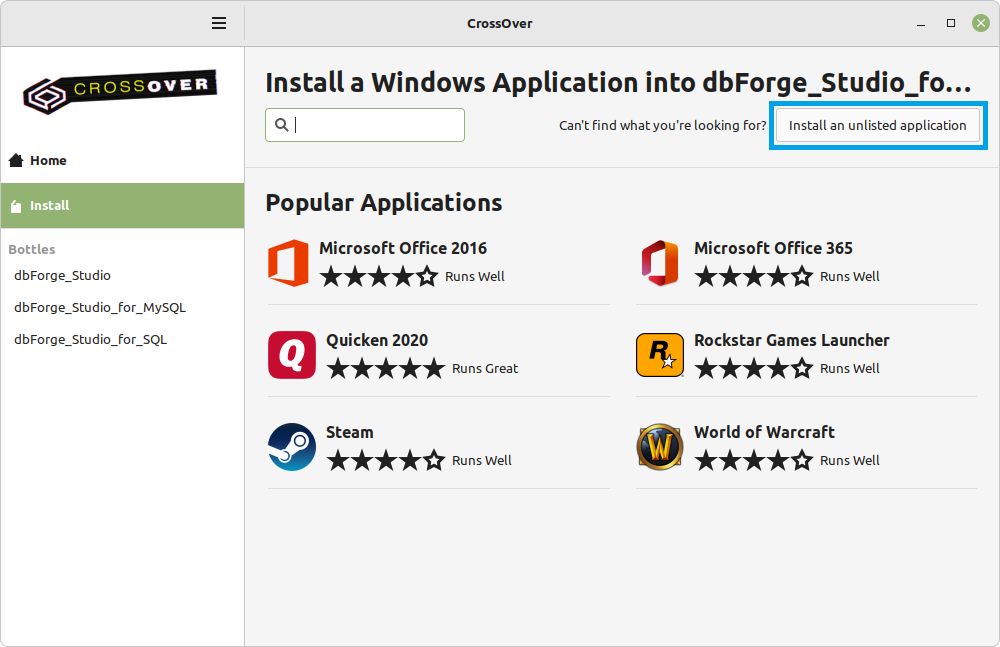
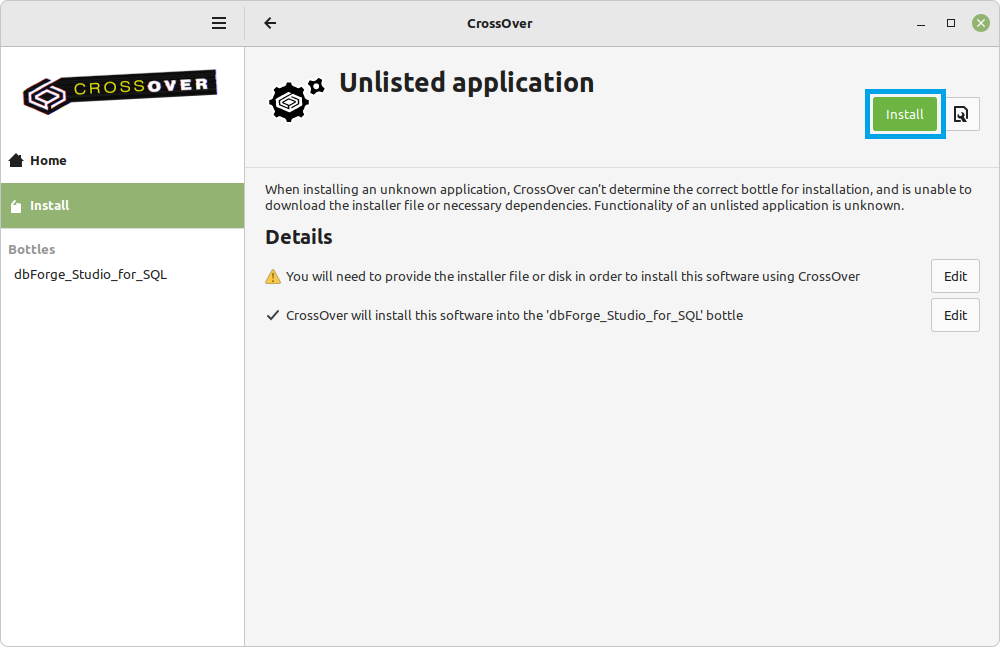
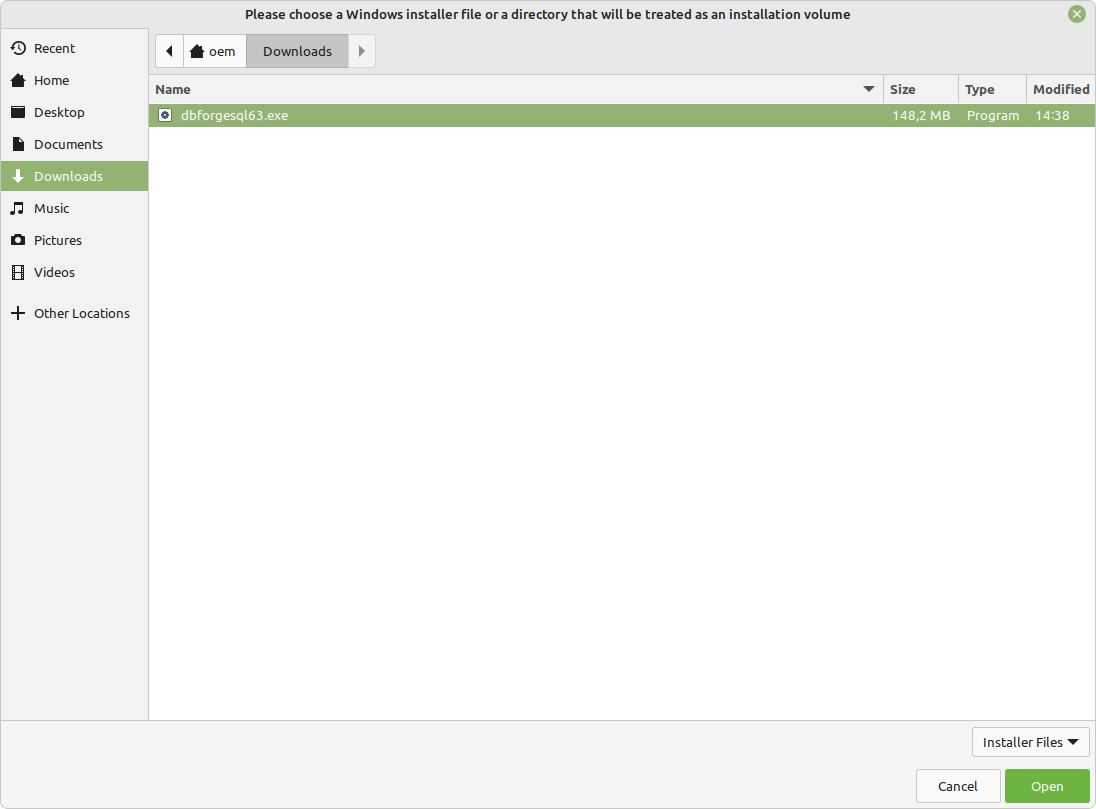
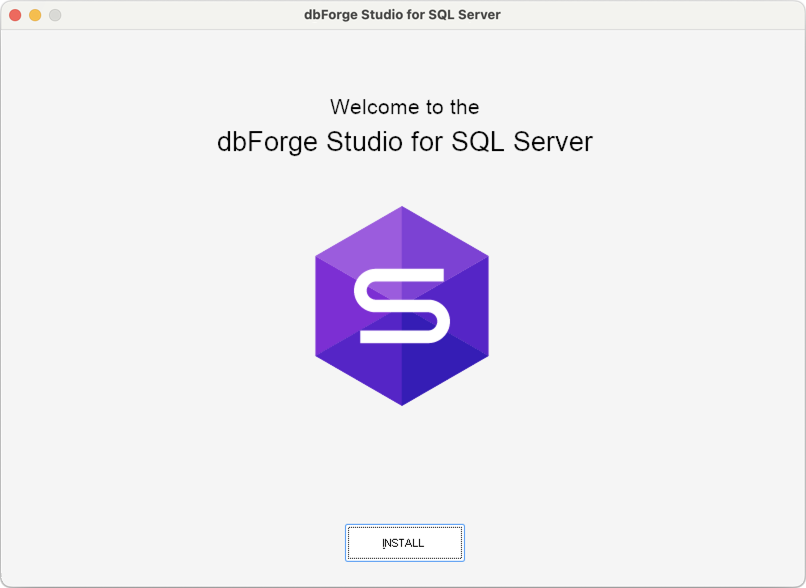
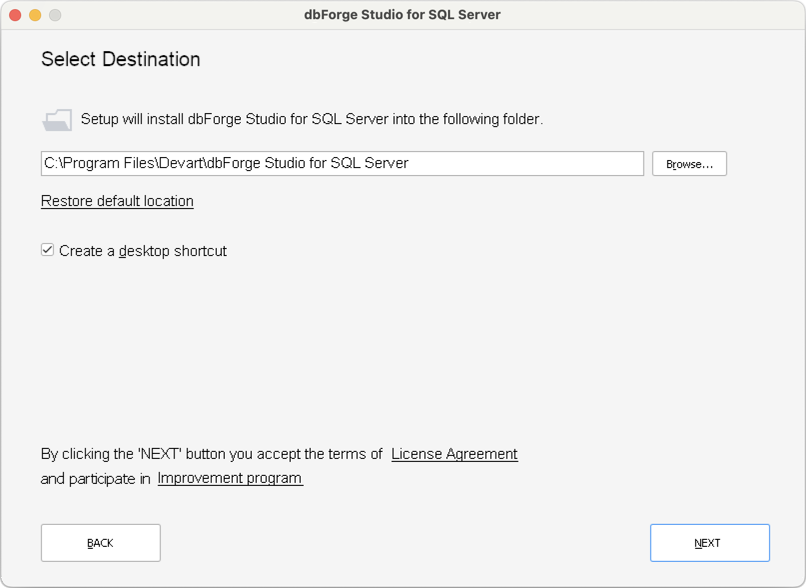
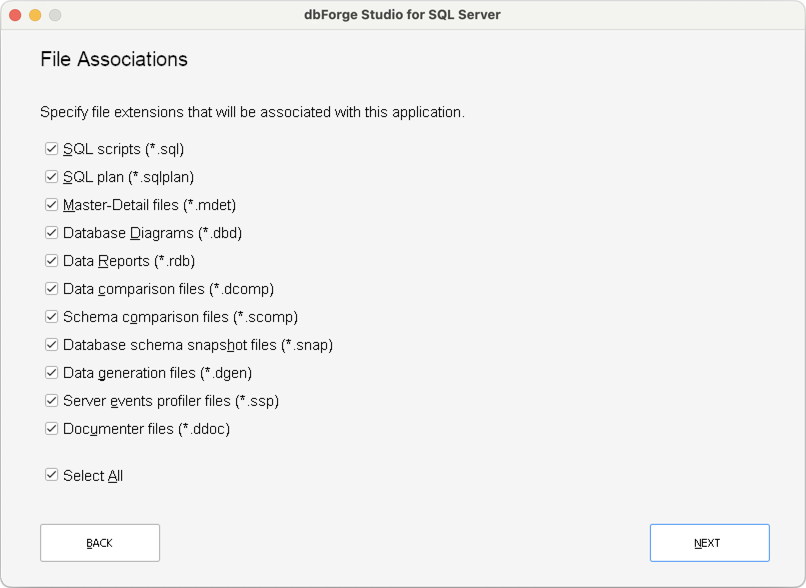
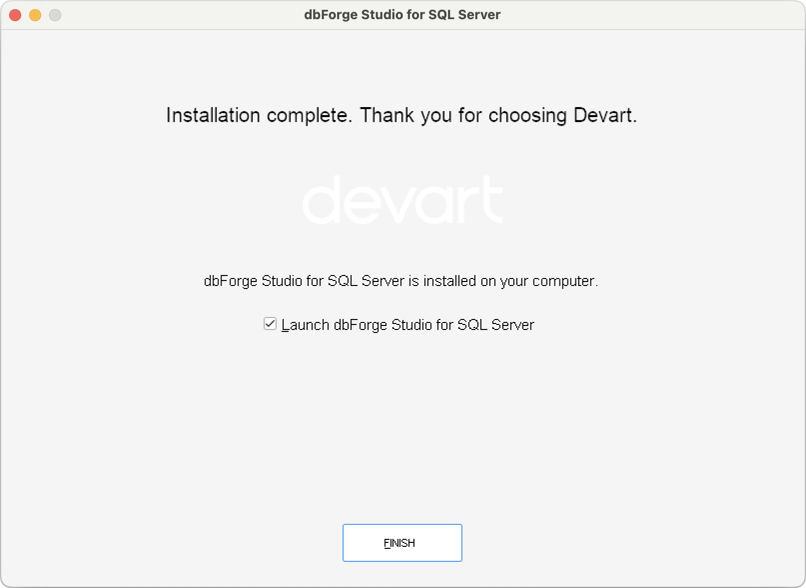
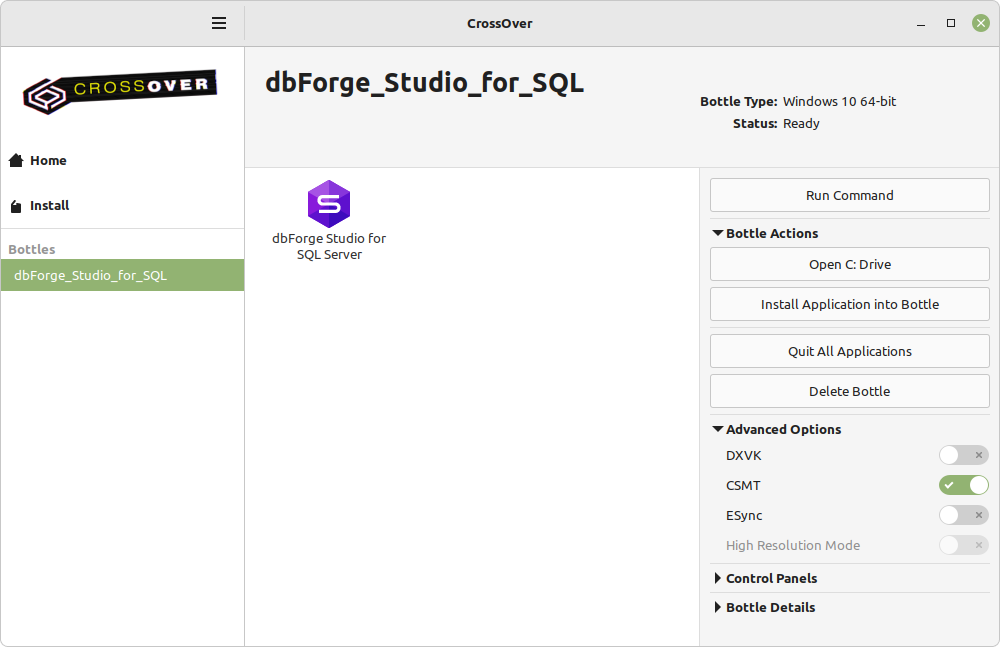
The one possible drawback of the Studio is that it isn't native to macOS—it requires an additional compatibility solution called CodeWeavers CrossOver, which helps it run on your Mac seamlessly. But even with that solution, the installation will not take too long. Let's see how it's done.
Besides the step-by-step workflow described above, you can consult our video guide that shows the process on installing dbForge Studio on macOS in detail.
Now that the dbForge Studio is installed and ready for work, you might as well start with connecting to your SQL Server, which is just a matter of moments.
Launch the Studio in CrossOver, go to the Database menu and click New Connection.
Now all you have to do is configure your connection parameters: specify the server name, authentication method, login, password, and the database you are going to work with. Optionally, you can click Test Connection to check whether everything's all right. Or you can just click Connect, and that will be it.
You can uninstall SQL Server from macOS by simply removing the Docker container that stores it via Terminal. The following example shows how we can remove the abovementioned container - SQL_Server_Docker.
Please note that the removal of a container is an irreversible operation, so, if necessary, be sure to back up your databases and the data contained within before executing this command.
This is how you can set up your work with SQL Server databases on a Mac from scratch. Probably the most important thing here is to choose the toolset that will empower you to handle nearly any operation with your databases and actual data. That's why we invite you to download dbForge Studio for SQL Server for a FREE 30-day trial. Explore its rich capabilities yourself—and your productivity and effectiveness will reach an all-time high from day one.
Currently, the easiest way to install SQL Server on macOS involves the use of a virtual environment like Docker Desktop.
First, you need to install the required version of Docker Desktop on your Mac. Then, install SQL Server into your Docker via Terminal and connect to it from there. You will find the workflow and the required commands in the guide above.
In Docker Desktop, go to Settings > Resources > Advanced. There, in Resource Allocation, make sure your CPU limit is set to no less than 5, and your Memory limit is at least 4 GB. These are the minimum requirements; if these settings are already at this level or higher, you don't need to tweak them.
Yes, you can. Parallels Desktop allows you to set up and run Docker containers as if they were running directly on your Mac. Thus, you can set up VMs with Docker Engine pre-installed and set up Microsoft SQL Server.
SSMS is available natively for Windows only; and its functionality, while robust enough, may prove insufficient for power users. If you are looking for a more advanced feature set and intuitive wizard-aided database management, you may try dbForge Studio for SQL Server. Again, it's a Windows-native application, but you can run it on macOS and a variety of Linux distributions via compatibility solutions like CrossOver.
Simply run the docker stop and docker rm commands from Terminal, as described above. Your Docker container will be removed along with the installed SQL Server. You can't revert this operation, so you might need to back up your databases and data before executing it.